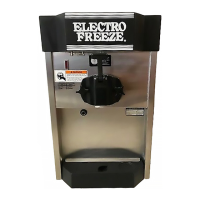
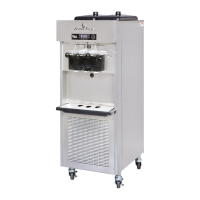
ELECTRO FREEZE Model CS8
20
184965-17
2345678901234
2345678901234
2345678901234
2345678901234
2345678901234
2345678901234
2345678901234
2345678901234
2345678901234
2345678901234
2345678901234
2345678901234
2345678901234
2345678901234
2345678901234
2345678901234
2345678901234
2345678901234
2345678901234
2345678901234
2345678901234
2345678901234
2345678901234
2345678901234
2345678901234
2345678901234
2345678901234
2345678901234
2345678901234
2345678901234
2345678901234
2345678901234
2345678901234
2345678901234
2345678901234
2345678901234
2345678901234
2345678901234
2345678901234
2345678901234
2345678901234
2345678901234
2345678901234
2345678901234
2345678901234
2345678901234
2345678901234
2345678901234
2345678901234
2345678901234
2345678901234
2345678901234
2345678901234
2345678901234
2345678901234
2345678901234
2345678901234
2345678901234
2345678901234
2345678901234
2345678901234
2345678901234
2345678901234
2345678901234
2345678901234
2345678901234
2345678901234
2345678901234
2345678901234
2345678901234
2345678901234
2345678901234
2345678901234
2345678901234
2345678901234
2345678901234
2345678901234
2345678901234
2345678901234
2345678901234
2345678901234
2345678901234
2345678901234
2345678901234
2345678901234
2345678901234
2345678901234
2345678901234
2345678901234
2345678901234
2345678901234
2345678901234
2345678901234
2345678901234
2345678901234
2345678901234
2345678901234
2345678901234
2345678901234
2345678901234
2345678901234
2345678901234
2345678901234
2345678901234
2345678901234
2345678901234
2345678901234
2345678901234
2345678901234
2345678901234
2345678901234
2345678901234
2345678901234
2345678901234
2345678901234
2345678901234
2345678901234
2345678901234
2345678901234
2345678901234
2345678901234
2345678901234
2345678901234
2345678901234
2345678901234
2345678901234
2345678901234
2345678901234
2345678901234
2345678901234
2345678901234
2345678901234
2345678901234
2345678901234
2345678901234
2345678901234
2345678901234
2345678901234
2345678901234
2345678901234
2345678901234
2345678901234
2345678901234
2345678901234
2345678901234
2345678901234
2345678901234
2345678901234
2345678901234
2345678901234
2345678901234
2345678901234
2345678901234
2345678901234
2345678901234
2345678901234
2345678901234
2345678901234
2345678901234
2345678901234
2345678901234
2345678901234
2345678901234
2345678901234
2345678901234
2345678901234
2345678901234
2345678901234
2345678901234
2345678901234
2345678901234
2345678901234
2345678901234
2345678901234
2345678901234
2345678901234
2345678901234
2345678901234
2345678901234
1. In areas where state and local health
codes allow, the freezer may be switched to
the energy saving “NIGHT” mode operation.
This will allow the freezer to cycle less at
night, but still maintain approximately 5°C,
or lower, product in the cylinder and hopper.
2. To switch the freezer to the “NIGHT”
mode, leave the Selector Switch in the
“AUTO” position and place the Day/Night
Switch in the “NIGHT” position.
3. The plunger rod must be in place for
the unit to operate in the “NIGHT” mode.
4. Remove nozzle, and clean all soiled
surfaces with soap and water.
5. Using the small brush supplied in
the spare parts kit, brush the nozzle and
bottom of the plunger, and then wash with
sanitizer solution.
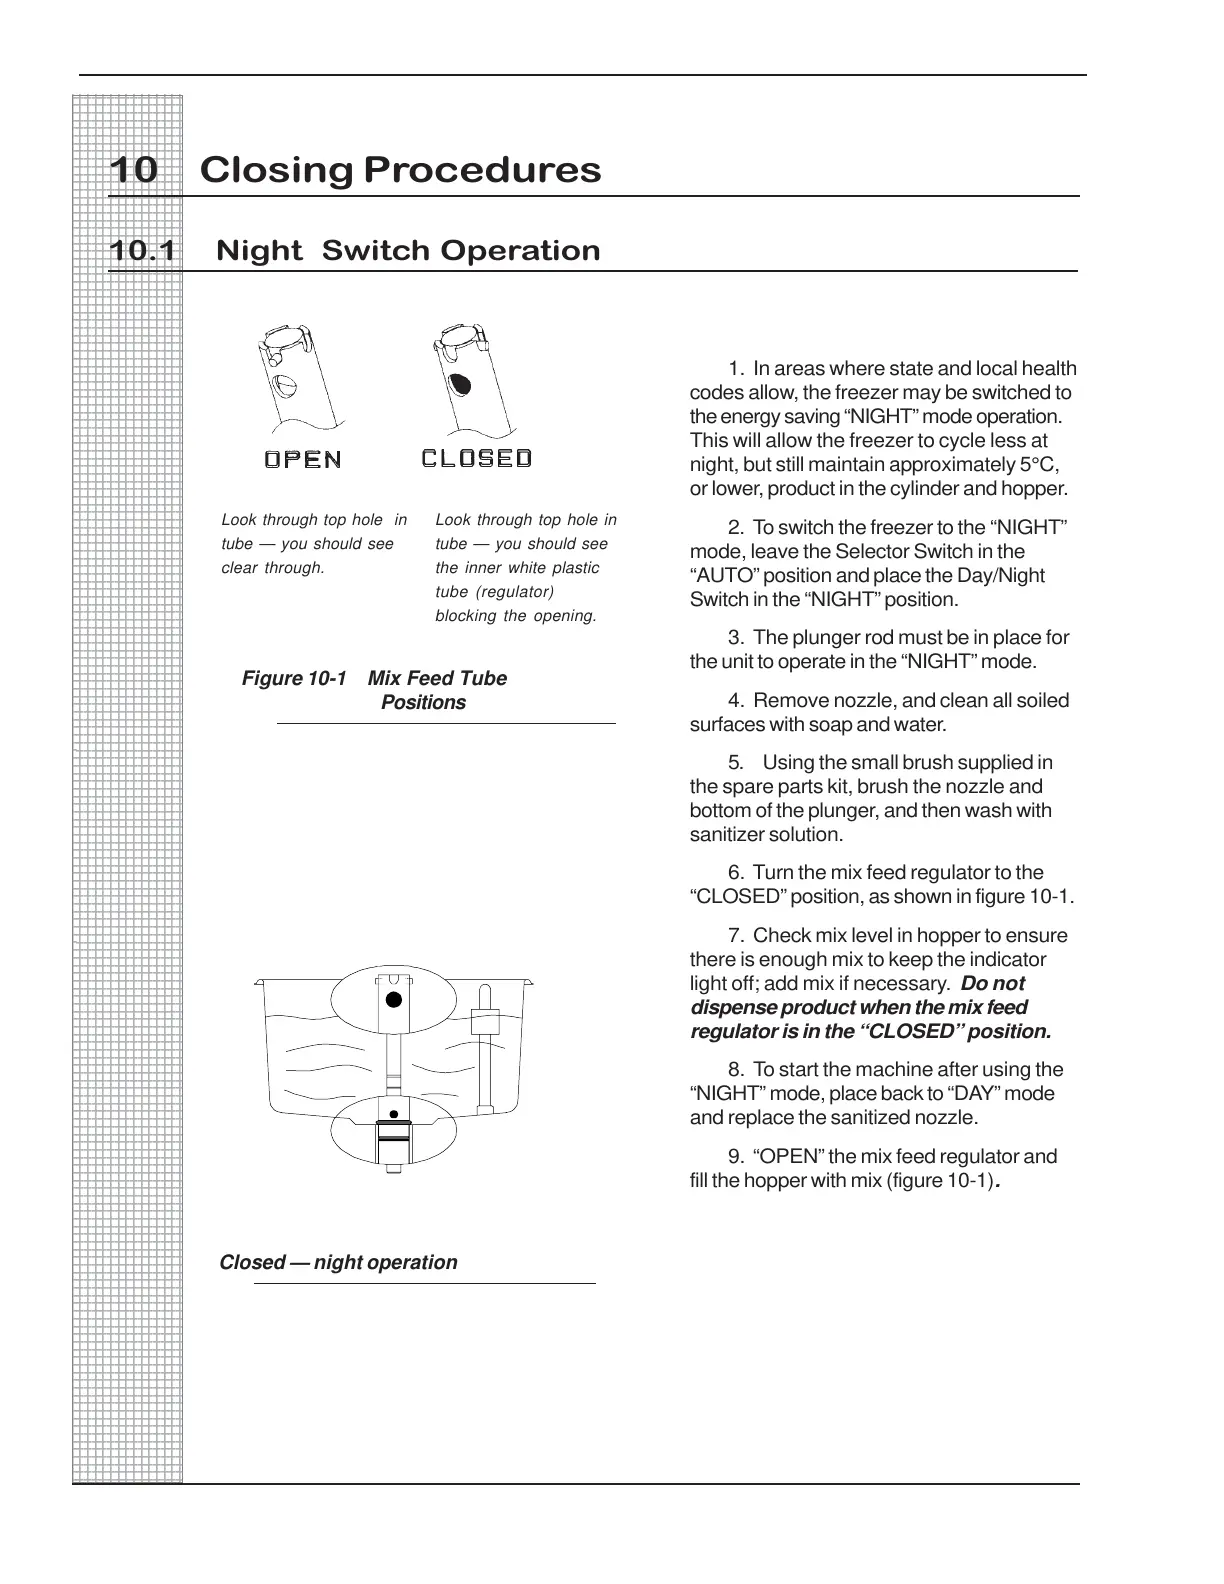
6. Turn the mix feed regulator to the
“CLOSED” position, as shown in figure 10-1.
7. Check mix level in hopper to ensure
there is enough mix to keep the indicator
light off; add mix if necessary. Do not
dispense product when the mix feed
regulator is in the “CLOSED” position.
8. To start the machine after using the
“NIGHT” mode, place back to “DAY” mode
and replace the sanitized nozzle.
9. “OPEN” the mix feed regulator and
fill the hopper with mix (figure 10-1).
10 Closing Procedures
10.1 Night Switch Operation
Closed — night operation
Look through top hole in
tube — you should see
clear through.
Look through top hole in
tube — you should see
the inner white plastic
tube (regulator)
blocking the opening.
Figure 10-1 Mix Feed Tube
Positions