using your oven
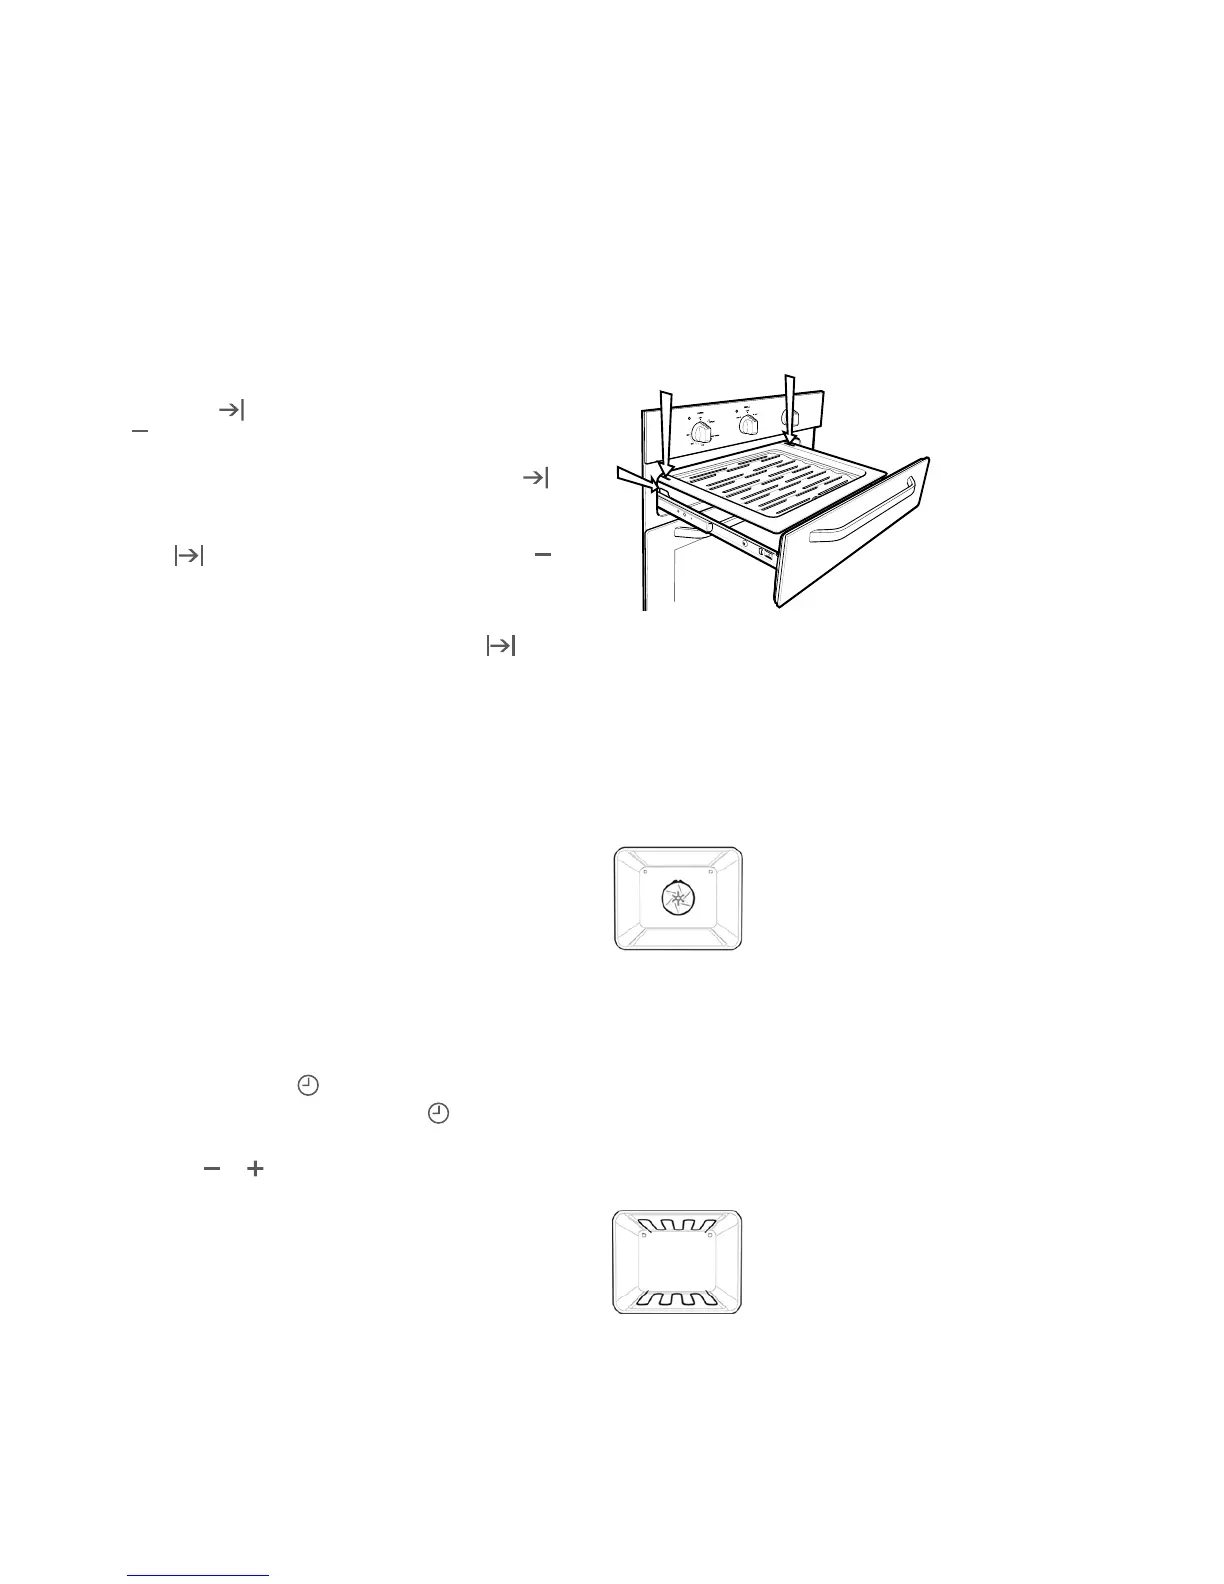
• Toinsertthegrilltrayinaseparategrillunderbench,fully
open the grill drawer and position the tray so that the slots
on the outer edges fit on the tabs on the slides.
Separate grill underbench
• Alwaysremoveunnecessarytraysanddishesfromoven
when roasting or baking.
Understanding your oven functions
Your oven will have a selection of the following functions.
Refer to “Description of your appliance” (page 4) to confirm
what functions are available to you.
Fan Forced
Heat comes from the element surrounding the fan. This fan
circulates the hot air around the oven cavity so that you can
put your food in different places in the oven and still cook
them at the same time.
You can use the “fan forced” function for multi-shelf cooking,
reheating cooked foods, pastries and complete oven meals.
It will cook at a lower temperature and be faster than baking.
Please note that some variation in browning is normal.
Bake
Heat comes from the elements, one above and one below
the food. The bottom element is a clean heat element and
is below the floor of the oven. Both elements are controlled
by the thermostat and will turn on and off to maintain the
set temperature.
Built-in Cooking BEFORE OPERATING YOUR APPLIANCE 7
To check or cancel settings
• Tocheckyoursettings,presstheMODE button until the
indicator you want is flashing.
• Tocancel“delayedstart”pressthemodebuttonuntil
“end time”
symbol starts flashing. Press and hold the
button until the clock no longer reverses (you will hear a
beep). If you have left the temperature and function knobs
at a setting the oven will start once the “end time”
indicator stops flashing.
• Tocancel“autoshutoff”pressthemodebuttonuntil“cook
time”
indicator starts flashing. Press and hold the
button until the clock no longer reverses (at 0:00 you will
hear a beep). This automatically cancels “delayed start”.
If you have left the temperature and function knobs at a
setting, the oven will start once the “cook time” indicator
stops flashing. Because you have cancelled “auto off” the
oven will continue to heat until you manually turn it off.
On completion of cooking
• Theheatsourcewillturnoff,thetimerwillbeepandthe
end time and/or cook time ‘indicators’ will flash.
• Eventhoughtheheatingelementturnsofftheovenwillstill
retain substantial heat. This will continue to cook the food
until it is removed or the oven cools down. If you do not
plan on being present when the oven turns off, you should
take this extra heating time into account.
• Turnthefunctionandtemperaturecontrolstotheoffposition.
• Pressanybuttontostopthetimerbeeping.
Adjusting the clock
• PresstheMODEbuttonuntiltheclock ‘indicator’
begins flashing.
• Pressthe
or buttons to change the time of day.
5 seconds after the last change, the clock ‘indicator’ will
disappear, confirming the time has been adjusted.