83
Oven sensor mounting screws
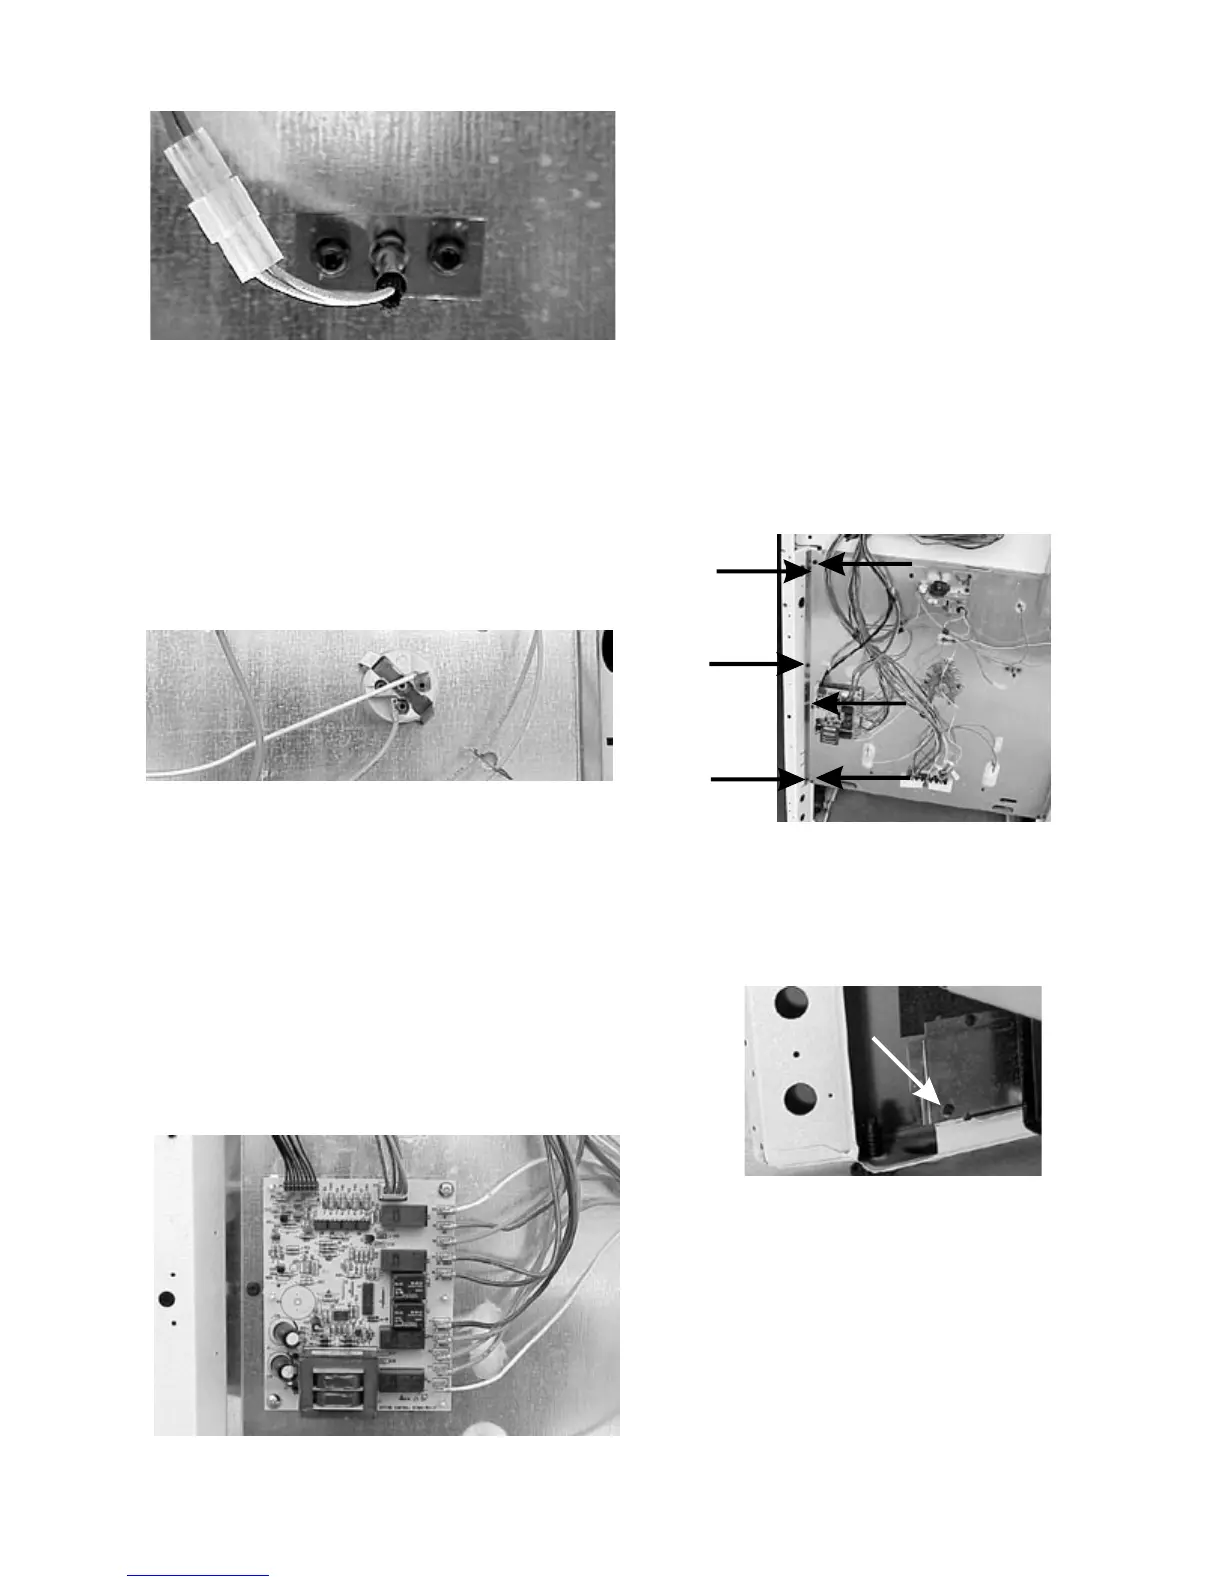
Removing oven light socket:
1. Disconnect power and remove back panel.
2. Remove oven light shield (self-clean models) and
disconnect the wires from the light socket. Squeeze
the spring loaded tabs on the sides of the socket
and push the socket into the oven.
Oven light socket
Removing mother board:
1. Disconnect power and remove back panel.
2. Mark and disconnect the wiresand unplug the
harnesses from the board.
3. The board is held to the back of the range by two
screws and four plastic rivets. Remove the two
screws and squeeze the ends of the plastic rivets
while pulling out on the board.
Mother board mounting screws and rivets
Removing bodyside panels:
1. Disconnect power remove the back of the control
panel and the back panel.
2. Place a rug or padding under the range to protect
the floor.
3. Remove the backguard end cap on the side of the
range that the bodyside is being removed.
4. Remove the oven door and drawer.
5. Remove the six screws holding the bodyside panel
to the back of the range.
Six bodyside panel screws
6. Remove one screw in the back holding the bodyside
panel to bottom rail.
Bodyside bottom rail screw
7. Remove six screws from the front. It is not necessary
to remove the two short screws holding the heat
shield in the upper corner. But you do need to
transfer this to the replacement panel if the panel is
being replaced.
8. With one hand in the oven and the other in back lift
the side of range with the bodyside you are removing
and slide the bottom of the panel out.