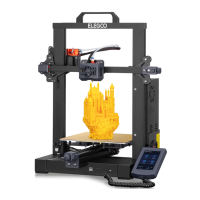
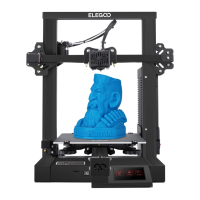
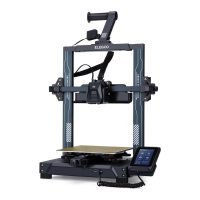
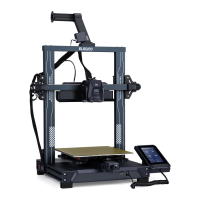
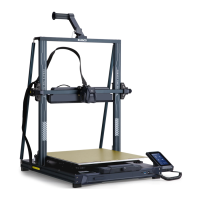
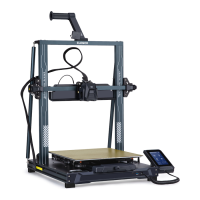
Do you have a question about the Elegoo NEPTUNE 3 PRO and is the answer not in the manual?
Details print principle, build size, precision, nozzle diameter, and speed.
Specifies ambient, nozzle, and hotbed temperatures.
Lists slicer software, input/output formats, and connection types.
Details power input and output specifications.
Provides machine size and net weight.
Lists the types and quantities of screws and bolts included.
Lists the various tools provided with the printer.
Assembling the printer's base structure using provided screws.
Mounting the main gantry and connecting the touchscreen unit.
Guidance on adjusting eccentric isolation columns for smooth movement of slide blocks.
Overview of the main screen, file access, and navigation keys.
Controls for movement, zeroing axes, and motor unlocking.
Access to settings like language, temperature, fan, and machine info.
Displays temperature and compensation settings for bed leveling.
Initial return to origin and nozzle/bed heating for calibration.
Process of the printer performing automatic bed leveling.
Fine-tuning Z-axis height using A4 paper for proper nozzle distance.
Verifies filament loading and extrusion before printing.
Instructions for loading models and starting a test print.
Functionality to resume printing after power interruptions.
Alerts for filament replacement to prevent print failure.
Steps to install the modified Cura slicing software.
Guide to selecting the specific ELEGOO NEPTUNE 3 PRO model in the software.
Importing models and using basic functions like move, zoom, and rotate.
Configuring slice settings, support structures, and model interception.
Using Gcode files to preview model images on the printer.
Steps for installing the USB driver on Windows.
Verifying successful connection between the printer and computer.
Diagnosing problems with X/Y/Z axis movement or noise.
Troubleshooting nozzle kit anomalies like clogs or extrusion issues.
Solutions for models not sticking to the platform or warping.
Addressing issues like speed, belt tension, or drive current causing misalignment.
Fixing problems related to retraction settings and print temperature.
| Build Volume | 225 x 225 x 280 mm |
|---|---|
| Nozzle Diameter | 0.4 mm |
| Filament Diameter | 1.75 mm |
| Print Speed | 30-180 mm/s |
| Connectivity | USB, SD card |
| Bed Leveling | Automatic |
| Max Nozzle Temperature | 260°C |
| Max Bed Temperature | 100°C |
| Display Screen | 4.3-inch color touchscreen |
| Power Supply | 350W |
| Technology | FDM (Fused Deposition Modeling) |
| Supported Filaments | PLA, ABS, TPU, PETG |
