Do you have a question about the Elegoo SATURN 2 and is the answer not in the manual?
Contact for technical support via email at 3dp@elegoo.com for assistance.
Keep printer away from children, water, and dusty environments. Use indoors.
Avoid direct skin contact, wear mask/gloves, do not disassemble, and maintain FEP film.
Clean resin tank on failure, shut down in emergencies, contact support.
Details system, operation, slicer software, and connectivity.
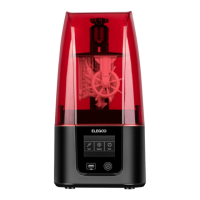
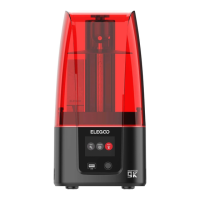
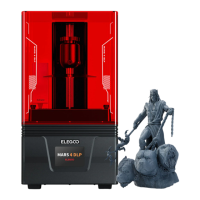
Covers technology, light source, resolution, layer thickness, and speed.
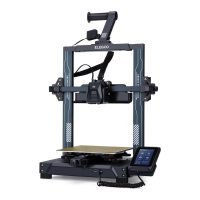
Includes dimensions, build volume, and weight of the printer.
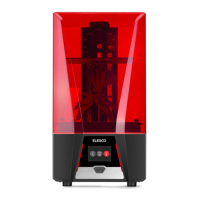
Identifies key parts like build platform, resin tank, screens, and controls.
Details the power socket, cover, and vent cover locations.
Includes air purifier, mask, gloves, scraper, and funnel.
U Disk, User Manual, Adapter, and Tool Kit.
Loosen screws, fasten rotary knob, and use Allen wrench for initial setup.
Use leveling card, click 'Move Z axis to zero', and tighten screws diagonally.
Adjust build platform height using 'up'/'down' buttons for slight resistance.
Finalize leveling by setting the Z-axis to zero after adjustments.
Raise build platform 100mm, complete leveling, and prepare for printing.
Test screen and UV lights via Tools > Exposure > Next to verify printer operation.
Remove film, insert air purifier, ensure printer is level, and add resin.
Connect USB, select 'Rook.ctb', and start printing.
Pause printing to add more resin if levels are low, then resume.
Remove print, wash with alcohol or water, and clean the resin tank.
Install Chitu Box from U Disk or download from website.
Open files, control model angle, size, and position within the software.
Learn to drag, zoom, and rotate models in the software for positioning.
Set ELEGOO Saturn 2 as the default printer in parameter settings.
Modify build volume dimensions (X, Y, Z) if models exceed printer limits.
Input resin density and cost for print calculation and management.
Configure layer height, bottom layer count, exposure time, and bottom exposure time.
Adjust lift/retract distances and speeds for optimal print adhesion and release.
Configure transition layers, types, and static timings for smooth layer transitions.
Slice the model and export the files to a U Disk for printing.
Insert the U Disk into the printer and initiate the printing process.
Troubleshoot models not sticking to the build platform or layer breakage.
Address abnormal screen exposure and general printing failure causes.
Lubricate Z-axis, clean resin tank, handle build platform carefully, and store resin properly.
Clean build platform and printer with tissues or ethyl alcohol after use.
Access email support, discussion forums, and help articles for assistance.
| LCD Resolution | 8K (7680 x 4320 pixels) |
|---|---|
| Connectivity | USB |
| Layer Thickness | 0.01 - 0.2 mm |
| Z-axis Accuracy | 0.00125 mm |
| Touchscreen | 3.5-inch touchscreen |
| XY Resolution | 0.0285 mm |
| Slicer Software | CHITUBOX |
| Material Compatibility | 405nm UV resin |
| Printing Speed | 30-70 mm/h |
| Operating System | Windows, Mac, Linux |
| Power | 110-220V, 50/60Hz |
| Dimensions | 305 x 273 x 567 mm |
| Build Volume | 219 x 123 x 250 mm |