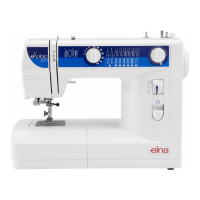
Additional Presser Foot Clearance
You can raise the presser foot higher than the nor-
mal up position for easy removal of the presser foot
or to place heavy fabrics under the presser foot. Pull
the presser foot lever up beyond the normal up posi-
tion.
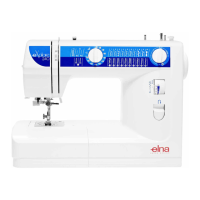
How To Snap Presser Foot Off and On
To snap off:
Turn the flywheel toward you to raise the needle to
its highest position.
Raise the presser foot.
Press the presser foot release lever. The presser
foot will drop off.
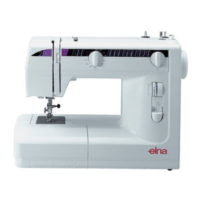
To snap on:
Place the presser foot so that the pin on the foot lies
just under the groove of the shank. Lower the shank
to attach the foot.
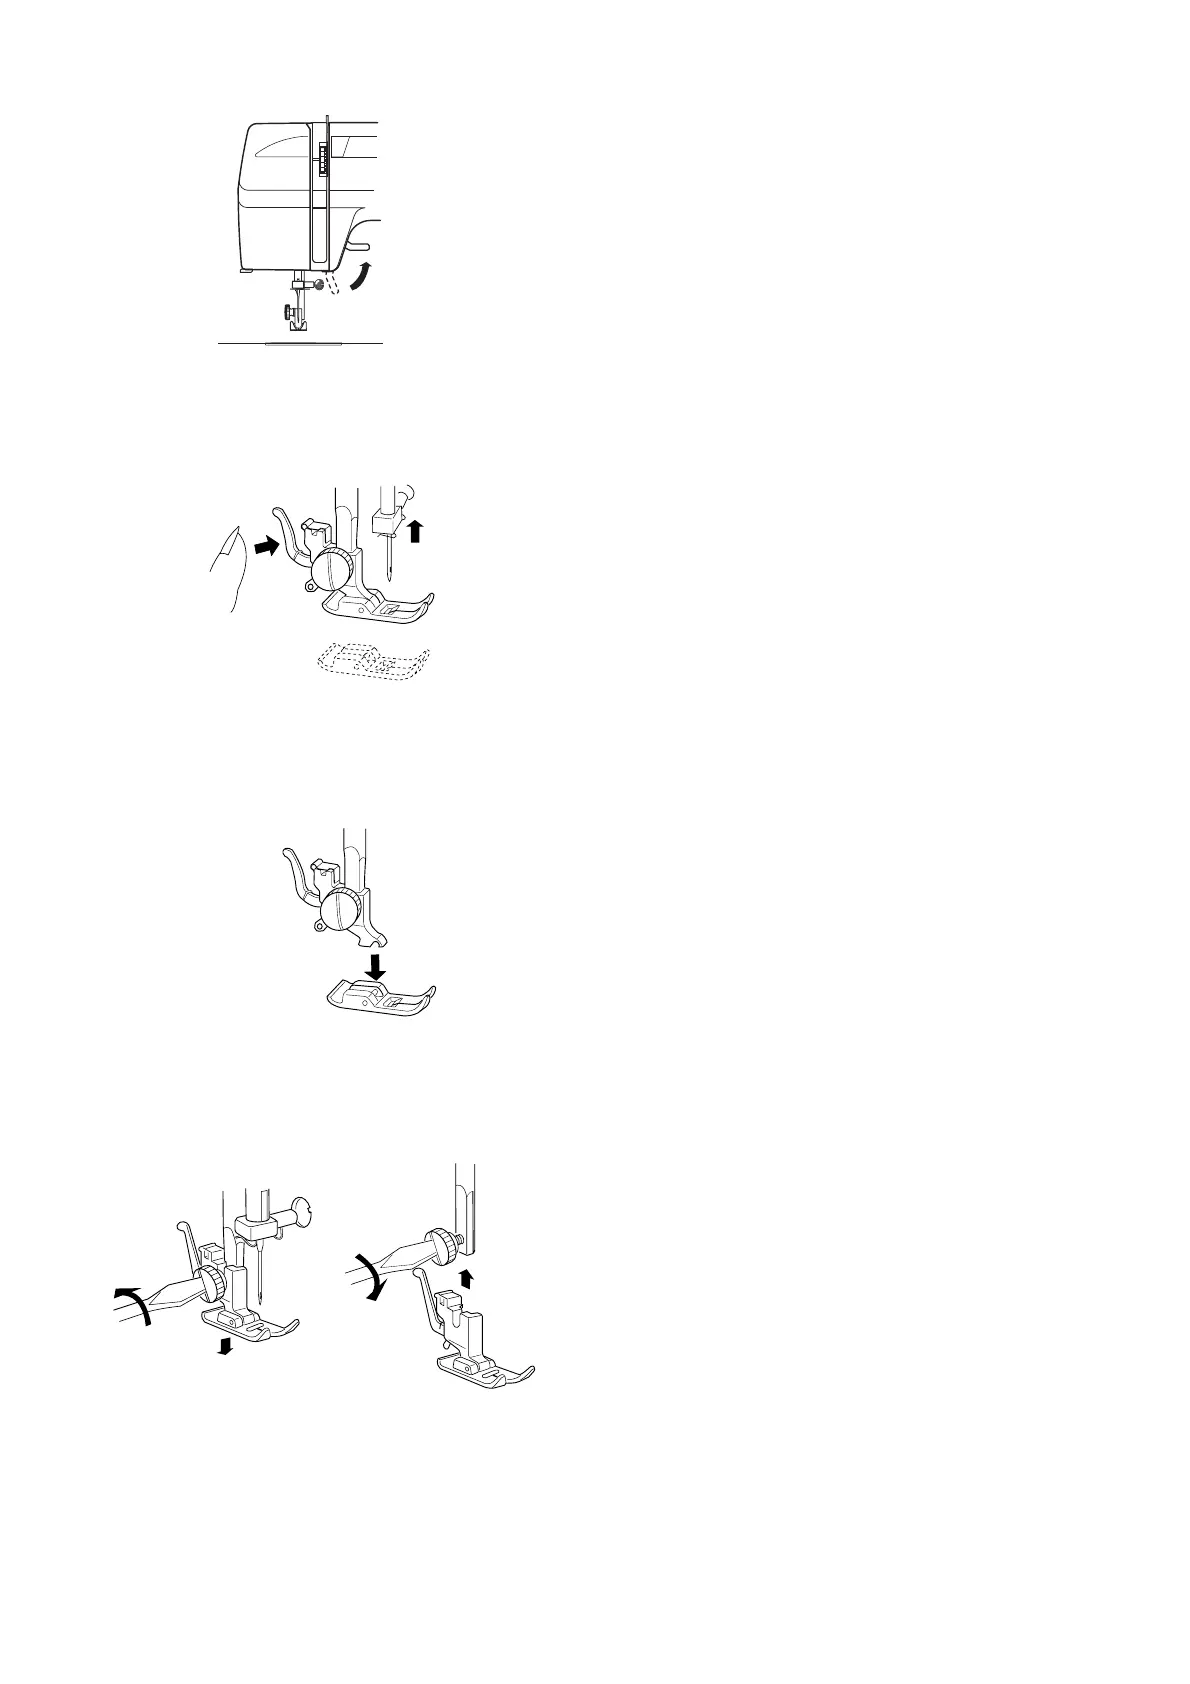
How To Remove and Attach the Shank
Raise the presser foot.
Turn the thumbscrew counterclockwise with the
screwdriver to remove the shank.
When attaching, place shank on needle bar. Lower
the presser foot lever. Turn thumbscrew clockwise to
tighten.
5
 Loading...