Installation Manual 9
Planning
1.4 Prepare conduit openings for ATEX Zone 1
If the Model 3350 or Model 3700 carries an ATEX Zone 1 approval:
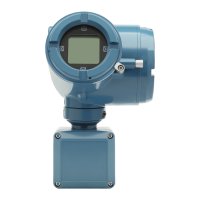
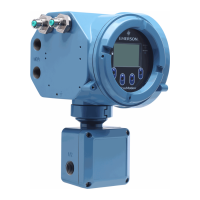
1. Remove thread protectors from conduit openings. See Figure 1-7.
2. Install factory-supplied cable glands or user-supplied E-Exe cable entry devices in
conduit openings that are in use.
3. Install E-Exe plugs in conduit openings that are not in use.
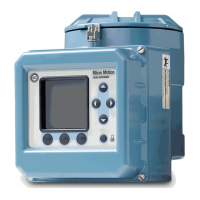
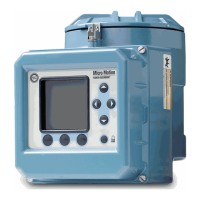
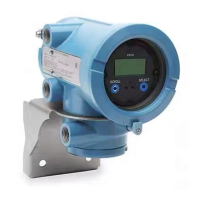
1.5 (Optional) Orient the Model 3350 or Model
3700
The Model 3350 or Model 3700 can be oriented on the mounting bracket as needed, and
the display cover can be rotated on the applications platform. Figure 1-7 provides
orientation examples.
1. Use the four supplied mounting bolt assemblies.
2. Using a 13 mm hex wrench, install the bolt assemblies to 12 ft-lb (16 Nm) of torque.
3. Rotate the display cover, if needed.
See the transmitter installation manual.
Table 1-1: Maximum cable lengths between sensor and transmitter
Cable type Wire gauge Maximum length
Micro Motion 4-wire Not applicable • 1000 ft (300 m) without
Ex-approval
• 500 ft (150 m) with
IIC-rated sensors
• 1000 ft (300 m) with
IIB-rated sensors
Micro Motion 9-wire Not applicable 60 ft (20 m)
User-supplied 4-wire VDC 22 AWG (0.35 mm
2
) 300 ft (90 m)
VDC 20 AWG (0.5 mm
2
) 500 ft (150 m)
VDC 18 AWG (0.8 mm
2
) 1000 ft (300 m)
RS-485 22 AWG (0.35 mm
2
) or
larger
1000 ft (300 m)