Do you have a question about the Emerson Micro Motion 9739 MVD and is the answer not in the manual?
Provides safety messages to protect personnel and equipment. Read carefully before proceeding.
Lists the various communication tools supported for interfacing with the transmitter.
Procedure for applying power to the flowmeter and initial startup diagnostics.
Steps to configure the mA output to display mass flow rate in a chosen unit.
Procedure to verify transmitter and receiving device communication and check mA outputs.
Procedure to establish the flowmeter's point of reference when no flow is present.
Details on establishing a connection from ProLink II to the transmitter.
Procedure to set the primary mA output for mass flow rate using ProLink II.
Steps for performing a loop test for transmitter outputs using ProLink II.
Procedure for zeroing the flowmeter using ProLink II.
Instructions for connecting the Field Communicator to the transmitter.
Steps to configure the mA output for mass flow rate using the Field Communicator.
Procedure for performing a loop test for transmitter outputs using the Field Communicator.
Adjusts measurement algorithms to match sensor traits using characterization parameters.
Parameters controlling how mass flow is measured and reported.
Parameters controlling how liquid volume flow is measured and reported.
Parameters controlling how gas standard volume flow is measured and reported.
Parameters controlling how density is measured and reported.
Parameters controlling process variables and behaviors shown on the transmitter display.
Controls operator access to display menus and password requirements.
Parameters controlling the transmitter's response to process and device conditions.
Parameters controlling how process variables are reported via mA output.
Parameters controlling how process variables are reported via frequency output.
Parameters controlling which conditions are reported via the discrete output.
Parameters controlling how the transmitter communicates using digital methods.
Procedure to view process variables on the transmitter display.
Procedure to view the transmitter status using the status LED.
Methods to view and acknowledge status alarms using display, ProLink II, or Field Communicator.
Procedure to start and stop totalizers and inventories using the display.
Compares flowmeter measurements to an external standard for accuracy verification.
Establishes relationship between calibration fluid density and sensor signal.
Procedure for performing temperature offset and slope calibration.
Lists status alarms, their causes, and recommended actions for resolution.
Identifies common flow problems and their recommended solutions.
Troubleshooting guide for issues related to the milliamp output.
Steps to verify the HART communication loop wiring and signal.
Procedure to check for slug flow conditions and related alarms.
Details on wiring the transmitter to various sensor models.
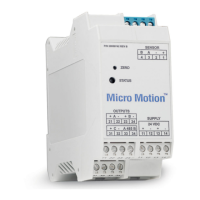
Description and function of the transmitter's I/O terminals.
Guide on navigating and interacting with the transmitter's display menu system.
Visual representations of the transmitter's menu structure.
Diagrams illustrating the ProLink II software's menu hierarchy.
Diagrams illustrating the Field Communicator's menu structure.
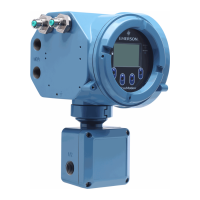
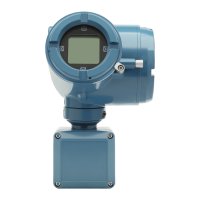
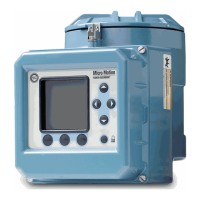
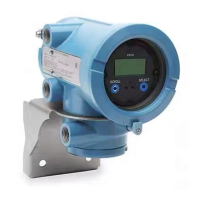
| Model | 9739 MVD |
|---|---|
| Category | Transmitter |
| Manufacturer | Emerson |
| Product Line | Micro Motion |
| Measurement Type | density |
| Communication Protocols | HART, Modbus |
| Power Supply | 24 VDC |
| Operating Temperature Range | -40 to 70 °C |
| Enclosure Rating | IP67 |
| Output | 4-20 mA, Frequency |