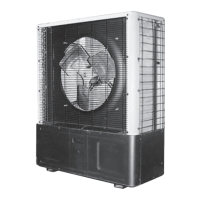
S1CG/S1HG
in
le-Zone,
S2CG/S2H
Dual-Zone
•
nstallation,
eration and Maintenance Manual •
Comfort where it counts 6 P/N 240007754, Rev. C [3/19/2010]
Mounting the Unit
Before installing, consider:
Locate the unit as close to the indoor sec-•
tion as possible. (see page 11 .)
S1CG/S2CG — If the unit is used for low •
ambient cooling down to 32°F, S1CG/
S2CG require CCH.
Avoid high traffic areas and prevailing •
wind locations.
Surface must be at and level.•
Mount unit above typical snow fall level. •
This is particularly important for heat
pump applications (S1HG/S2HG).
NOTICE
Ensure free ow of air through the •
unit.
Air must not recirculate from dis-•
charge to intake — air is drawn
through the coil and side discharged
through the fan grille.
A minimum 48” clearance is neces-•
sary for the condenser discharge.
Rear intake (coil side) clearance is •
12” minimum.
Consider how power will be run to •
the unit from the power source.
Refrigerant piping should be a direct •
line to the indoor unit.
Site preparation
Place the unit on a at concrete surface 1.
or pad if on the ground. Roof mounting
should use a built up platform to avoid
intake of hot air from the roof.
In areas of heavy snowfall, condensers 2.
should be set above the maximum antici-
pated snow line (12" is usually adequate
for most locations).
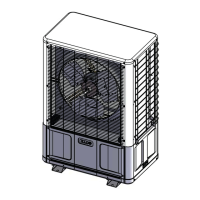
Unit Mounting Instructions
Model S1CG is shown for example in the
following sequence.
e side-discharge unit allows for permanent
mounting through the feet. This is highly
recommended due to the vertical design of
the unit.
1. Figure 1, Page 7 :
Bullet 1 — Loosen the screws on le –
and right sides of the front panel. (Do
not remove these screws.)
Bullet 2 — Remove the screws on the –
front of the panel.
2. Figure 2, Page 7 :
Slide front panel forward to clear side
screws and remove.
3. Figure 3, Page 7 :
Insert lag bolts through the holes in the
bo om of the unit and tighten to secure.
4. Figure 4, Page 7 :
Insert lag bolts through the holes in the
feet on the back of the unit and tighten
to secure.
Replace the front panel, do not tighten 5.
the side screws at this time.