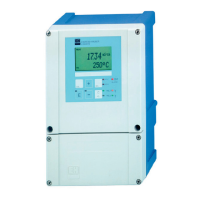
Electrical connection Flowmeter Proline 200
26 Endress+Hauser
11. Connect the cable shield via the cable strain relief.
12. Tighten the screws for the cable strain relief using a torque in the range of
1.2 to 1.7 Nm.
13. Reverse the removal procedure to reassemble the transmitter housing.
Connecting cable (option "mass pressure-/temperature-compensated")
8. Disconnect both signal cables from the connection board of the wall housing. by
pressing in the locking clip on the connector. Remove the transmitter housing.
9. Guide the connecting cable through the cable entry and into the connection housing (if
using a connecting cable without an M12 device plug, use the shorter stripped end of
the connecting cable).
10. Wire the connecting cable:
Terminal 1 = brown cable
Terminal 2 = white cable
Terminal 3 = green cable
Terminal 4 = red cable
Terminal 5 = black cable
Terminal 6 = yellow cable
Terminal 7 = blue cable
11. Connect the cable shield via the cable strain relief.
12. Tighten the screws for the cable strain relief using a torque in the range of
1.2 to 1.7 Nm.
13. Reverse the removal procedure to reassemble the transmitter housing.
5.2.3 Ensuring potential equalization
Requirements
Please consider the following to ensure correct measurement:
• Same electrical potential for the medium and sensor
• Remote version: same electrical potential for the sensor and transmitter
• Company-internal grounding concepts
• Pipe material and grounding
5.3 Ensuring the degree of protection
The measuring device fulfills all the requirements for the IP66/67 degree of protection, Type
4X enclosure.
To guarantee IP66/67 degree of protection, Type 4X enclosure, carry out the following steps
after the electrical connection:
1. Check that the housing seals are clean and fitted correctly.
2. Dry, clean or replace the seals if necessary.
3. Tighten all housing screws and screw covers.