Proline Promag Installation
Endress+Hauser 21
For mounting on a post:
• Proline 500 – digital transmitter
– Open-ended wrench AF 10
– Torx screwdriver TX 25
• Proline 500 transmitter
Open-ended wrench AF 13
• Open-ended wrench AF 13
For wall mounting:
Drill with drill bit ⌀ 6.0 mm
For sensor
For flanges and other process connections:
• Screws, nuts, seals etc. are not included in the scope of supply and must be provided by the
customer.
• Appropriate mounting tools
5.2.2 Preparing the measuring device
1. Remove all remaining transport packaging.
2. Remove any protective covers or protective caps present from the sensor.
3. Remove stick-on label on the electronics compartment cover.
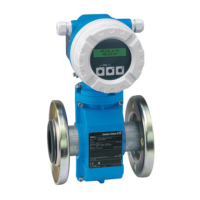
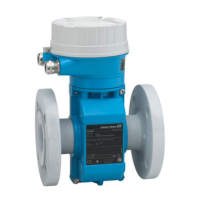
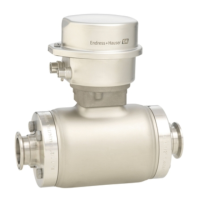
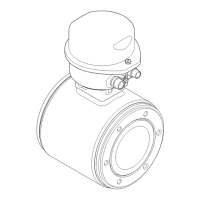
5.2.3 Mounting the sensor
L
WARNING
An electrically conductive layer could form on the inside of the measuring tube!
Risk of measuring signal short circuit.
‣
Ensure that the inside diameters of the gaskets are greater than or equal to that of the
process connections and piping.
‣
Ensure that the gaskets are clean and undamaged.
‣
Install the gaskets correctly.
‣
Do not use electrically conductive sealing compounds such as graphite.
L
WARNING
Danger due to improper process sealing!
‣
Ensure that the inside diameters of the gaskets are greater than or equal to that of the
process connections and piping.
‣
Ensure that the gaskets are clean and undamaged.
‣
Install the gaskets correctly.
1. Ensure that the direction of the arrow on the sensor matches the flow direction of the
medium.
2. To ensure compliance with device specifications, install the measuring device between
the pipe flanges in a way that it is centered in the measurement section.
3. If using ground disks, comply with the Installation Instructions provided.
4. Observe required screw tightening torques.
 Loading...