13User instructions
EN
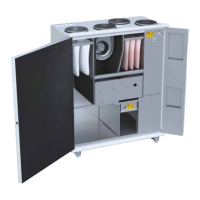
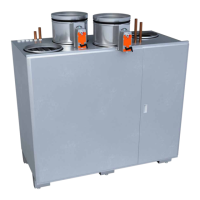
Replacing lters
Replacing lters (generic view)
NOTE: Vacuum the inside of the unit for better
performance and cleaner indoor air.
Bag lter
To replace:
DANGER
DANGER: Before opening the service hatch,
always make sure that the unit’s supply voltage
is switched o.
NOTE: For LTR-series units: The power cuts o
when the service hatch is opened.
1. Open the service hatch.
2. Release the lter locking levers, if there are any.
3. Pull the old lter out of the unit.
4. Insert a new lter.
5. Close the lter locking levers, if there are any.
6. Close the service hatch properly.
7. Switch the power on.
TIP: Remove the metal frame from the used bag
lter and recycle it along with metal waste. The
lter fabric can be disposed of along with mixed
waste.
Plain lter
To replace:
DANGER
DANGER: Before opening the service hatch,
always make sure that the unit’s supply voltage
is switched o.
NOTE: For LTR-series units: The power cuts o
when the service hatch is opened.
1. Open the service hatch.
2. Remove the lter from the ventilation device.
3. Remove the lter fabric from the frame.
4. Replace the lter fabric with a new one.
5. Replace the lter back into the unit so that the
support grid faces the heat recovery wheel.
6. Close the service hatch properly.
7. Switch the power on.
TIP: Replace only the fabric part of the plain
lter. Reuse the metal frame with a clean lter.
The lter fabric can be disposed of along with
mixed waste.
Pleated lter
To replace:
DANGER
DANGER: Before opening the service hatch,
always make sure that the unit’s supply voltage
is switched o.
NOTE: For LTR-series units: The power cuts o
when the service hatch is opened.
1. Open the service hatch.
2. Remove the lter from the ventilation device.
3. Replace the lter with a new one.
• Pay attention to the arrow on the lter
showing the airow through the lter.
4. Close the service hatch properly.
5. Switch the power on.
TIP: The lter can be disposed of along with
mixed waste.