IQ8MC/IQ8AC/IQ8HC Installation and Operation Manual
22 © 2023 Enphase Energy Inc. All rights reserved. September 2023
IOM-00029-1.0
L. Swap DC leads with a known good, adjacent PV module. If the problem moves to the adjacent
module after periodically checking the Enphase Installer Platform (this may take up to 30 minutes), it
indicates that the PV module is not functioning correctly. If it stays in place, the problem is with the
original microinverter. Contact Enphase Support
for help in reading the microinverter data and for
help in obtaining a replacement microinverter, if needed.
M. Check the DC connections between the microinverter and the PV module. The connection may
need to be tightened or reseated. If the connection is worn or damaged, it may need replacement.
N. Verify with your electricity network operator that the line frequency is within range. If the problem
persists, contact Enphase Support
.
5.3 Disconnect a microinverter
If problems remain after following the troubleshooting steps listed previously,
contact Enphase Support
. If Enphase authorizes a replacement, follow the steps below. To ensure the
microinverter is not disconnected from the PV modules under load, follow the disconnection steps in
the order shown:
A. De-energize the AC branch circuit breaker.
B. IQ Cable AC connectors are tool-removable only. To disconnect the microinverter from the IQ
Cable, insert the IQ Disconnect Tool and remove the connector.
C. Cover the PV module with an opaque cover.
D.
Using a clamp meter, verify that no current flows through the DC cables between the PV
module and
the microinverter. If the current continues to flow, check that you have completed steps A, B, and C
above.
NOTE: Take care when measuring DC current, as most clamp meters must be zeroed first, as these
tend to drift with time.
E. Disconnect the PV module DC cable connectors from the microinverter using the IQ Disconnect
Tool.
F. If present, loosen and/or remove any bonding hardware.
G. Remove the microinverter from the PV racking.
WARNING: Risk of electric shock. Risk of fire. Do not leave any connectors on the PV system
disconnected for an extended period. If you do not plan to replace the microinverter immediately,
you must cover any unused connector with an IQ Sealing Cap.
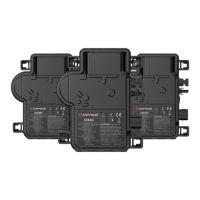
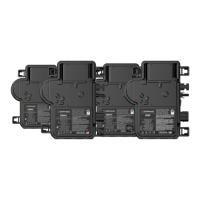
5.4 Install a replacement microinverter
A. When the replacement microinverter is available, verify that the AC branch circuit breaker is de-
energized.
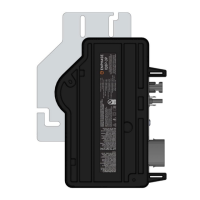
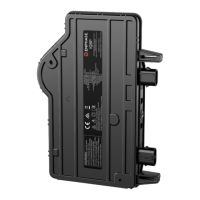
B. Mount the microinverter horizontally bracketed side up or vertically
• Always place the microinverter under the PV module, protected from direct exposure to
rain, sun, and other harmful weather events. Allow a minimum of 19 mm between the roof
and the microinverter. Also, allow 13 mm between the back of the PV module and the top
of the microinverter.
• For vertical mount, also maintain > 300 mm clearance from the edges of the PV module
to protect the microinverter from direct exposure to rain, UV, and other harmful weather
events.
WARNING: Risk of equipment damage. Mount the microinverter under the PV module.
• Install the microinverter under the PV module to avoid direct exposure to rain, UV, and
other harmful weather events.