RAK112B_ENG / 2023-06-27
20 / 40
7. Remove the nuts and the washers from the ground mounting box.
8. Open the maintenance door of the distribution cabinet.
9. Lift the distribution cabinet module on the mounting box and attach it in place, max. tightening
torque 14 Nm.
10. Remove the supply cable sheath at the length of max. 200 mm.
11. Cut the supply cable conductors to applicable lengths. The earth conductor must be long enough,
so that if a fault occurs it is the last one that comes loose.
12. Strip the supply cable conductors 25 mm.
13. Connect the supply cable wires to the power connectors in the distribution cabinet.
14. Make sure proper strain relief to the cable by fastening the cable with e.g. MUPRO EuroQuick. Select
an applicable strain relief according to the cable diameter.
15. Connect the supply to the charging points with intervening connection cables. The intervening con-
nection cables are pre-connected to the the power connectors in the distribution cabinet.
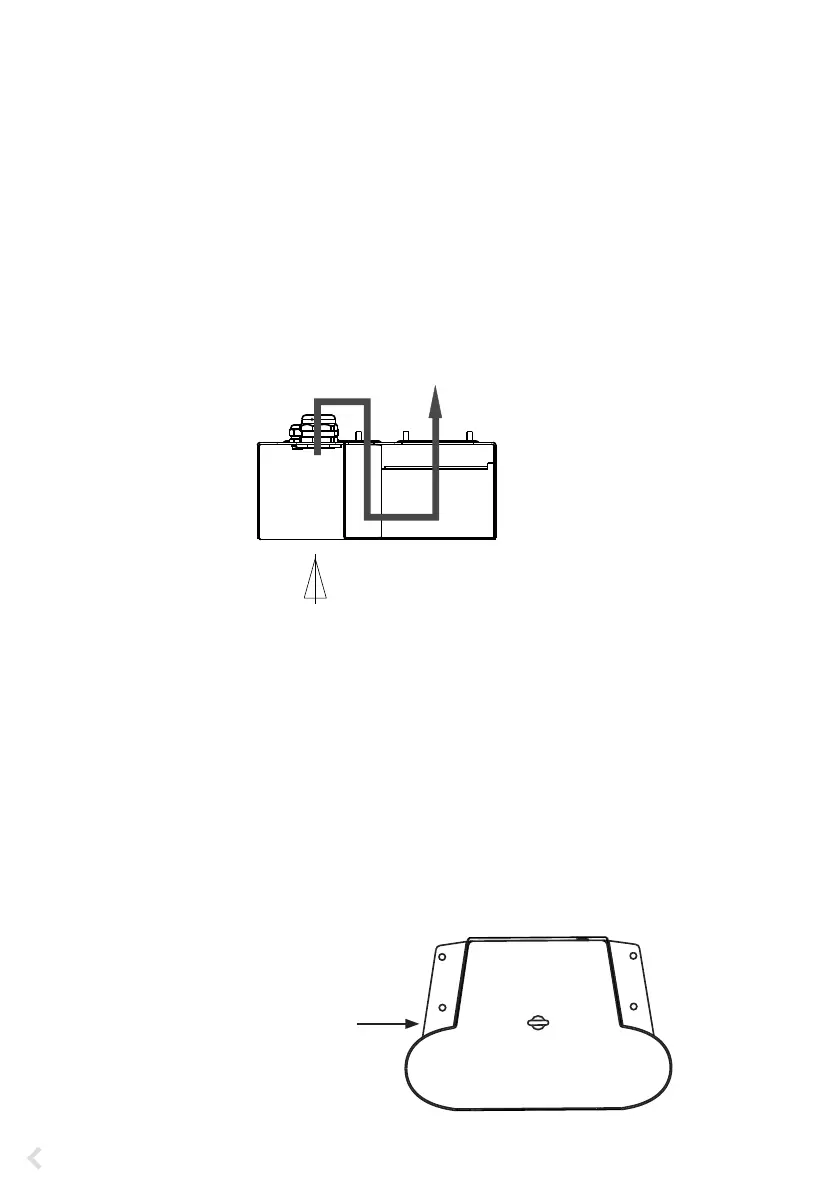
16. Pull the intervening connection cables rst down through the mounting box hole on the distribu-
tion cabinet side and then up through the mounting box hole on the charging point side.
17. Open the maintenance door of one charging point.
18. Lift the charging point module on the mounting box and attach it in place with bolts, max. tighten-
ing torque 14 Nm.
19. Connect the intervening connection cable conductors to the supply terminal blocks located in the
maintenance space of the charging point, max. tightening torque 12 Nm.
20. Make sure that the PE is connected to the charging point.
21. Switch on F0, F1, F2 (if present) and QF1.
22. Install the other charging point module accordingly.
23. Attach the top cover plate on the charging station modules with the washer and the screw included
in the delivery.
24. Close the maintenance doors.
Top cover plate
Cable route
Cable entry
 Loading...