Removing and Reinstalling the Fan Tray
3-16 Matrix N7 Chassis Setup
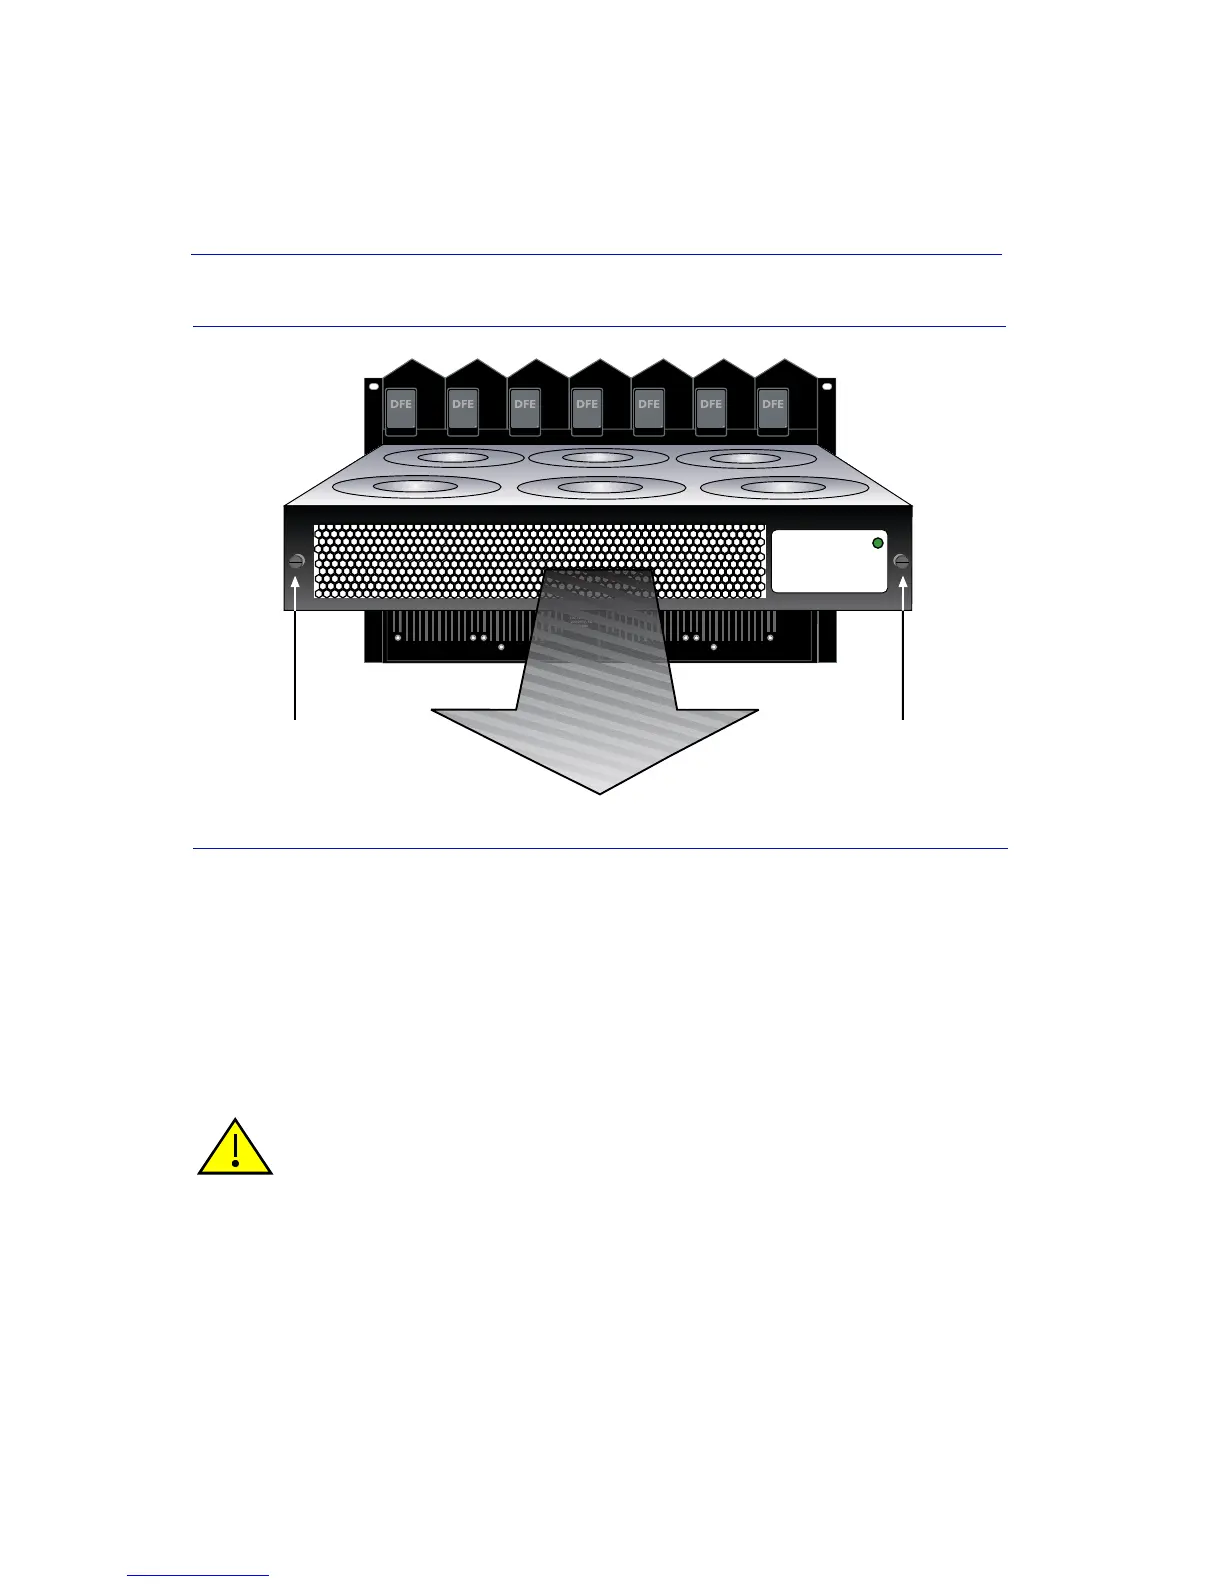
Figure 3-10 Removing the Fan Tray
3.4.2 Reinstalling the Fan Tray
To reinstall the fan tray, refer to Figure 3-11 and proceed as follows:
1. Locate the ESD wrist strap shipped with the Matrix N7 chassis. Attach the ESD wrist strap to
your wrist and plug the cable from the ESD wrist strap into the ESD grounding receptacle at the
upper right corner of the chassis.
2. Hold the sides of the fan tray.
3. Line up the rails on each side of the fan tray with the slot guides on the chassis.
4. Slide the fan tray into the chassis until the faceplate of the tray is flush with the face of the
Matrix N7 chassis. If there is any strong resistance, remove the fan tray and reinsert it.
➀
Slotted screw (2)
CAUTION: In the following step, ensure that you do not force the fan tray into place as
it may damage the unit.
50/60Hz
LINE 2:
100-125V~12A
200-240V~6A
50/60Hz
LINE 1:
100-125V~10A
200-240V~5A
POWER FAN
PS1
50/60Hz
LINE 2:
100-125V~12A
200-240V~6A
50/60Hz
LINE 1:
100-125V~10A
200-240V~5A
POWER FAN
PS2
À À
 Loading...
