8
AFTER INSTALLING THIS UNIT,
PLEASE PASS ONTO END USER
DO NOT THROW AWAY
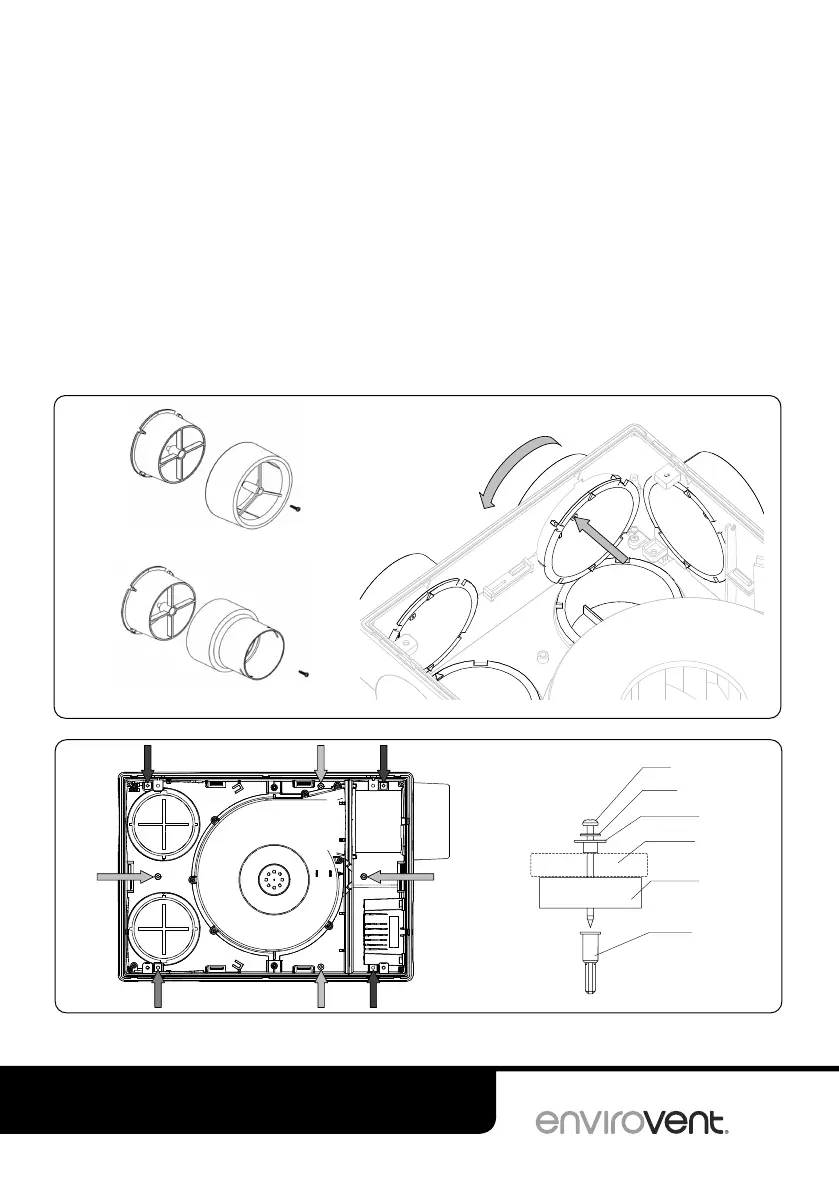
Screw
Washer
Rubber bush
Rear cover
Foam pad
Wall plug
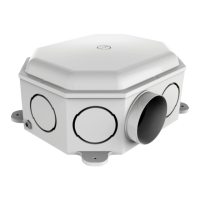
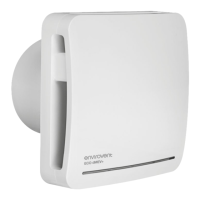
5. Insert spigots into each of the required holes and twist them clockwise until they snap into
position. Then attach the appropriate connector using the centre screw provided. There are two
types of spigot pack available for either 125mm duct or the 90mm Fast Track duct system.
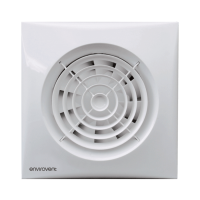
6. Use the unit as a guide to mark the four main corner fixing holes. Four alternative fixing
points are shown in the diagram. These can be used if any of the main corner fixing points are
inaccessible.
At each fixing points - assemble an 8g x 2.0” screw, washer, grommet and foam pad as shown
in the image below. Then tighten the screw.
After all the screws are tightened check the unit is securely fastened to the mounting surface.
Connector pack - Standard (125mm duct)
Connector pack - Fast track (75/90mm)
5.
6.