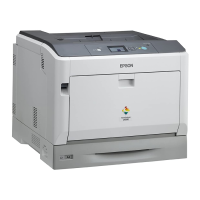
Epson AcuLaser CX-11N/AcuLaser CX-11NF Field Repair Guide 9/9/05
Printer Component, Software Item, LCD Display, Printer Button Page 15.
Setting Print Density, Feed Offset, and Scan Offset
1. Enable Support Mode by depressing the Down Arrow button while powering the CX-11 on. Keep the Down
Arrow button depressed until “SUPPORT MODE” is displayed in the upper left corner of the LCD Panel.
2. Depress the Setup button on the Control Panel.
3. Depress the Right Arrow button.
4. If Printer Settings is not highlighted, depress the Up Arrow or Down Arrow button until Printer
Settings is highlighted.
5. Depress the Right Arrow button.
6. Depress the Up Arrow or Down Arrow button until Printer Adjust Menu is highlighted.
7. Depress the Right Arrow button.
8. Depress the Up Arrow or Down Arrow button until the desired setting is highlighted.
9. Depress the Right Arrow button.
10. Depress the Up Arrow or Down Arrow button to change the current setting.
11. Depress the Right Arrow button to store the setting, the Left Arrow button to cancel the operation, or the
Setup button to use the new setting until the unit is reset or powered off.
NOTE: The CX-11 will reset itself upon exiting this function if any changes were made except for
changes to the Scan Offset.

 Loading...


