31
English
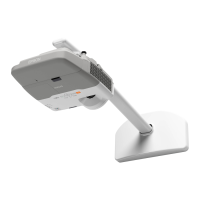
G Attach the projector to the wall mount
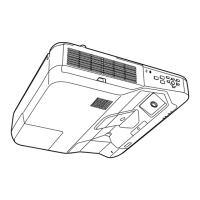
1. Loosen the two screws with a cross-head screwdriver and remove the cable cover from the projector.
2. Attach the 3-axis adjustment unit to the wall mount arm.
• Decide which position you want to use for installing the 3-axis adjustment unit.
Mount it at the stamp ( ) when the image is less than 85 inches diagonally, or at the
stamp ( ) when the projected image is 85 inches or more diagonally.
• Tighten the M4 × 12 mm hexagon socket head cap bolts (×4) supplied to install the 3-axis
adjustment unit.
When installing or adjusting the wall mount, do not use adhesives to prevent the screws from
loosening and do not use lubricants or oils on the projector slide plate. This may cause the case
to crack and the projector to fall, resulting in personal injury or property damage.