165
Note: Press the reset button again to switch between Correction Off and Correction On. If
Correction On is selected, any color corrections you make to a photo are displayed on the screen. If
Correction Off is selected, any color corrections you make are not displayed on the screen but will
be applied to your printouts.
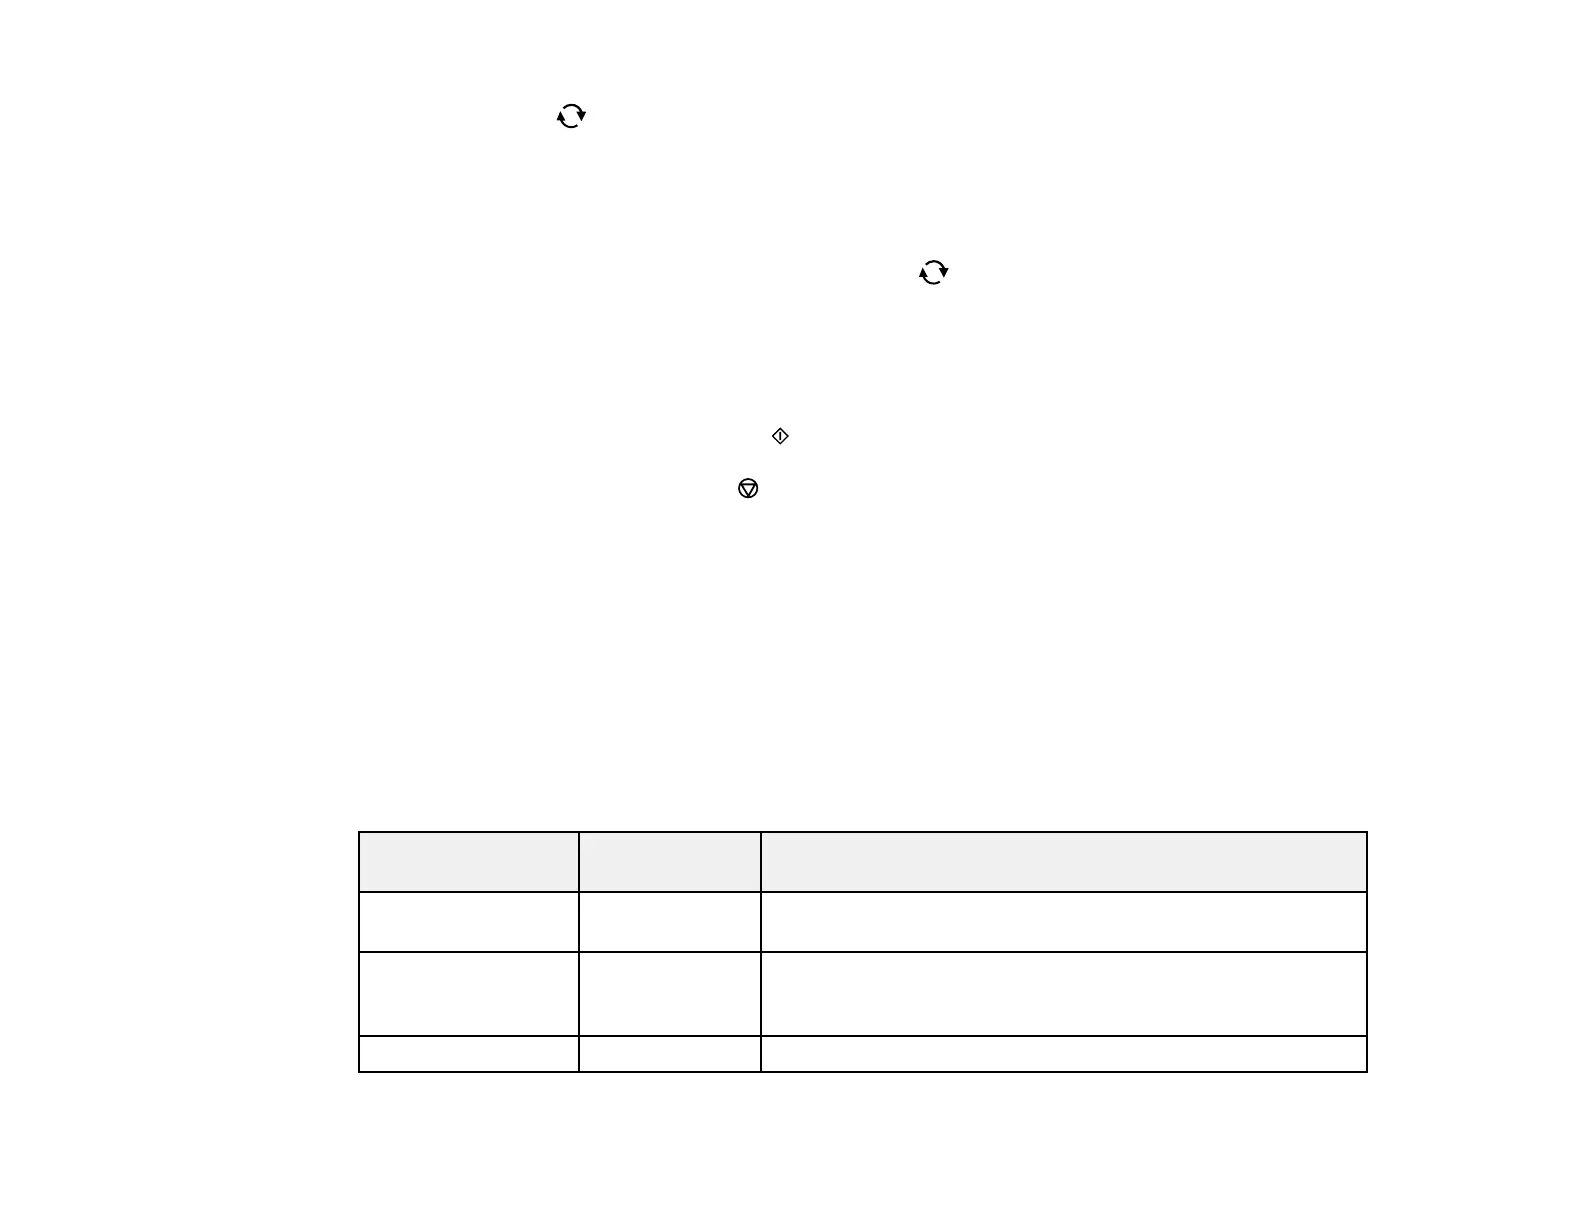
1 Adjusts the cropping area. Press the arrow buttons to move the cropping area. Press the +
or – buttons to change the frame size. Press the reset button to rotate the frame.
2 Applies a sepia or monochrome filter to the photo.
3 Lets you adjust brightness, sharpness, and saturation if necessary.
11. For each image, press the + or – buttons to change the number of copies as necessary.
12. When you are ready to print, press the start button.
Note: To cancel printing, press the stop button.
Parent topic: Viewing and Printing Photos
Related references
Memory Card Print Settings
Related tasks
Inserting a Memory Card
Memory Card Print Settings
Select the memory card options you want to use when printing photos displayed on the LCD screen.
Note: Not all options or settings may be available, depending on other memory card settings.
Print settings Available
options
Description
Paper Size Various paper
sizes
Indicates the size of paper you have loaded
Paper Type Various paper
types
Indicates the type of paper you have loaded; see the list of
paper types for copying (available options depend on the
selected Paper Size setting)
Paper Cassettes Cassette Displays the paper settings for the cassette
 Loading...