3. First Step
RC180 Safety and Installation Rev.18
75
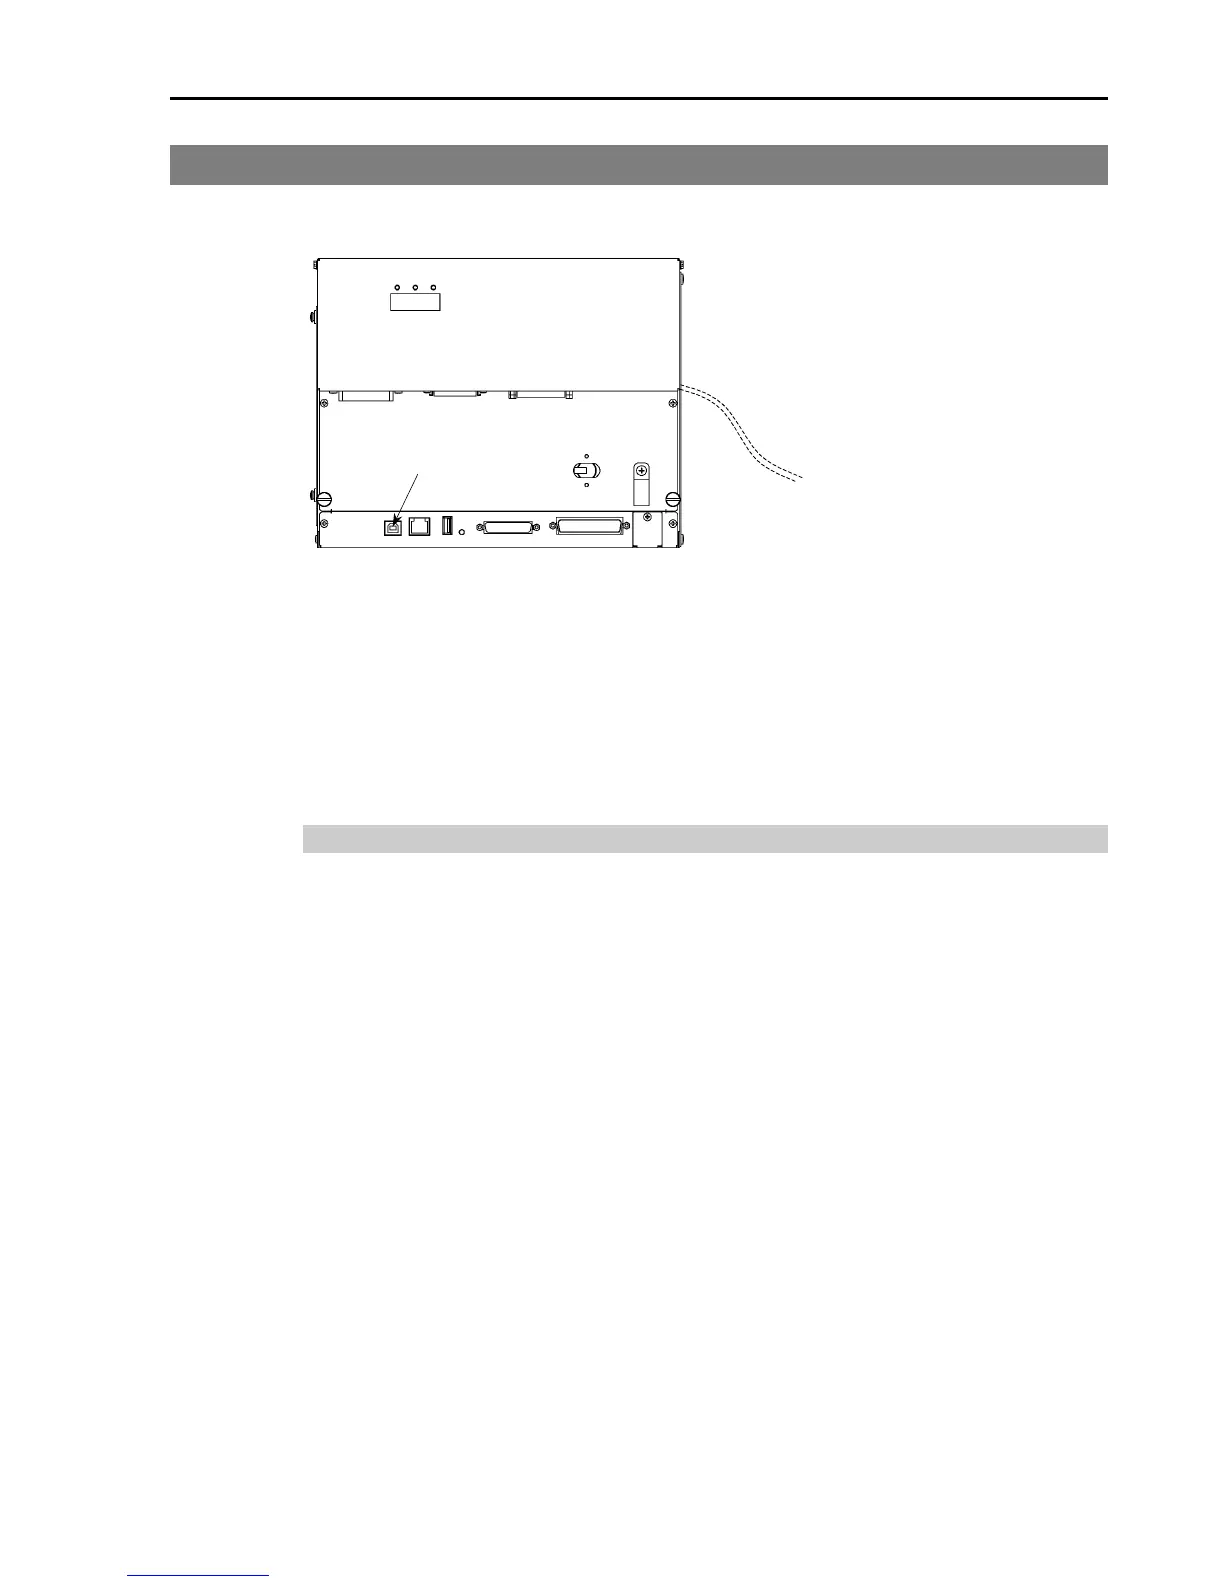
3.2 Development PC and Controller Connection
Connect the development PC and the USB port for connection (USB B series
connector).
Development PC connection Port
For other details of development PC and Controller connection, refer to EPSON
RC+ 5.0 User’s Guide 5.12.1 PC to Controller Communications Command.
)
NOTE
For RC180, be sure to install the EPSON RC+5.0 to the development PC first,
then connect the development PC and RC180 with the USB cable.
If RC180 and the development PC are connected without installing the EPSON
RC+5.0 to the development PC, [Add New Hardware Wizard] appears. If this
wizard appears, click the <Cancel> button.
About Development PC Connection Port
Development PC connection port supports following USB.
- USB2.0 HighSpeed/FullSpeed (Speed auto selection, or FullSpeed mode)
- USB1.1 FullSpeed
Interface Standard : USB specification Ver.2.0 compliant
(USB Ver.1.1 upward compatible)
Connect the Controller and development PC by a USB cable to develop the robot
system or set the Controller configuration with the EPSON RC+ 5.0 software
installed in the development PC.
Development PC connection port supports hot plug feature. Cables insert and
remove from the development PC and the Controller is available when the power
is ON. However, stop occurs when USB cable is removed from the Controller or
the development PC during connection.

 Loading...


