Maintenance 8. Maintenance Parts Replacement Procedures
RC700 Series Maintenance Rev.3 61
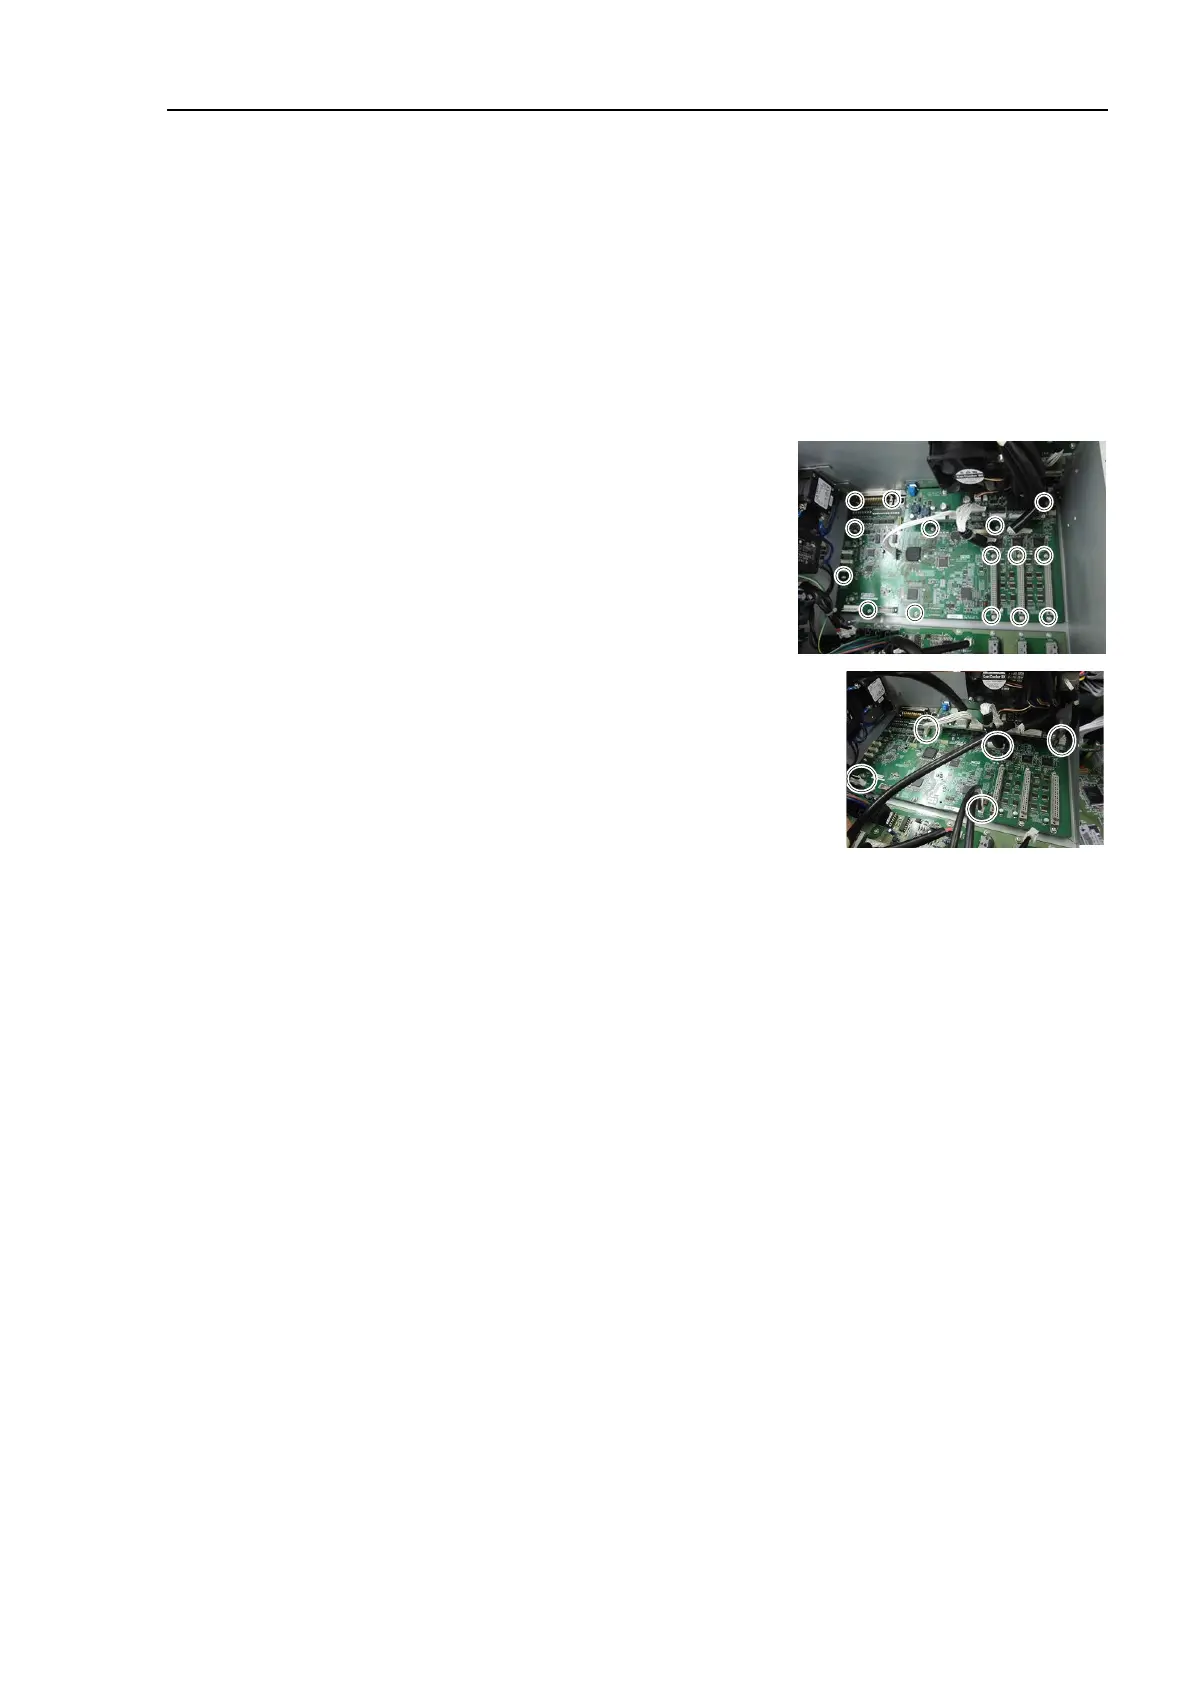
-SUB board to the new DMB. (Mounting screw × 3)
Install the plate that secures the connectors on the front side to the DMB and the
DMB
-SUB boards.
Insert the DMB into the chassis.
At this point, be careful not to touch the
chassis and other parts.
Refer to 8.2 Fan.
Tighten the DMB mounting screw (
×15).
Mount the five connectors to the DMB.
8.5 MDB.
Install the cables to the following
connectors.
M/C Signal Connector EMERGENCY Connector
R-I/O Connector DU OUT Connector
DU IN Connector I/O Connector
Mount the Top Panel. (Mounting screw
×6)
the power plug. Turn ON the Drive Unit and make sure that the
Drive Unit
starts properly without any vibration or abnormal noise.
 Loading...


