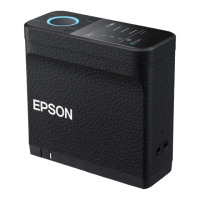
E Screen Displays color measurement results, menu items, error messages, and
instructions.
F Reset button Turns off the spectrophotometer and resets it. Press this button if the device stops
operating normally.
G Strap hole Attach the strap here to prevent the device from falling.
H Strap A strap to prevent the device from falling.
I Back button Displays the menu screen or returns you to the previous screen.
J USB port Connect the supplied USB cable to this port to supply power or charge the device,
send color measurement results to a computer application, or update the
firmware.
K Sensor cover Open this before starting color measurement. The inside of the sensor cover is
inlaid with a white tile for calibration.
Keep this closed when it is not in use to protect the sensor. Make sure you regularly
clean the sensor area to remove any dust or other materials.
U “Cleaning the Sensor” on page 35
L Sensor Place this surface at the center of the item to be measured.
Understanding the Status of Color Measurement from
the Light and Buzzer
Also check the messages displayed on the screen.
Light Status Buzzer Sound Status
Color Lighting
Status
White On - Charging. (While the device is off)
Flashing - Charging has been paused because the temperature of the device
is too high or too low.
Orange On Two beeps Calibration failed.
Multiple beeps Error has occurred. Check the message on the screen.
Blue On - Ready to perform color measurements.
One short beep Color measurements starts. (Comparison (Scan) mode)
Color measurement is complete. (Spot mode/Comparison (Spot)
mode)
Two short beeps Color measurement is complete. (Comparison (Scan) mode)
Two beeps The color difference is beyond the acceptable range.
Blue or white Brightening/
dimming
- The device is in sleep (power saving) mode.
Blue: Not charging.
White: Charging.
SD-10 User's Guide
Basic Information Regarding the Spectrophotometer
13

 Loading...