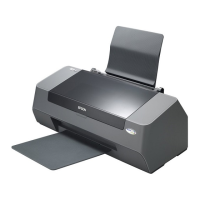
EPSON Stylus C82 Revision A
DISASSEMBLY AND ASSEMBLY Disassembly 29
6. While avoiding 2 hooks, follow order shown below to remove Printhead from
Carriage Unit.
Figure 4-10. Printhead Removal 4
7. Remove 2 FFCs from the Printhead.
Figure 4-11. Printhead Removal 5
4.2.1.4 Lower Housing/Printer Mechanism Removal
1. Remove Upper Housing. (See Section 4.2.1.1)
2. Remove 4 screws (C.B.P 4x12: 3, C.B.S 3x8: 1) holding Printer Mechanism.
Figure 4-12. Lower Housing/Printer Mechanism Removal 1
Printhead
1
2
Hook Hook
FFCs
Sponge
Printhead
C A U T I O N
When the FFC has been replaced, be sure to attach sponge as
shown in lower left diagram. Because double-sided tape is attached
to FFC service parts, simply installing sponge is sufficient.
A D J U S T M E N T
R E Q U I R E D
When removing or replacing the Printhead, the adjustments are
necessary. Refer to "Chapter 5 Adjustment" for the adjustment
procedure.
Printer Mechanism
Lower Housing
C.B.P 4x12 (6±1kgf.cm) x3
C.B.S 3x8 (6±1kgf.cm)

 Loading...


