8
8 | Installing and Setting Up the Server Software
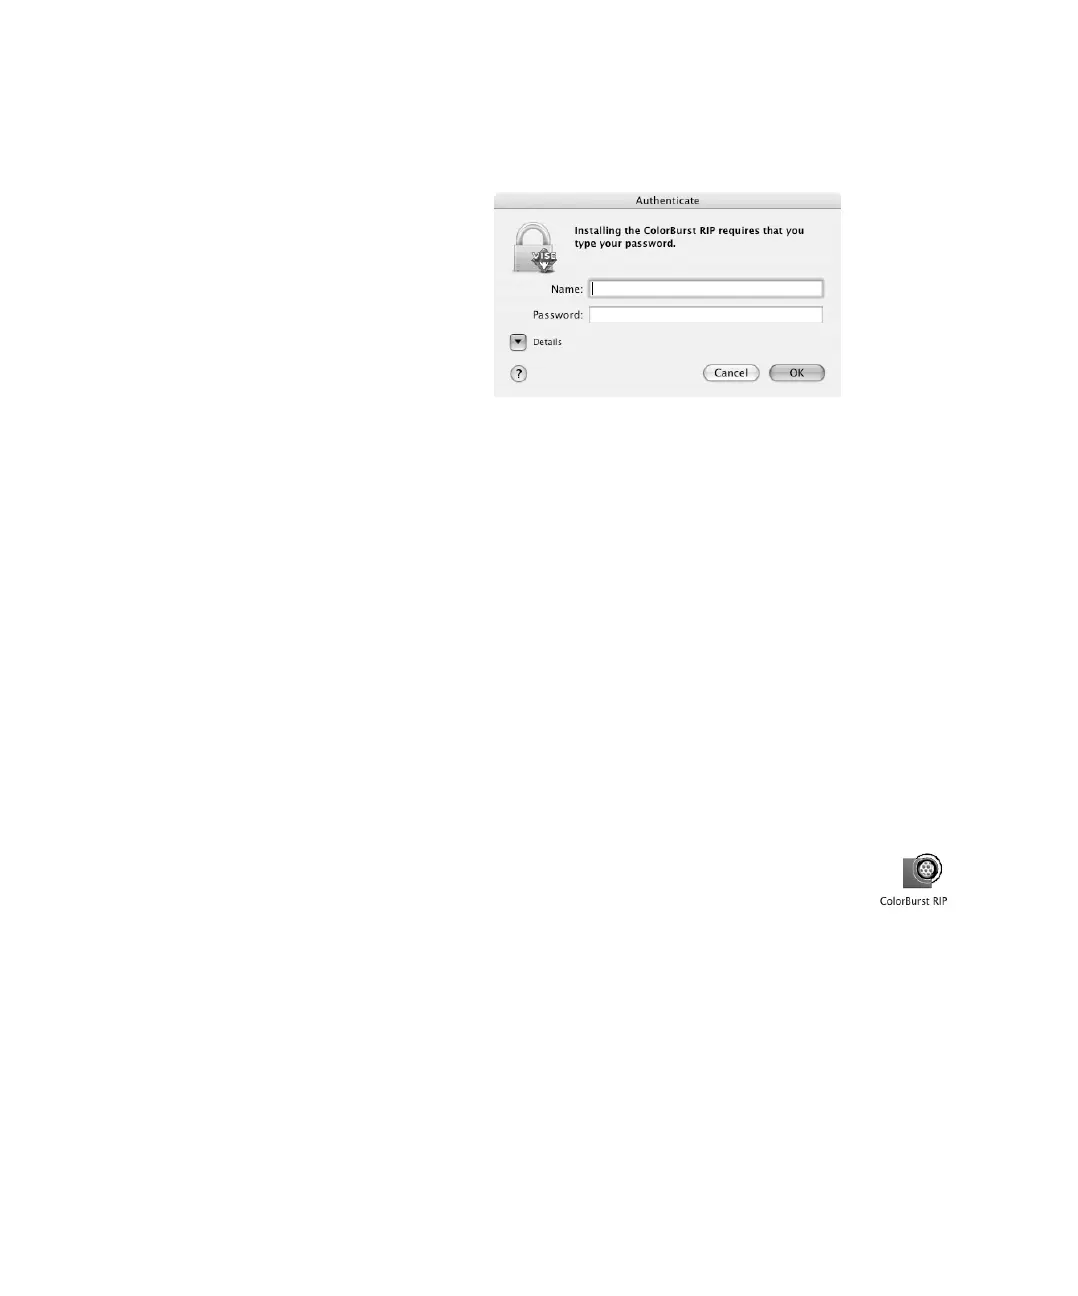
3. When prompted, enter your Mac OS X Admin password and click OK.
4. Follow the on-screen instructions to install ColorBurst.
5. When installation is complete, go to the next section to set up the
ColorBurst RIP Server.
Setting Up the ColorBurst RIP Server for
Macintosh OS X
Before you can print with the ColorBurst RIP, you have to set it up so it can
receive print jobs and has the correct printer and environment settings.
Starting the RIP Server and Choosing Your Printer
1. To start the RIP server, double-click the ColorBurst RIP for Epson
icon on your desktop.
Or double-click the
ColorBurst RIP icon in the
Applications > ColorBurst RIP for Epson folder.
2. When you see the registration window, fill out the information and click
OK to register your software. The serial number is printed on the front
of your ColorBurst RIP CD-ROM.
The registration is sent over the Internet to ColorBurst. If it isn’t sent,
the dialog box will reappear each time you start the RIP.
Note: If you plan to share
the printer with Windows
clients over a network,
you need to make sure
your Macintosh has a
static (manual setting)
IP address that won’t
change. You can change
this setting in the System
Preferences > Network
settings. See your Mac
Help for more
information.
ColorBurst.book Page 8 Thursday, September 9, 2004 12:41 PM

 Loading...