117
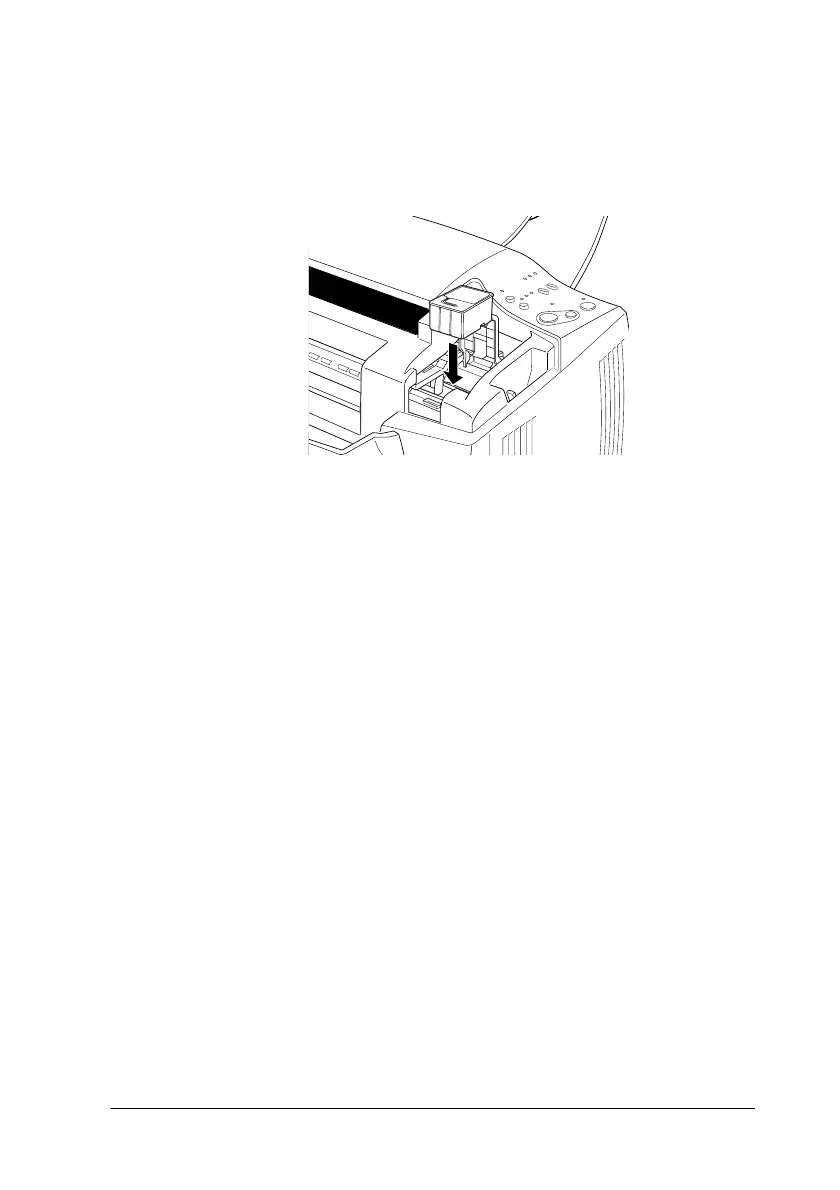
6. Place the ink cartridge gently into the cartridge holder with
the label on the cartridge facing up. Then lower the ink
cartridge clamp and press down until it locks in place. Do not
press down on the cartridge itself.
c
Caution:
Once you install the ink cartridges, do not open their clamps
again until you replace the cartridges. Otherwise, the
cartridges may become unusable.
Note:
If you need to replace the black ink cartridge as well, you can do so
now. Press and release the
R
cleaning button quickly. The print
head automatically moves to the black ink cartridge replacement
position. Refer to “Replacing a black ink cartridge” for details.
7. Make sure the
B
black and
A
color lights are off, then press
and release the
R
cleaning button quickly. The Stylus Scan
moves the print head and begins charging the ink delivery
system. This process takes about one minute to complete.
When the ink charging process is finished, the Stylus Scan
returns the print head to its home position and the
P
power
light stops flashing.
 Loading...


