QX50/QX200/QX2000; (SW Version 6.0.x) 48
QX50/QX200/QX2000 Manual I: Installation Guide
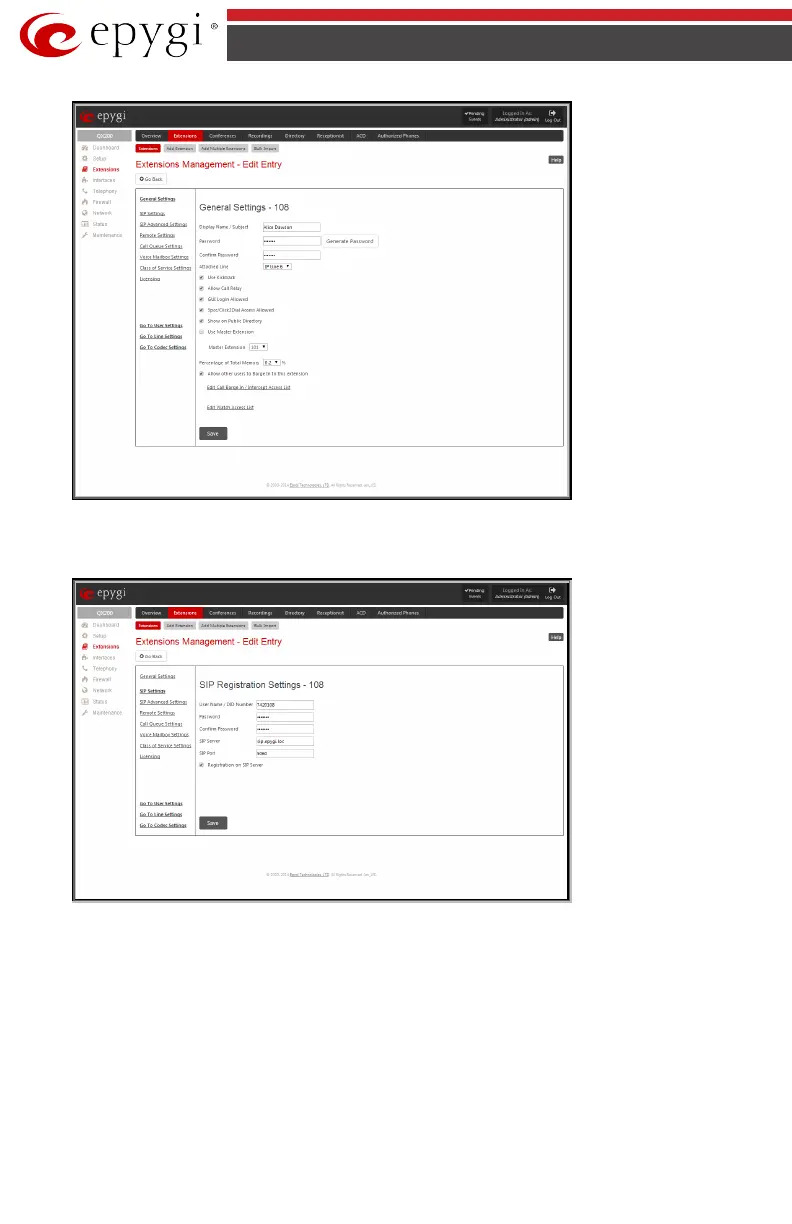
Fig.I- 42: Extensions Management - Edit Entry – General Settings page
Go to the SIP Settings page to enter the SIP Registration Settings you received from the Epy-
gi SIP server.
Fig.I- 43: Extensions Management - Edit Entry – SIP Settings page
• Enter the SIP registration number into the text field Registration User Name/DID
Number.
• In the Password field, enter the password you specified when registering at the SIP serv-
er and confirm it in the field below.
• In Registration SIP Server, the selected SIP server address must be entered. If you use
the Epygi SIP server, you may enter sip.epygi.com.
• Most SIP server providers, including Epygi, use port 5060 as the Registration SIP Port.
You may leave the default entry as is.
• Select Registration on SIP Server if you want to establish and receive IP calls.
• Click the Save button to activate the settings.
 Loading...


