WARNING! The product and the packaging are not
children’s toys! Children must not play with plastic
bags, sheets and small parts! There is a danger
of choking and suffocation!
02
UNPACKING
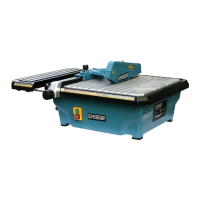
17. Tile cutter assembly x 01
8. Parallel guide assembly x 01
2. Diamond disc x 01
11. Mitre cutting guide x 01
14. Protective guard x 01
9. Extension table x 01
15. Water reservoir plug x 01
13. Metal bracket x 01
18. Spanners x 02
The tool is packed complete in one carton. When unpacking and checking the
contents of the carton, separate all the parts from the packing material and check
each one against the pack contents shown below to make sure that all items are
accounted for.
If any parts are missing, do not attempt to assemble, or use the tile cutter until the
missing parts are obtained and installed correctly. Any missing parts should be
reported immediately to the store from which you purchased the tool.
03
ASSEMBLING THE MACHINE
YOU WILL NEED
(items not supplied) (items supplied)
Cross head screwdriver Disc spanner (2pcs)
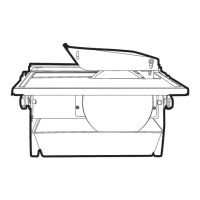
INSTALLATION OF THE METAL BRACKET (A)
- Unplug the tile cutter from the mains supply.
- Remove the cover (45° vertical fence) of the water reservoir.
- Remove the two screws and washers from the top of the deck, slide the metal
bracket into the desired position (A) and then fix in place re-using the two screws
and washers. Ensure the bracket is perpendicular to the deck and positioned inline
with the blade. Loosening these screws allows some minor adjustment to ensure
the bracket does not foul the tile when cutting.
- Put the cover (45° vertical fence) back into position.
16
EN