Do you have a question about the ESAB CaddyArc 150 and is the answer not in the manual?
ESAB's declaration that the CaddyArc 150 complies with relevant standards and directives.
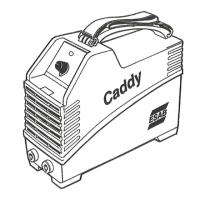
The CaddyArc 150 is supplied with 3 m of mains cable and an instruction manual.
Instructions on how to position the power source to ensure proper airflow and cooling.
Information about the location of the rating plate on the underside of the power source.
Guidance on connecting the welding power source to the correct mains voltage and fuse rating.
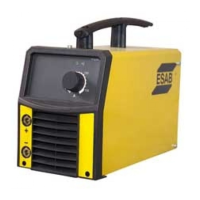
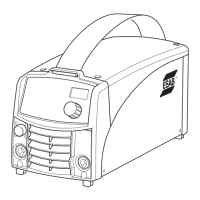
Identifies and describes the main power switch, cables, connectors, and control panel.
Explains the functional description, symbols, and hidden functions of the control panel.
Details the setting ranges and default values for Arc Force, Drop welding, Regulator ArcPlus, and Hot Start.
Describes the thermal overload trip that protects the welding power source from overheating.
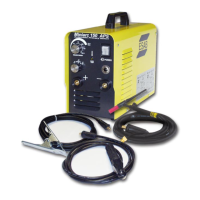
Provides instructions and techniques for MMA (stick) welding with the CaddyArc 150.
Explains TIG welding process and prerequisites, including necessary equipment and setup.
Details the connection and use of the remote control unit with the power source.
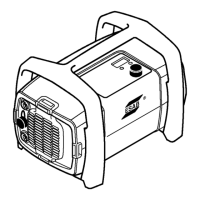
Step-by-step instructions for removing, cleaning, and replacing the dust filter.
Lists and explains fault codes displayed by the machine and the recommended actions.
| Input Voltage | 230 V |
|---|---|
| Output Current Range MMA | 10 - 150 A |
| Output Current Range TIG | 10 - 150 A |
| Weight | 5.8 kg |
| Mains Fuse Slow | 16 A |
| Rated Output Current | 150 A |
| Rated Output Voltage | 26 V |
| Input Frequency | 50/60 Hz |
| Input Current at Rated Output | 16 A |
| Efficiency | 85 % |
| Protection Class | IP23 |
| Welding Process | MMA, TIG |