Programming
entry. Entering the second digit of a two-digit number automatically
moves the cursor to the next window.
Having entered the Panel and Zone information, press the Right arrow
key or TAB to jump to the first segment of the message box. Type in
the zone message.
The cursor will automatically jump from the first message segment
window (top line on the display) to the second message segment
window (lower window). Message editing tools are described in the
Editing Tools section of this chapter.
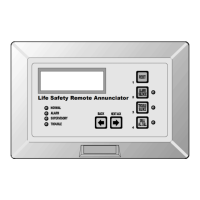
Note: The two message windows represent the two 20-character
segments of the 40-character message. The text in the left message
window appears in the LSRA display above the text in the right
message window.
Press ENTER to enter the message and automatically position the
cursor at the “Type” window.
Use the UP and DOWN keys to scroll through the Type options shown
in the window until the desired parameter is displayed. Typing “A,”
“X,” “S,” or “T” will also select the desired message type code.
Message Type Codes
AL = Alarm Message
ST = Status Message (X)
SU = Supervisory Message
TR = Trouble Message
Press ENTER to enter the message and automatically position the
cursor at the zone window, to configure the next zone. Press the LEFT
arrow key if you need to change the panel number.
The total number of zone messages entered is shown on the screen
along with an arbitrary number for each message. This number shows
the messages position in a file, and may change when the file is
automatically sorted when the message entry screen is saved to a file.
When all panels/zones have been configured, save the configuration by
pressing ESC until the “Program Exit” step is reached and press “Y” to
save the configuration.
Note: The configuration may be saved at any time using this
procedure.
The XFER function is not available to transfer messages between
annunciators having different base addresses in the IRC-3 mode.
Proceed to the Downloading to the LSRA section of this chapter for
instructions on downloading.
When the first annunciator (address pp through pp+4) has been
completely configured, return to the opening screen and increment the
Base Address parameter to the next annunciator base address and
repeat programming Phase 2 for the next annunciator. When all
annunciators have been configured, they will all be saved under the
same filename.
LSRA Installation, Operation, Maintenance, and Configuration Manual 4.13