ASSEMBLY INSTRUCTIONS
PARTS LIST
Barbecue Chassis Carton: Cooking Plates Pack: Burner Pack:
Barbecue Chassis Hot Plate 4 x Burners
Fat Tray Grill Plate
Gas Hose & Regulator (Propane only) Vapouriser
Cross-over Tube
Steel Trolley Carton: (Not built in models) Roasting Hood Carton:
Trolley Base Roasting Hood
Trolley Frame Fastener Pack
4 x Castors Assembly Instructions
Wok Burner
Fastener Pack
Remove all components from the cartons and carefully check against Parts List. Make sure you thoroughly
inspect parts before assembly and do not assemble or operate a barbecue that appears damaged. Some
assembly will require the use of a Phillips Drive screwdriver. When connecting the hose and adaptor to the
gas inlet you will require a 17mm and a 19mm Spanner or an adjustable Wrench.
NOTE: Check ‘Gas Type’ and specification plate on left-hand side of barbecue.
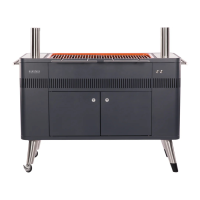
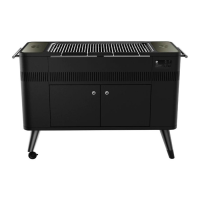
BARBECUE ASSEMBLY (see fig N and fig O for completed diagrams)
1. Remove the fat tray from the barbecue and place to one side until required at instruction N.
2. Firstly, build the barbecue trolley assembly following the instructions A - L.
3. Place and fit roasting hood onto barbecue as shown instruction M.
4. For barbecue assembly, follow the instruction N.
5. Fit the 4 burners to the valves and place the ‘R’ clips through the burners to secure in the location.
6. Fit the vapouriser to the right hand side of the barbecue, with the raised portions facing up.
7. Place both the hot plate and grill plate as shown in instruction N. The grill plate should be positioned
above the vapouriser on the right hand side.
8. Line the fat tray with aluminium foil and slide the fat tray in position. Do not fill the fat tray with sand or
kitty litter.
For all service and assembly enquiries call:
In Australia: 1300 766 066
In New Zealand: (09) 415 6000
Refer to the warranty card regarding your product details prior to calling.
10