The information contained within this document is confidential and cannot be reproduced
or shared without the approval of Extollo Communications.
23
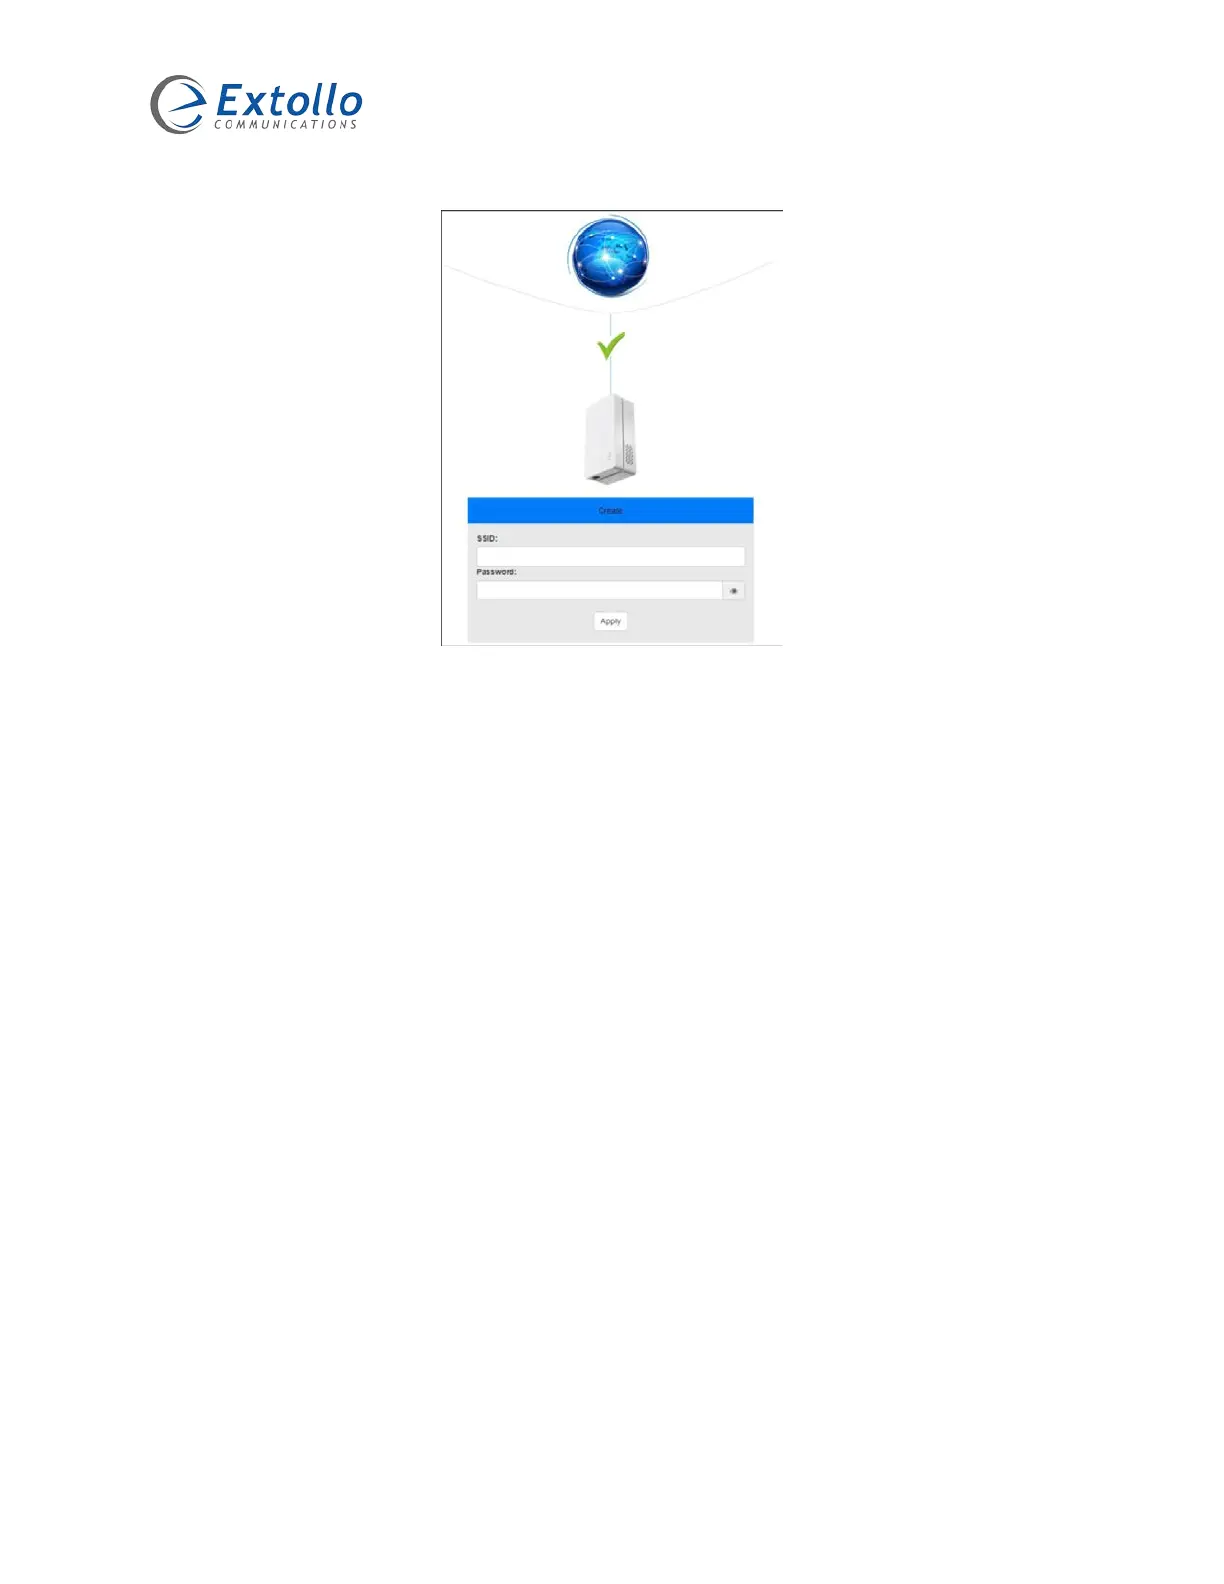
Step 4
Within the pop-up window, select the SSID field to create the name of your Wi-Fi network. Next,
select the Password field and enter the password you will use to connect to this Wi-Fi network.
When the apply button is selected, the Wi-Fi information will be saved and applied to all paired
Una’s automatically. The Wi-Fi LEDs of all Una’s will change from solid amber to solid green.
You have now just created your meshed Wi-Fi network.
Step 5
Search for the SSID (Wi-Fi network name) you’ve just created. Connect your devices to that Wi-
Fi network.
Adding Additional Una’s
A total of sixteen Una’s can coexsist in a single meshed Wi-Fi network.
1. Press and hold the pairing button for 3 to 5 seconds on the Una connected to the Internet
router first until the Powerline LED starts to blink – release the pairing button.
2. Press and hold the pairing button for 3 to 5 seconds on the new Una that is being added
to the meshed Wi-Fi network until the Powerline LED starts to blink – release the pairing
button.