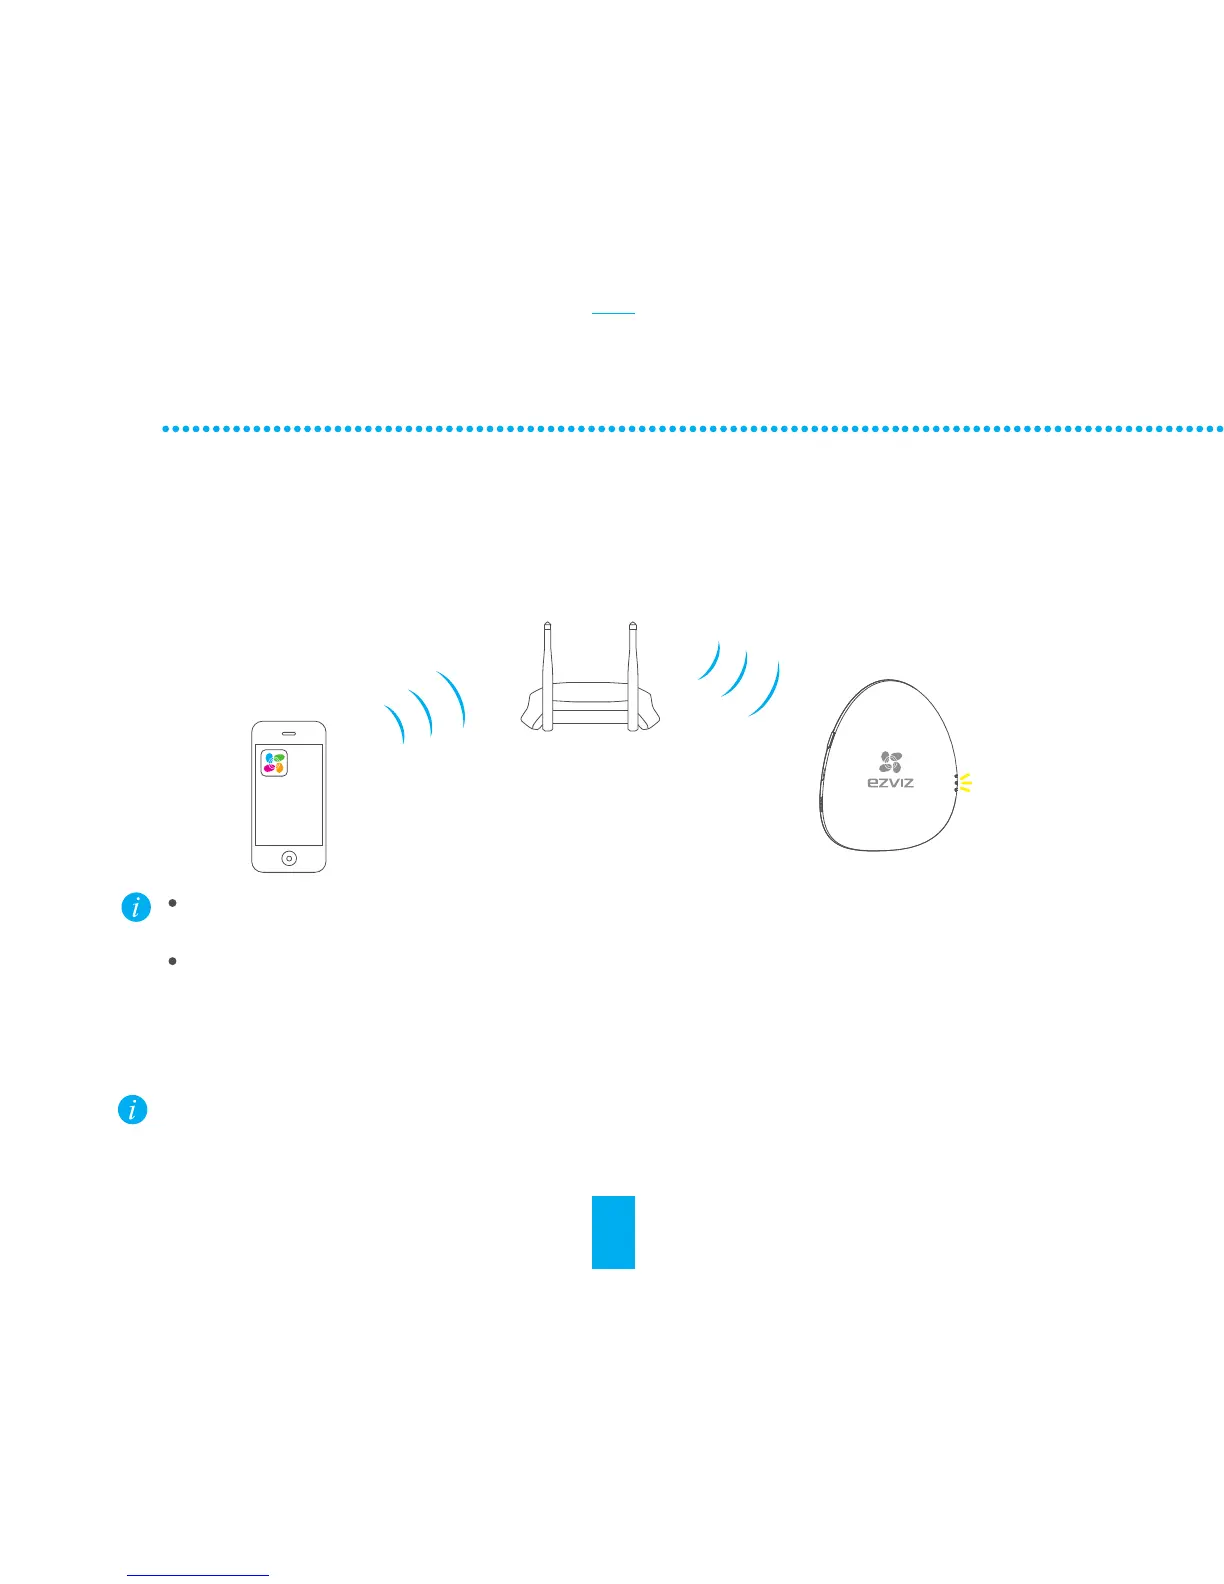
- Connect the mobile phone to a Wi-Fi.
- Log in the EZVIZ app and scan the QR code on the A1 to add it to your EZVIZ account.
- Follow the prompts to configure the A1 Wi-Fi connection, such as SSID (Wi-Fi name) and password.
Quick Settings
1
Adding A1
Make sure the mobile phone is connected to the Wi-Fi and the A1 has not connect to any
Wi-Fi yet, or the connection will be failed.
The distance between the A1 and the mobile phone should be no further than 50 cm.
Step 2
Press and hold the Setting Button if you want to enable the Wi-Fi modification function. For
example: the procedure for connecting the device A1 to the Wi-Fi (router) is not successful
and you have to repeat the operation; or you want to change the Wi-Fi connection (to connect
the device A1 to a new Wi-Fi network).
The LINK indicator flickers in yellow when the A1 has been successfully connected to the Wi-Fi
(of the router).
The LINK indicator flickers in yellow when the A1 has been successfully connected to the Wi-Fi
(of the router).
2
Completing Configuration
4

 Loading...