2
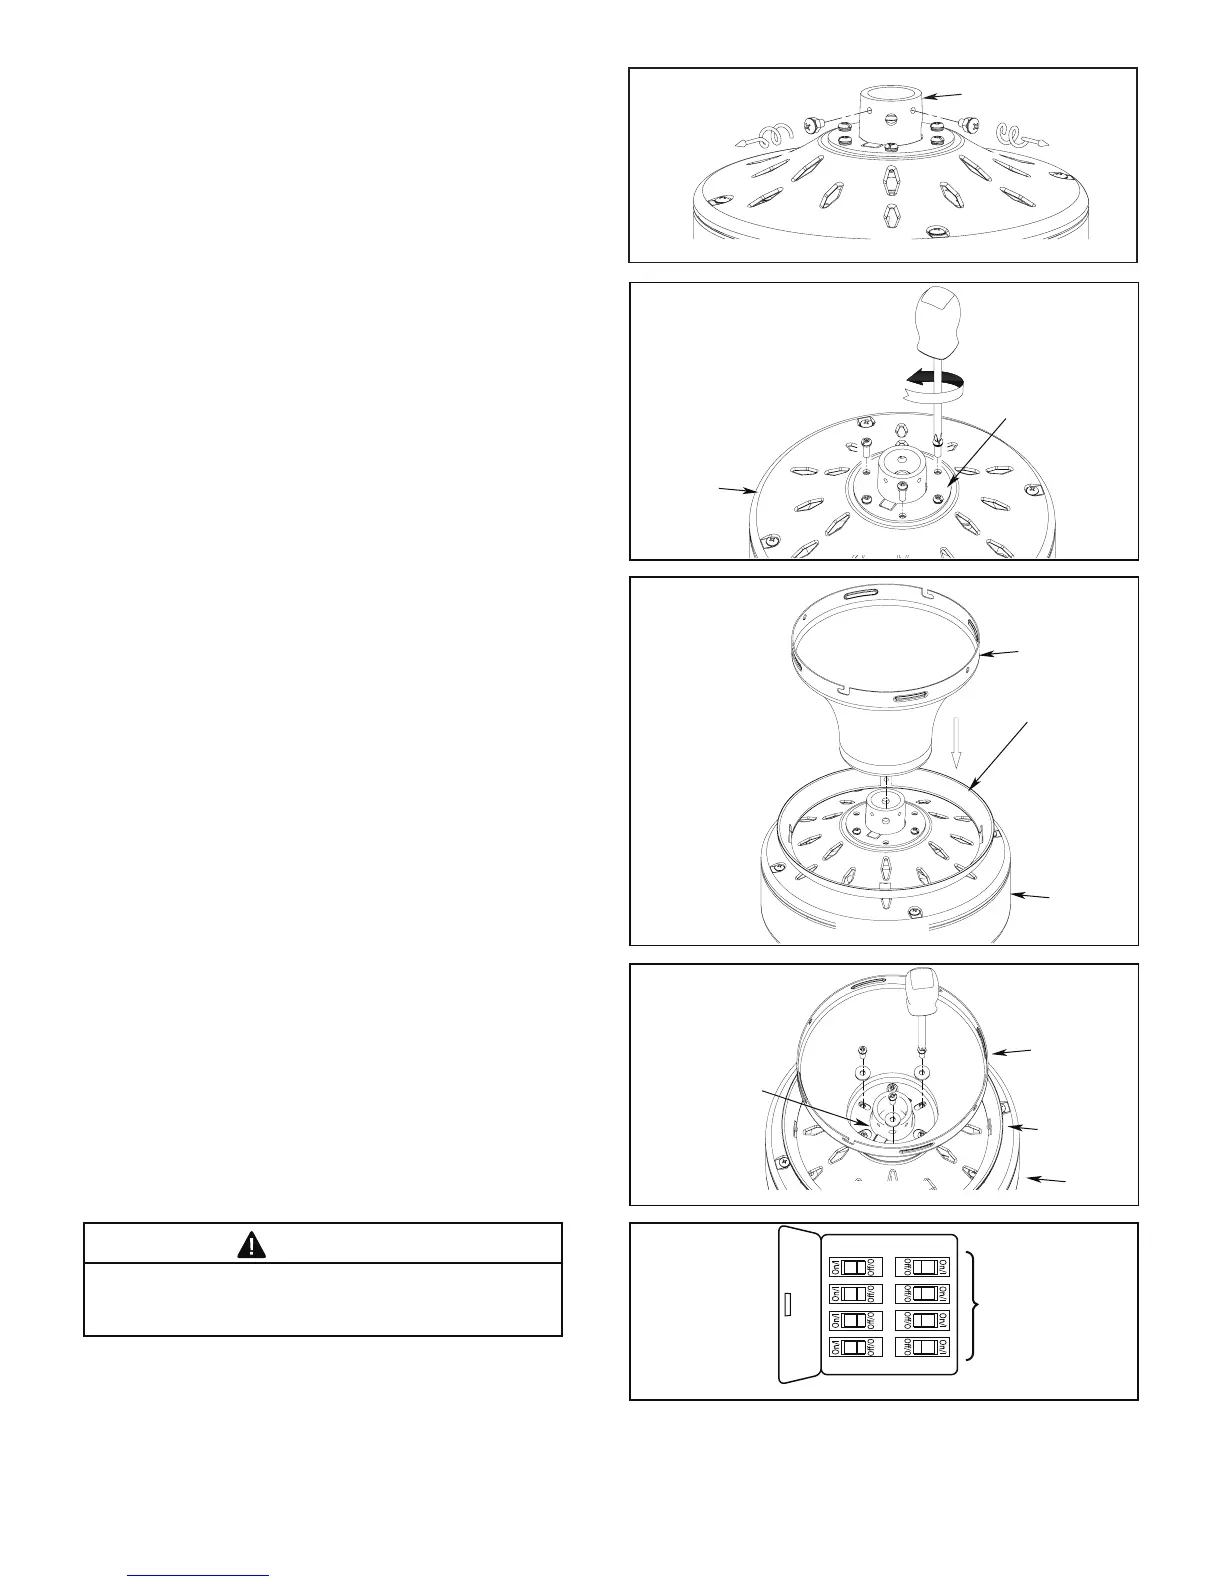
Remove the three motor coupling screws from 5.
your fan and save for next step. (Figure 5)
METAL SPACER
Route your fan wires through the ceiling canopy and 6.
place ceiling canopy onto your motor. (Figure 6)
SCREW TRIM
COVER RING
CEILING
CANOPY
MOTOR
MOTOR
NOTE: MOTOR WIRES
HAVE BEEN OMITTED
FROM DIAGRAM
NOTE: MOTOR WIRES
HAVE BEEN OMITTED
FROM DIAGRAM
SCREW TRIM
COVER RING
CEILING
CANOPY
NOTE: MOTOR WIRES
HAVE BEEN OMITTED
FROM DIAGRAM
MOTOR
DOWNROD
SUPPORT
Alight the 3 big slots in the canopy to the 3 screws in7.
the motor coupler. Firmly attach the canopy cover to
the motor with the three screws removed in step 5
and steel washers from the part bag. (Figure 7)
WARNING
To avoid possible fire or shock, be sure electricity is
turned off at the main fuse box before hanging.
(Figure 8)
Figure 8
MAIN FUSE
BOX
Figure 5
Figure 6
Figure 7
On your fan’s motor, remove the two downrod support 4.
set screws and nuts from the downrod support and
discard. (Figure 4)
Figure 4
NOTE: MOTOR WIRES
HAVE BEEN OMITTED
FROM DIAGRAM
DOWNROD SUPPORT