13
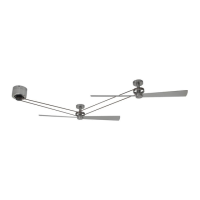
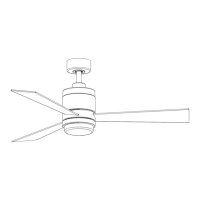
Assembling and Mounting the Fan BladesAssembling and Mounting the Fan Blades (Continued)
5. ehtotnopuChctiwSgnisuoHehtelbmessA
assembled Adapter with three screws. (Figure 19)
How to Operate Your Ceiling Fan
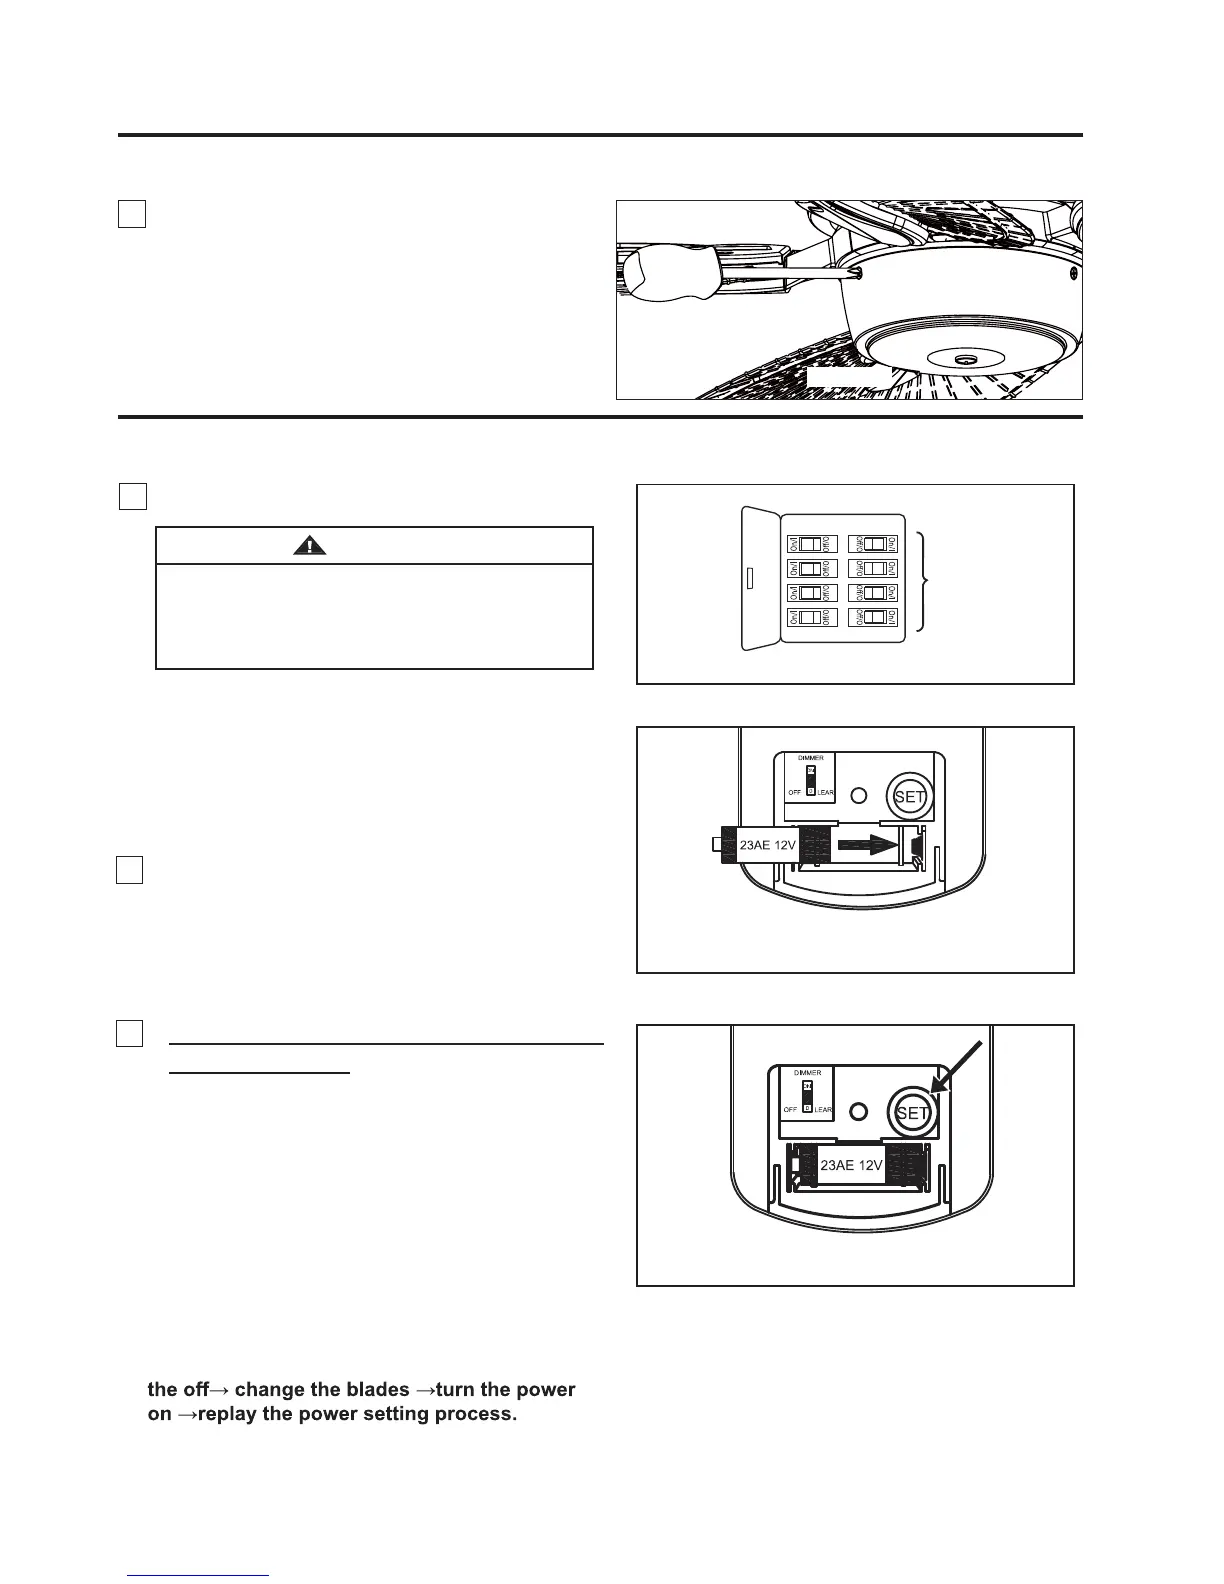
MAIN FUSE BOX
Figure 20
1. Restore electrical power to the outlet box by turning
the electricity on at the main fuse box (Figure 20).
Check to see that all connections are tight, including
ground, and that no bare wire is visible at the wire
connectors, except for the ground wire. Do not
operate fan until the blades are in place. Noise and
fan damage could result.
WARNING
2. To make fan operational, install 23A/12V battery
(included) in hand-held remote transmitter, with fan
power off. Then follow the remote code setting process.
(If not used for long periods of time, remove battery to
prevent damage to transmitter). Store the remote away
from excessive heat or humidly (Figure 21).
NOTE:
Receiver in controllers system features an
automatic learning function. There are no frequency
switches on the receiver unit. The receiver will
automatically scan the frequency from the hand held
control if an changes are made. the frequency settings
should be changed only in the case of interference or
if multiple ceiling fans with the same type of control
system are installed in the same structure.
3. Remote Control Setting and Speed (RPM)
Setting Process : (Figure 22)
NOTE: If you want to change the blades: turn
Figure 19
The fan is now ready for normal use.
1. After installing the unit and restoring power to
your fan, press and hold the “SET” button 1~5
seconds. You must press the “SET” button
within 60 seconds of restoring power to the fan.
2.The fan will start to run and begin the control
setting process. The fan will run in both
directions for a total of approximately 5 minutes.
3. When the fan stops after approximately 5
minutes the control and speed setting process
is complete.
Figure 21
Figure 22
 Loading...