12
fantech
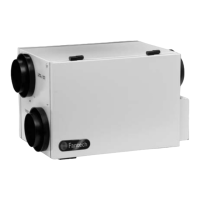
HRV INSTALLATION
LOCATION
The HRV must be located in a conditioned space where it will be possible to conveniently service the unit. Typically
the HRV would be located in the mechanical room or an area close to the outside wall where the weatherhoods will
be mounted. If a basement area is not convenient or does not exist, a utility room may be used.
Attic installations are not normally recommended due to:
• The complexity of the installation
• Freezing conditions in the attic
• Difficulty of access for service and cleaning
• No drain access
Connecting appliances to the HRV is not recommended. These include:
• Clothes dryer
• Range top
• Stovetop fan
• Central vacuum system
• Bathroom exhaust fans unless they are specifically designed for this purpose
These appliances may cause lint, dust or grease to collect in the HRV, damaging the unit.
Mounting- Chain mount
• Have a nearby power supply
(120 volts, 60Hz)
• Choose a location which
allows the possibility
of mounting the unit to
supporting beams.
• The unit should be level
in order to allow proper
condensate drainage
• To minimize noise, do not
install unit in living area
• Ensure proper drainage
Connecting any of
these types of
appliances to the
HRV will void your
warranty.
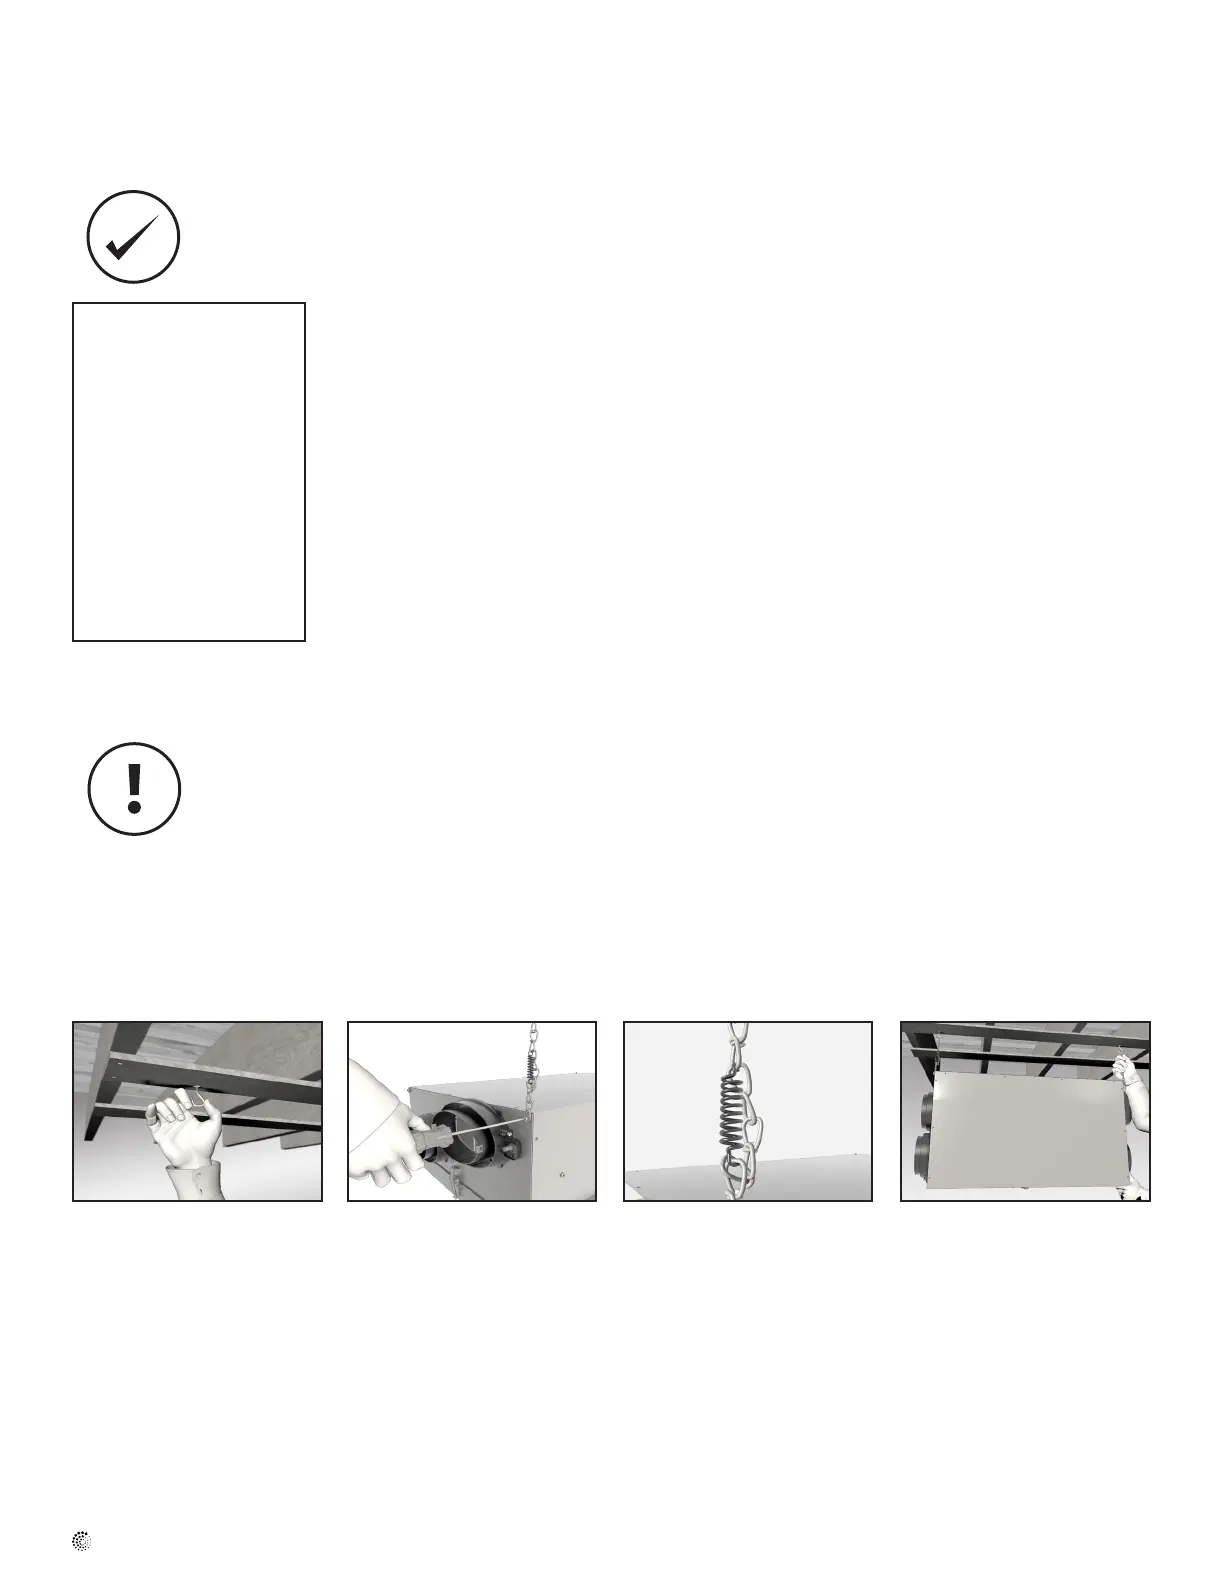
1 Place fastening hooks on
the strapping board or
the oor joists.
2 Attach a hanging chain
(provided) to each 19 mm
(3/4") bolt (provided) in the
top 4 corners of the unit
and tighten.
4 Hang the unit by slipping
a link onto the hanging
hooks, making sure the
unit is level.
3 Install a spring on each
chan. Hook the spring
in the links so a loop is
created in the chain. The
spring will then support the
unit's weight and absorb
vibrations.