In addition, device provides the device surface DSS key operation to switch IP
address acquisition mode:
In the standby mode, long-press the speed dial button for 3 seconds and the beep
will last for 5 seconds. Within 5 seconds, press the speed dial button three times
quickly to switch to the network mode.
If it is in the mode of DHCP and doesn't receive the IP address, switch it to the mode of
static IP (192.168.1.128), broadcast the IP address after the successful switch.
If it is in the mode of static IP address (192.168.1.128), switch it to the DHCP mode,
broadcast the IP address after the successful switch.
If it is in the mode of DHCP and obtain the IP address, the mode will not be switched
and directly broadcast the IP.
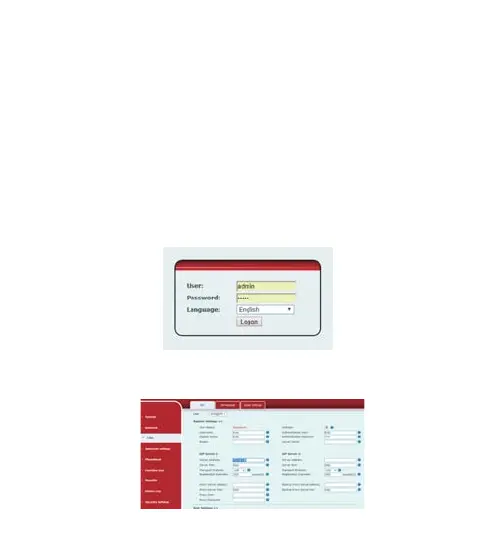
5) Mini Intercom Configuration
Step 1: Log in the WEB admin interface of the device
Input IP address (e.g.http://172.18.70.55) into address bar of PC’s web browser.
The default user name and password are both admin
Step 2: Add SIP account
Set SIP server address, port, user name, password and SIP user with assigned SIP
account parameters. Select <enable registration>, click <Apply> to take effect.
 Loading...