Fluid Components International LLC ST75/ST75V Mass Flow Meter
This page is subject to proprietary rights statement on last page
8
06EN003368 Rev. G
RS232 / FC88
Menu Control and Organization
Most entries require at least two keystrokes; a capital letter and the [ENTER] key, or one or more numbers and the [ENTER] key. All
user entries begin at the input mode prompt “>”, except when the instrument is in the Main Function Mode (just press the desired
function letter and [ENTER] to make an entry).
Backspaces are made using the backspace [BKSP] key. Some entries are case sensitive between numbers and letters. Be sure the
SHIFT key is pressed to indicate the correct case. A square after the prompt caret indicates the FC88 is in lower case. A slightly raised
rectangle in the same spot indicates the FC88 is in the upper case.
It is recommended that the FC88 be plugged into the instrument before power is applied. If the FC88 is plugged in while the
instrument power is on and the FC88 does not respond, press [ENTER]. If there is still no response press [N] or cycle the power.
Note: The Zero and Span may be changed from the original calibration, provided the new values are within the original
calibrated range; i.e., if the original calibration was 1 to 100 SCFM (4-20 mA), the new zero (4 mA) must be equal to or
greater than 1 SCFM, and the new span (20 mA) must be equal to or less than 100 SCFM.
Some entries require a Factory pass code. If this occurs contact FCI Field Service to continue programming the instrument. The
instrument will prompt the user when this is necessary. Do not change any parameters that require this code unless there is an absolute
understanding of the instrument’s operation. The user cannot exit some routines unless all entries are completed or the power is cycled.
The top level of the menu is shown in “Table 5. ST75/ST75V List of Single Letter Commands” on page 23. Enter the command
letter mnemonic as listed in the tables below and in Appendix B to run a command. Exit a command at any time by entering “Q”
[ENTER] in the menus D, K, V, W, or Z.
Units
Select E=English M=Metric
Select 0= SFPS 5 = SMPS
or 1 = SCFM 6 = NCMH
or 2 = SCFH 7 = NCMM
or 3 = LBS/H 8 = KG/H
or 4 = GPM 9 = LPM
or 10 = SCMH
or 11 = NMPS
or 12 = SCMM
For Volumetric or Mass Flow
Select R = Round pipe or duct
or S = Square duct
Set Diameter or Wide X High (in inches or mm)
Set CMaxow = Maximum ow rate (span)
Set CMinow = Minimum ow rate (zero)
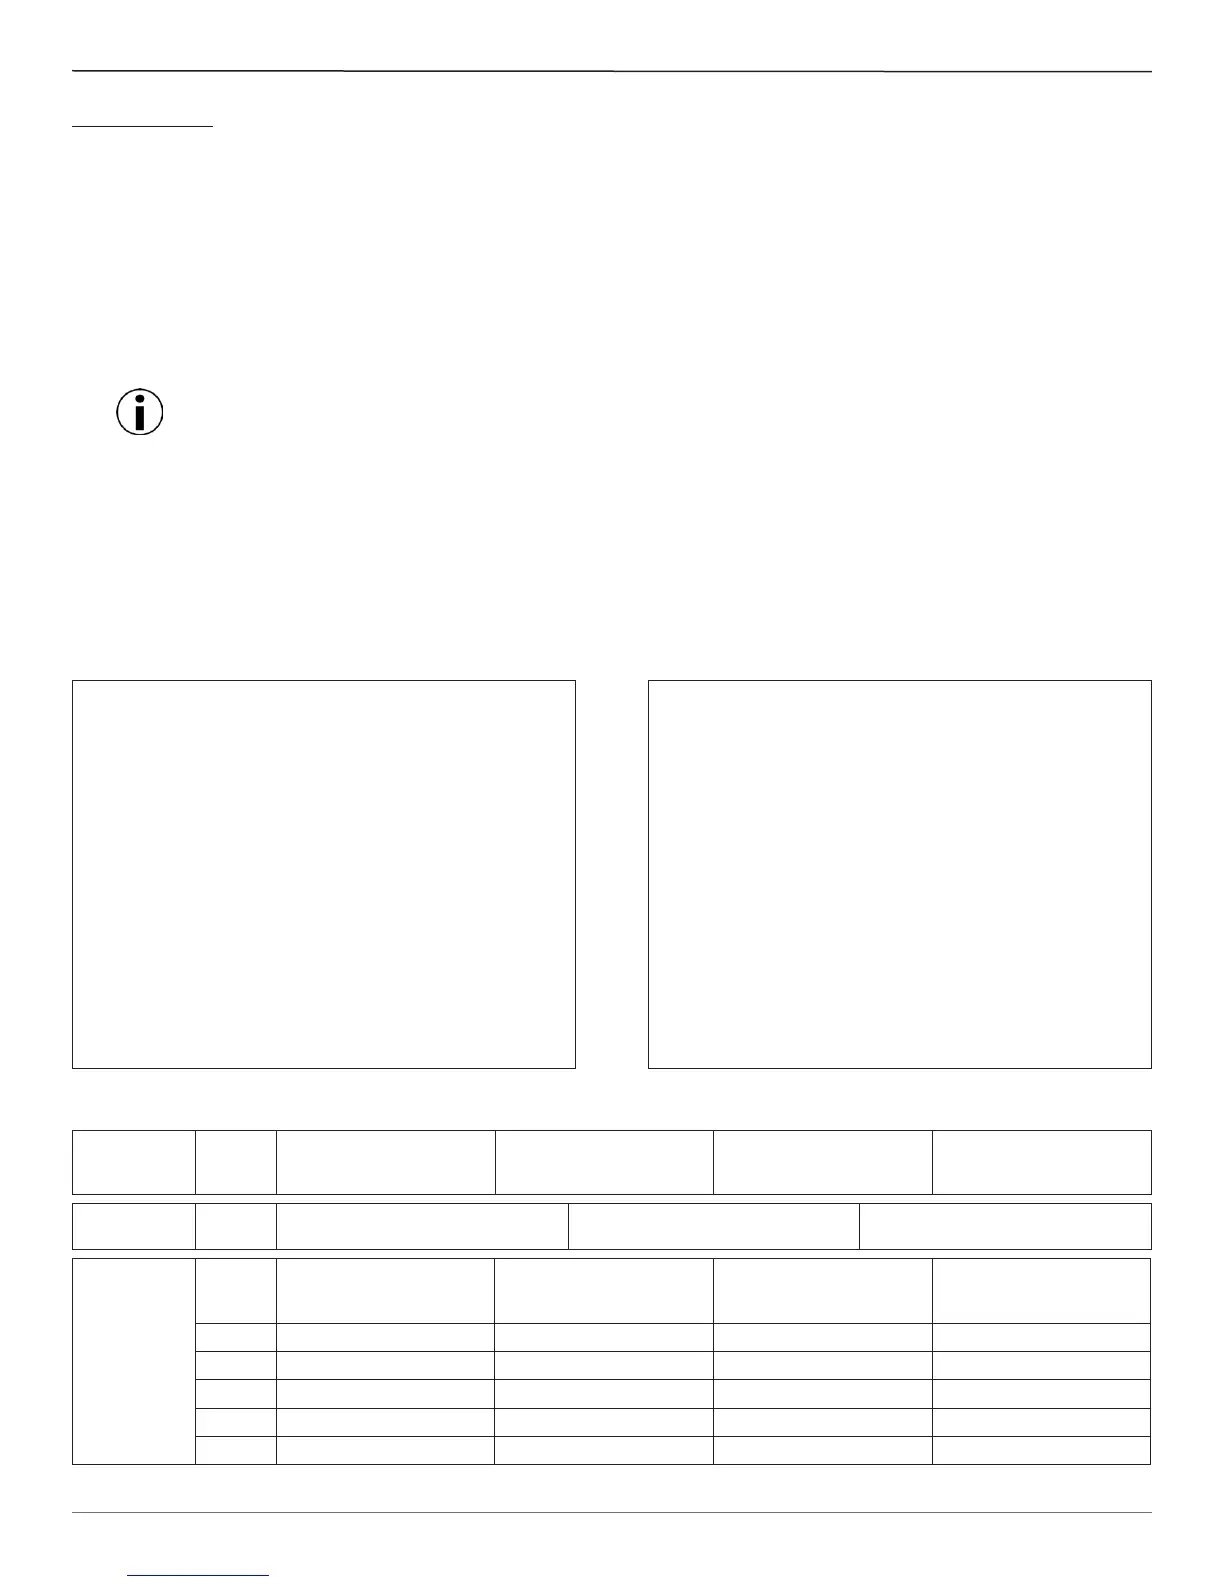
Table 2. Z Menu – Units and Scaling Setup
Note: Changing units requires rescaling the unit (set new zero and span).
Table 1. Diagnostics and Factory Settings
C Calibration Information
Display only: A/D, Delta-R, Ref-R data values
D Diagnostics
Display only: List of unit parameters.
K Factory Calibration Settings
Display only: Cal. parameters; i.e., linearization
and temperature compensation coefcients.
R Factory Reset
Replaces user data with factory calibration data.
Select
4-20 mA Output
Conguration
Select
1
4-20 mA Output #1 = Flow
4-20 mA Output #2 = Temp
2
4-20 mA Output #1 = Flow
4-20 mA Output #2 = Flow
3
4-20 mA Output #1 = Temp
4-20 mA Output #2 = Flow
4
4-20 mA Output #1 = Temp
4-20 mA Output #2 = Temp
Select
NAMUR Mode
Select
1
NAMUR: OFF
2
NAMUR: Low
3
NAMUR: High
Select
Source/Sink
(Pulse) Output
Conguration
Select
1
Source = Pulse
Sink = Pulse
2
Source = Pulse
Sink = Alarm1
3
Source = Alarm0
Sink = Pulse
4
Source = Alarm0
Sink = Alarm1
Set
PFactor PFactor PFactor Switchpoint0
Set
Sample Period Sample Period Sample Period Source state
Set
Source state Source state Switchpoint0 Switchpoint1
Set
Sink state Switchpoint1 Source state Sink state
Set
n/a Sink state Sink state n/a
Table 3. V Menu – Output Conguration Setup