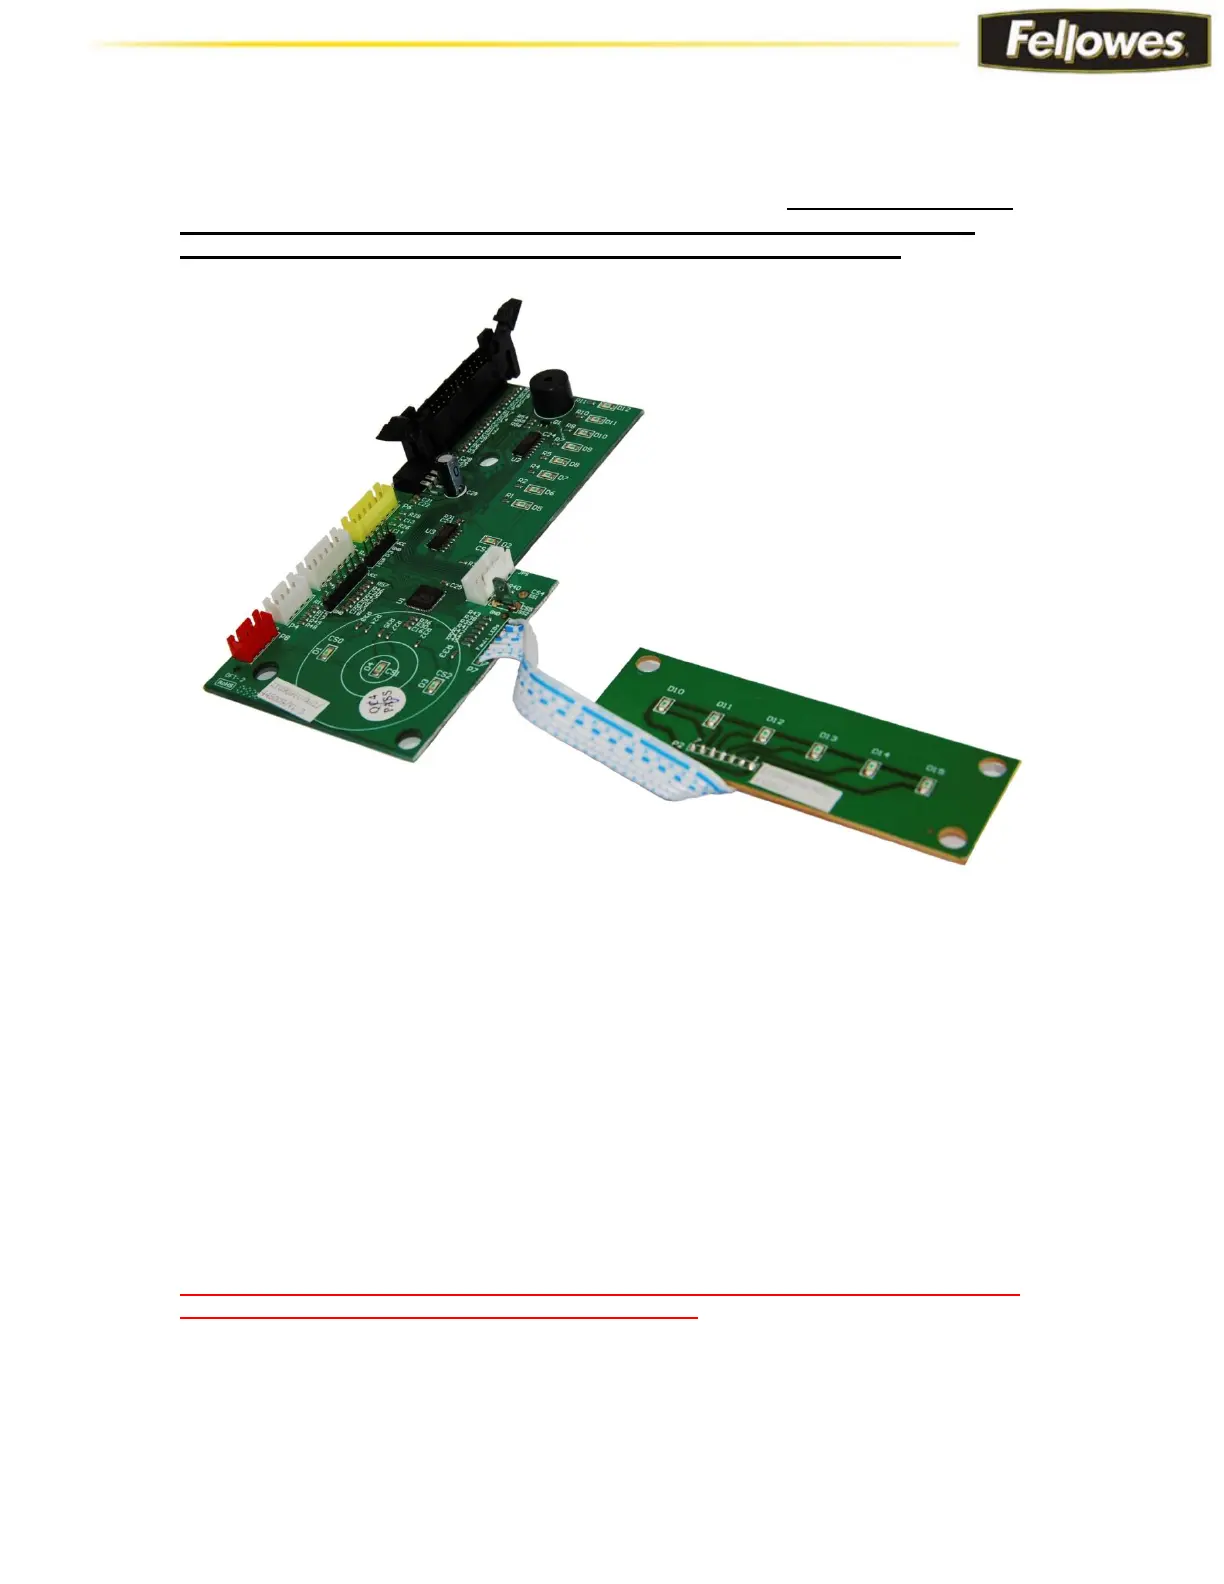
Control / L.E.D Board Assembly
The Control Board and L.E.D Board are attached to the housing cover. These PC boards are
hard wired to each other and must be replaced at the same time. Note: After performing
replacement check sheet capacity intake on shredder. If shredder does not take
capacity please refer to pages 26-27 and perform indicated adjustments.
To replace the Control / L.E.D Board Assembly:
1. Disconnect the 4 (2 sets) of CD/DVD sensor wires from the control panel PC board.
(See diagram on page 27)
2. Disconnect the Safe Sense wire from the SafeSense strip around the paper entry
slot. (See diagram on page 27)
3. Remove the 4 screws and spacers that hold the control panel PC board to the
housing cover. Remove the 2 screws and spacers that hold the indicator PC board to
the housing cover.
4. Install new control panel and indicator PC boards. Secure with screws and spacers.
5. Connect the CD/DVD sensor wires to the new control panel PC board. (See diagram
on page 27)
6. Secure the Safe Sense wire from the control panel to the Safe Sense strip.
(See diagram on page 27)
CAUTION! To prevent electrical shock, make sure the shredder is disconnected from the
power source before performing any electrical repairs.