• Turn the ignition key to II so that the
socket is powered and activate the
compressor by pressing the switch D.
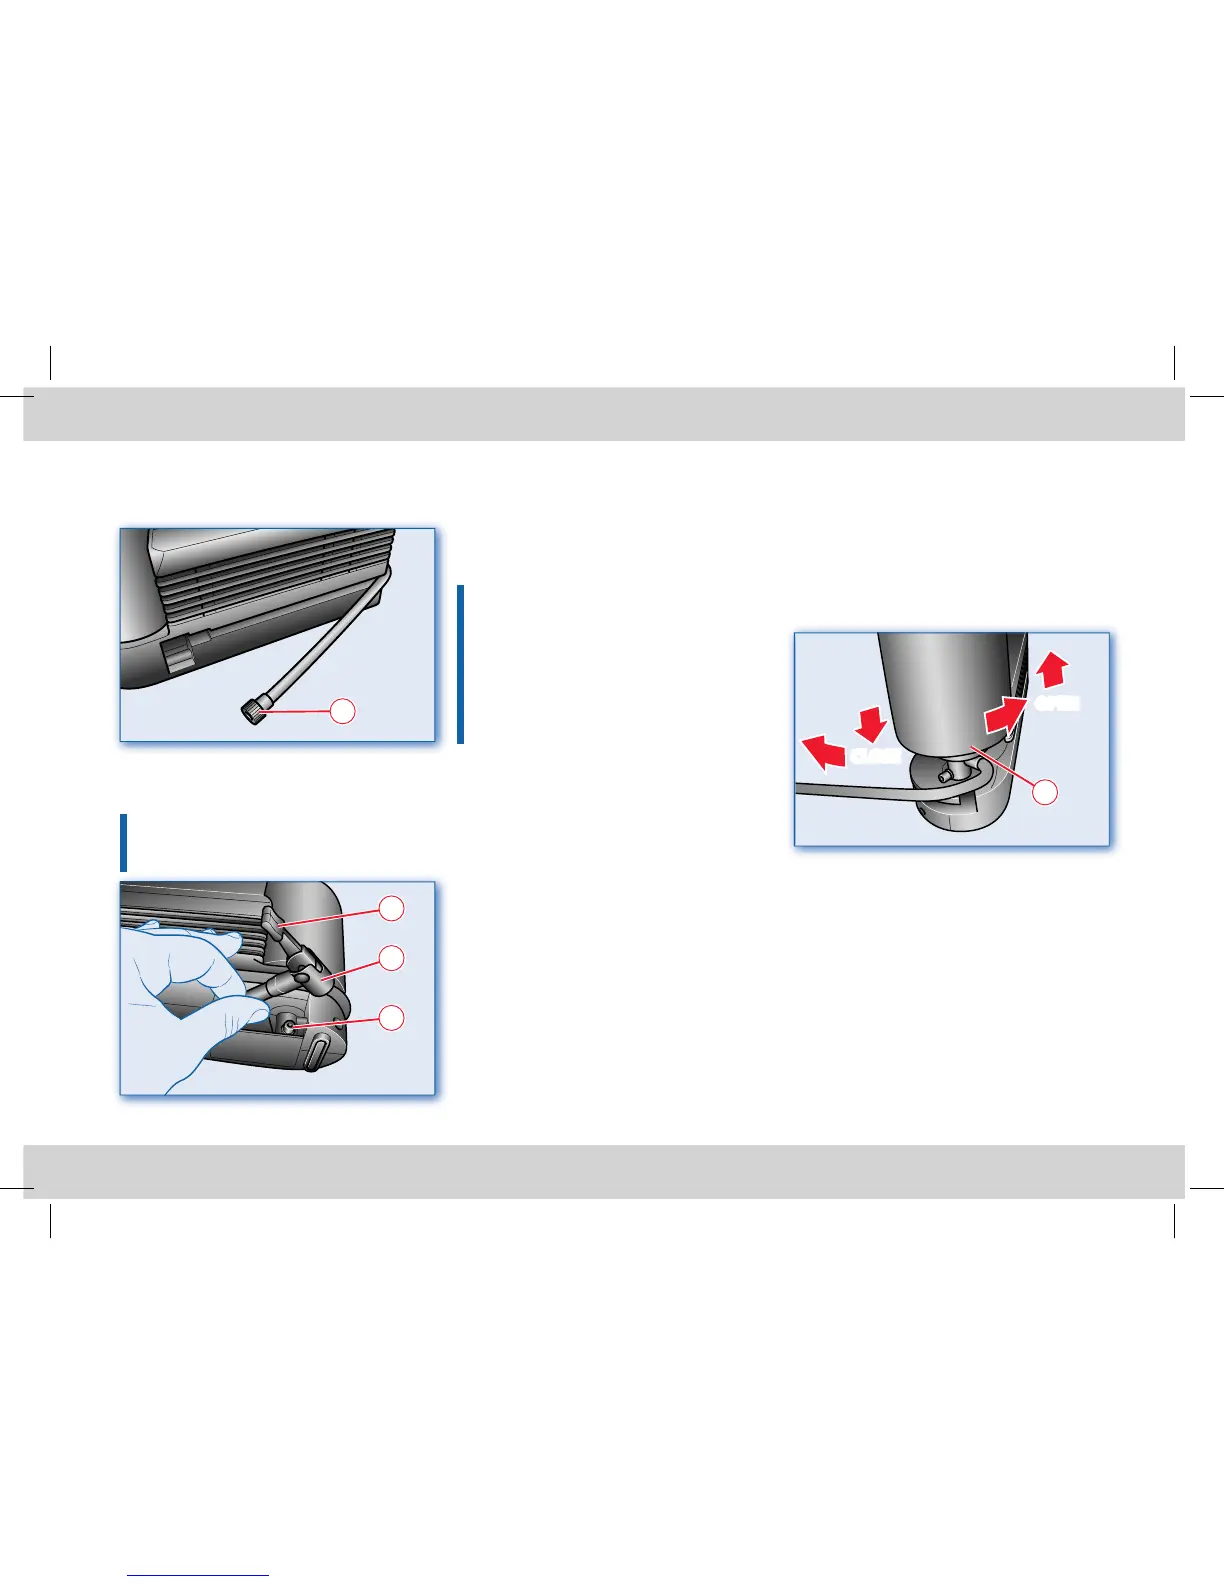
To in ate/repair the tyre successfully, the
lever terminal part
H must be tted into the
relevant union
J.
• Insert the new cartridge A into the base
and push it until hearing its tting click
into place in the base.
• Turn it clockwise until it ts snugly into
place.
• Place the union G into its seat and t the
lever terminal H onto the union J of the
cartridge.
Useful accessories
As well as the tools supplied with the
vehicle, the hazard warning triangle and
uorescent safety jacket should always be
kept on board in order to signal hazardous
situations in compliance with regulations.
• Stop the compressor when the pressure
indicated on the pressure gauge C
reaches the speci ed pressure for that
tyre (see page 12).
• Remove the union G and screw the cap
back onto the valve.
We recommend that you check the tyre
pressure on the gauge when the compressor is
off, in order to have a more accurate reading.
Do not activate the compressor for more than
20 minutes: risk of overheating!
The compressor has been designed for
in ation of one tyre only; do not use it to
in ate mattresses, rubber boats etc.
The kit can also be used only to in ate a
tyre using the lever terminal H.
• Remove the terminal H from the union J
on the cartridge and insert it in the wheel
valve.
• Lower the lever K and start the
compressor.
• In ate to the speci ed pressure (see page
12).
Replacing the puncture repair uid
cartridge
• Remove the terminal H from the union
J on the cartridge and remove the union
G for the transparent tube from the
compressor.
• Turn the cartridge A anticlockwise and
lift it slipping it off the base. replace it
with an original spare part.