32
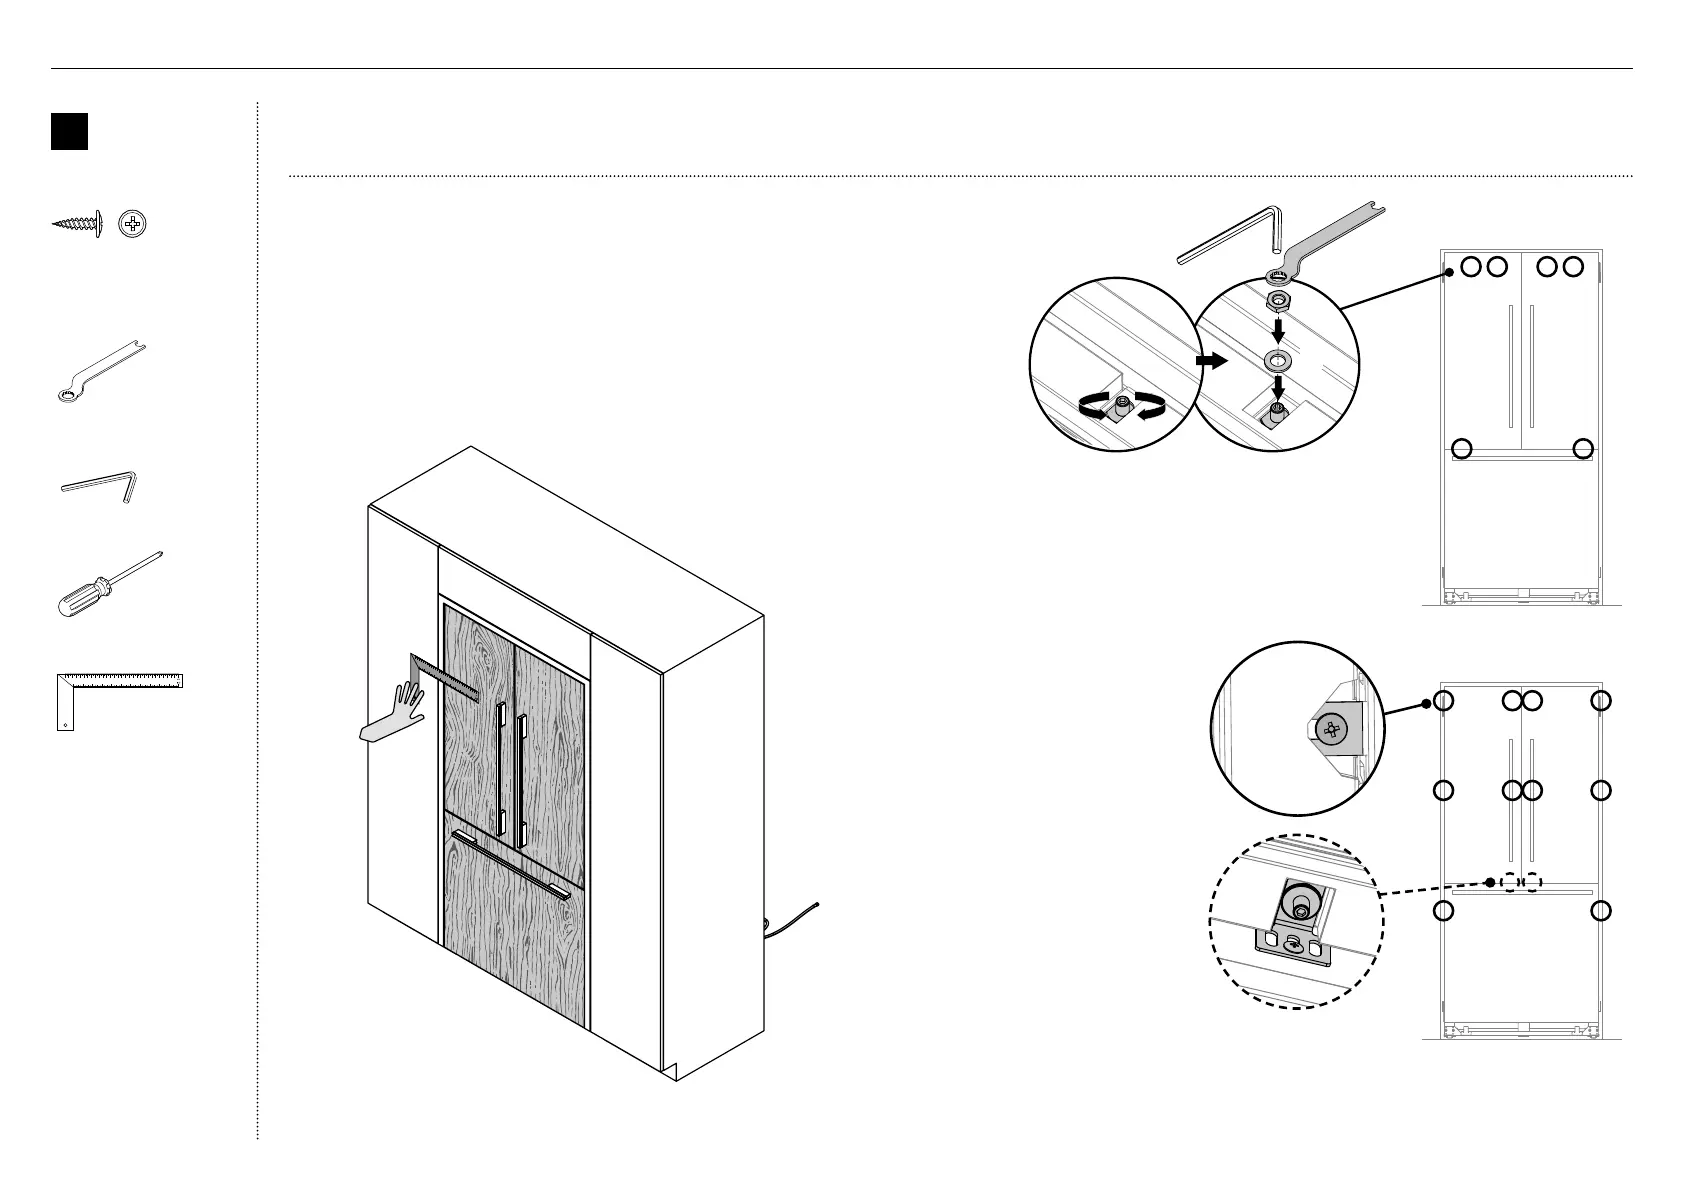
Adjust the door panels
1
Place a ruler on the front of the appliance to check
flushness top and bottom, left and right.
– Ensure the gap between the top of the door panel
and the top cabinetry is not more than 1/4" (7mm).
– To reduce this gap, raise the appliance by turning all
four adjustment nuts the same number of turns.
IMPORTANT!
●
Follow these steps to avoid difficulties in door panel adjustment and cosmetic cap fitment.
B
Door panel
attachment
kit
#8 x 16
Mush Washer
Twin Thread
Philips Screw
#8 x 16
Mush Washer
Twin Thread
Philips Screw
8x16 mush washer
(Custom) screw (2)
Tools
FPA spanner
Hex key
Cross-head screwdriver
Ruler
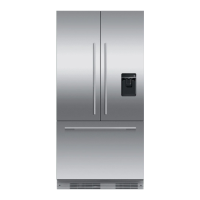
DOOR PANEL INSTALLATION - CUSTOM
2
Each door panel has full axis adjustment to ensure
flushness with adjacent walls. To adjust the height of
the panel, turn the stud clockwise to raise or counter-
clockwise to lower the door panel (A).
3
Once satisfied with the alignment, secure M8 studs with
M8 washer and M8 nut (B). The top of the stud must
remain below the top face of the door panel.
4
Secure side bracket forks by
tightening side screws(C).
Repeat for all door panels.
Note:
– For depth adjustment,
loosen the side screws(10),
adjustthe panels and then
retightenoncesatisfied.
– Further adjustment of door
panels can be achieved by
removing door panels then
looseningthe fixing screws
for the hanging bracket and
moving the bracket sideways
to suit.
5
Loosen the M8 stud (D) so that
locking bracket can slide freely
back to front.
– Slide the locking bracket out until it touches the
back of the door panel. Fully tighten the M8 stud.
– Screw in place using a #8x16 screw through one
ofthe three slotted holes.
C
B
A
D
 Loading...