第 五 页 共 五
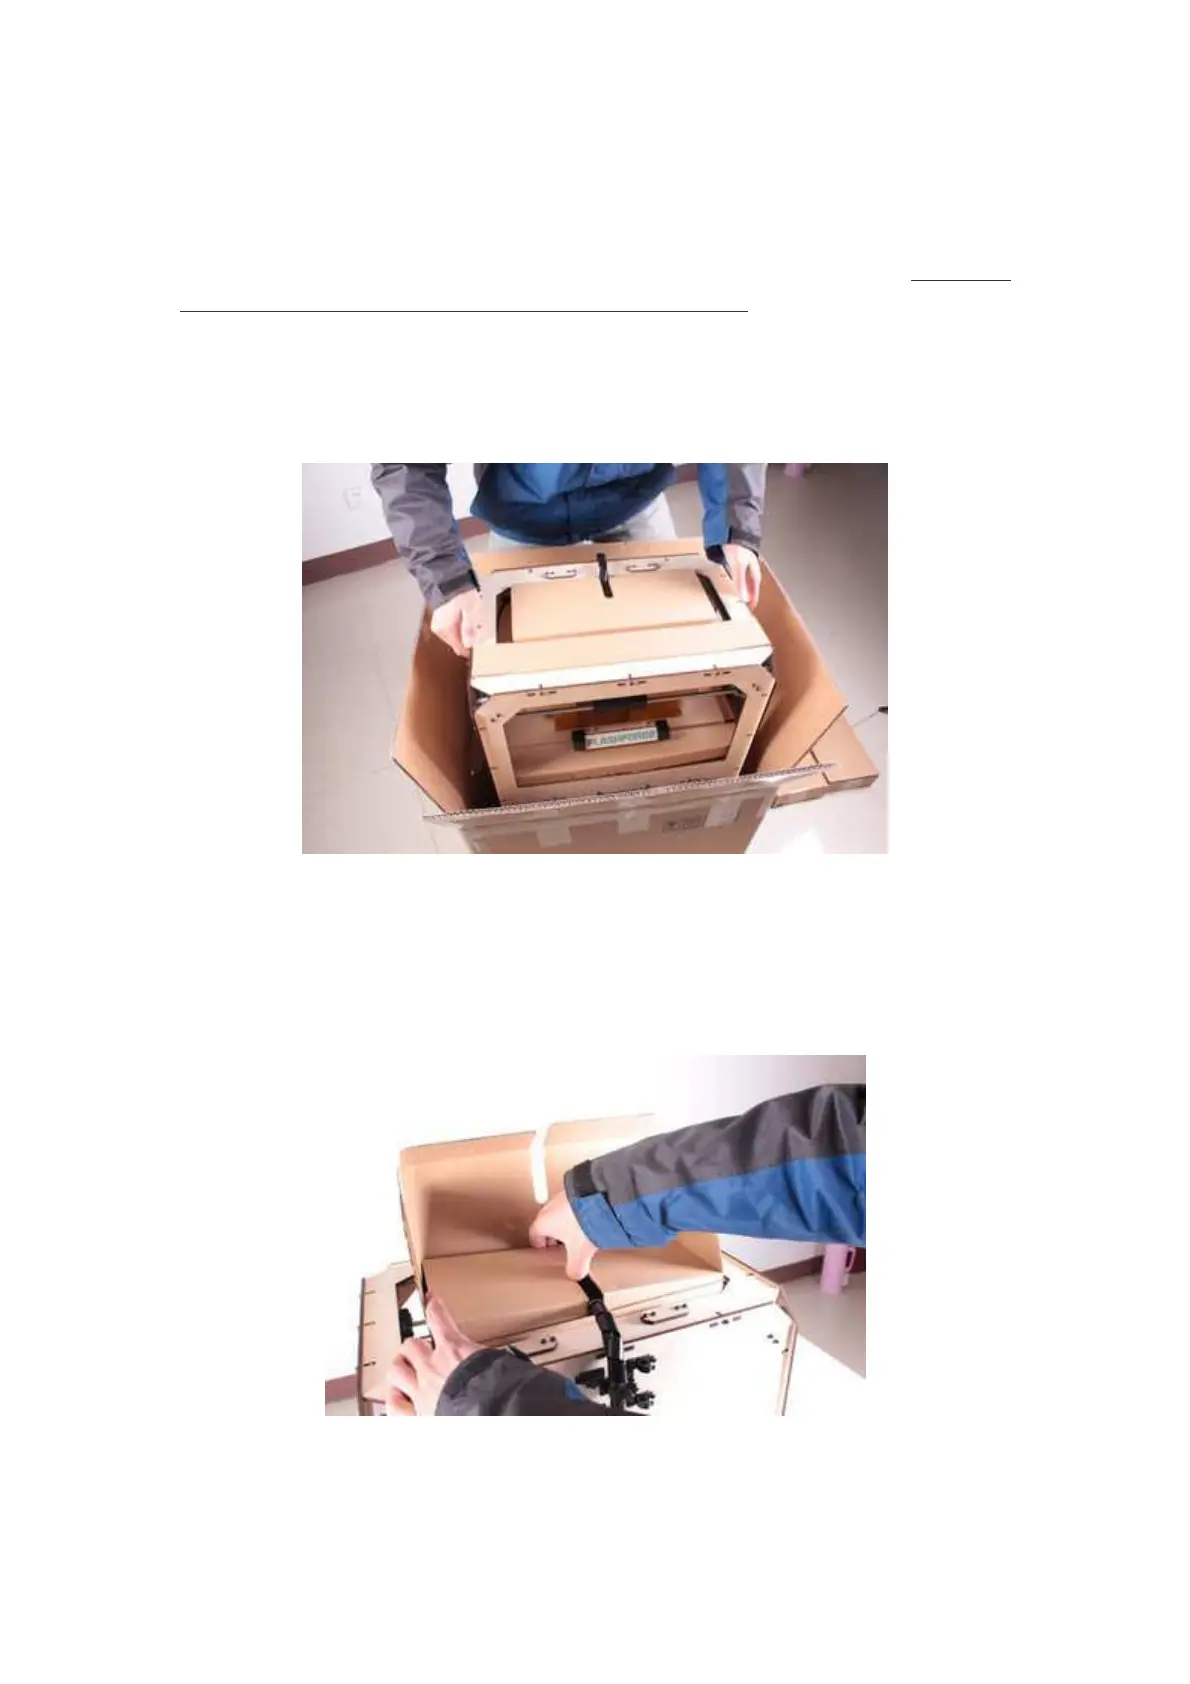
Now, you can see the top of the printer, as well as some cardboard boxes. The large
box with the black wire is the accessory box, which includes extruders and other
important components. Don’t remove the accessory box or its contents, yet. Note: The
black cable is not a handle! Do not use it to lift the Creator.
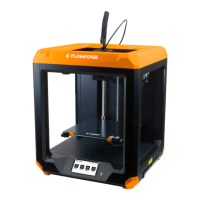
Now take the Creator out of the box by grasping the frame. Be sure to grasp only the
frame. Gently lift and transfer the printer to your work surface.
With the Creator removed, you will find at the bottom of the box the power supply
and cable, as well as a USB A to B cable and a filament guide tube. Take them out
of the box and set them aside. We will now focus on the accessory box. Open the
accessory box and remove the accessory sleeve.
You will find the extruder in protective packaging along the black cable. Handle it