PAGE 9Help: 888-426-5001 QualityWaterForLess.com
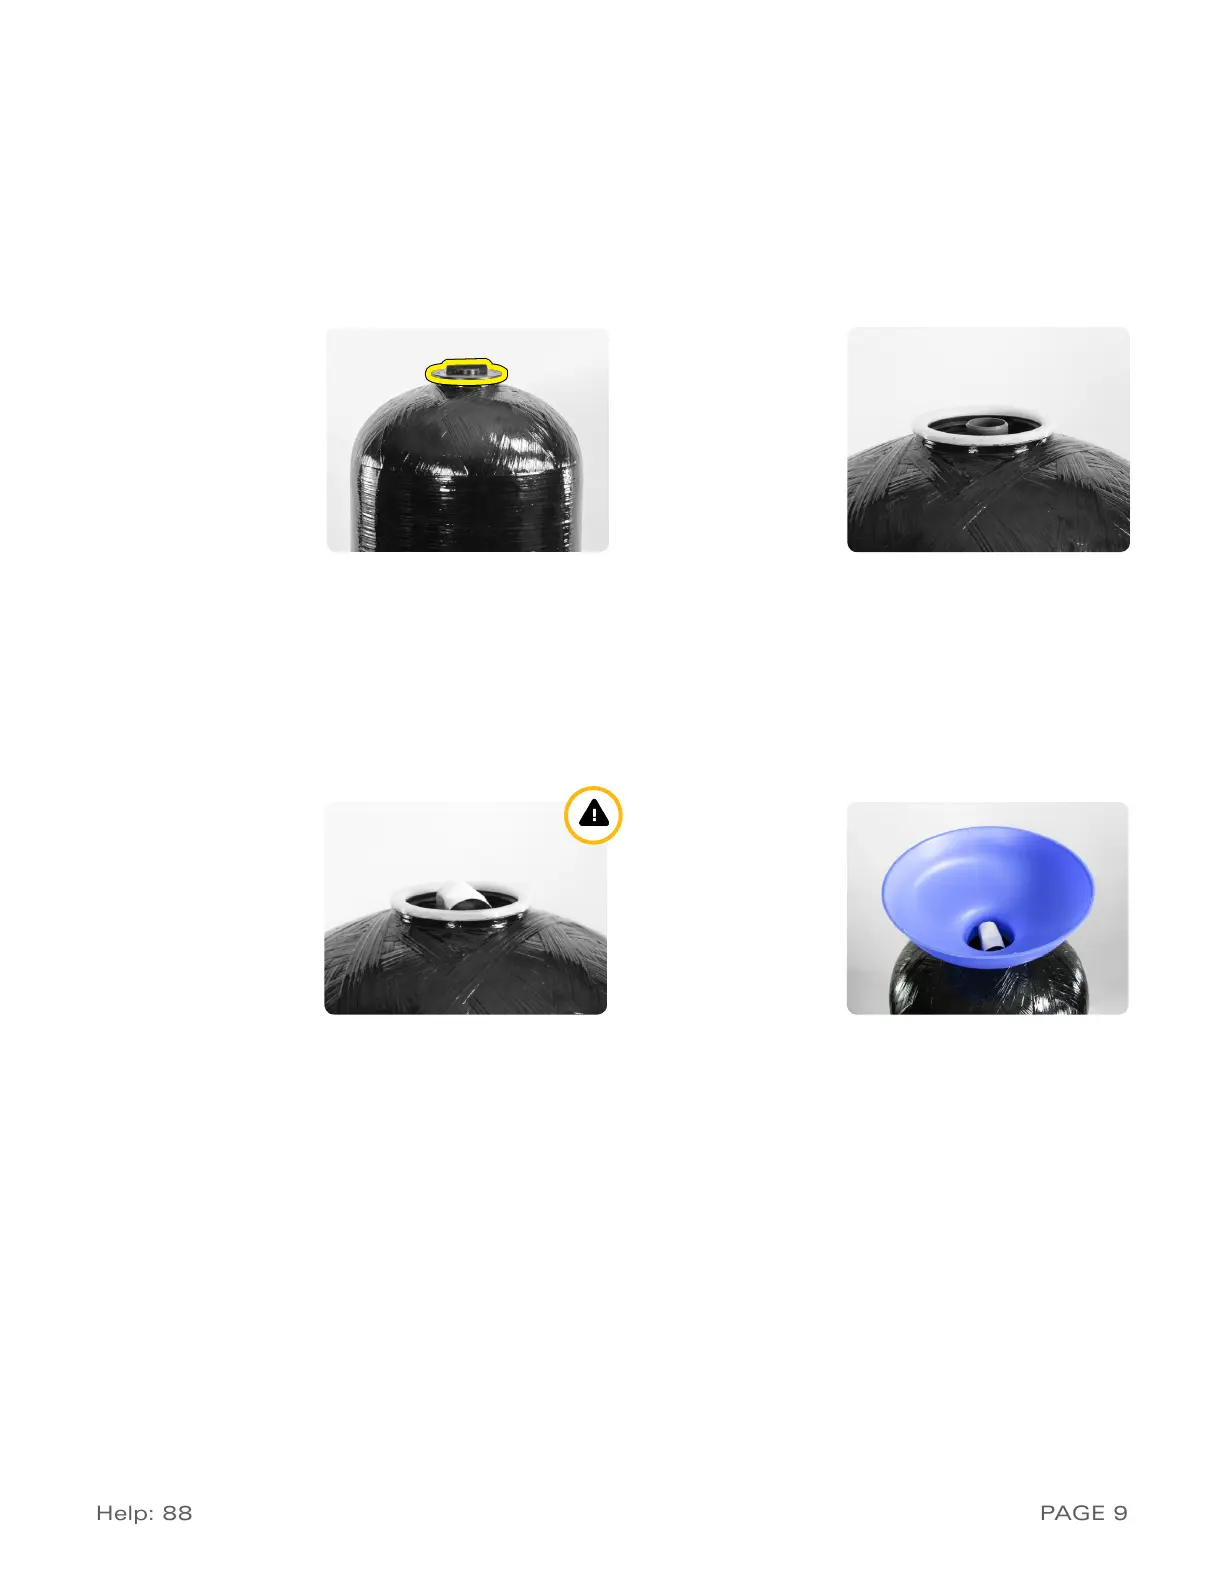
fIGure 9-c fIGure 9-d
2 ›PlacInG and fIllInG tHe tanK
1) Choose the final location for your water softener
and place the tanks upright and level on the surface.
Filling the tanks may be necessary on some larger
system sizes. Your tanks may have also come pre-
filled, and in this case you only need to unscrew the
protective cap as shown in
Figure 9-A
2)
If your tanks are not filled
, place the riser
tubes into the tanks as shown in
Figure 9-B
.
Please make sure that the riser tubes seat into
the bottoms of the tanks and that the tops of the
tubes are flush with the tops of the tank openings
fIGure 9-a fIGure 9-b
3) Before filling the tanks, place a piece of paint-
er’s tape over the top of the riser tubes to pre-
vent resin from dropping down inside the riser
tubes as shown in
Figure 9-C. i Avoid using
duct tape which leaves behind unwanted
residue
4) Place the included filling funnel over the top of
the tank as shown in
Figure 9-D
and prepare to
fill the tank. If your softener system came with
gravel
, please pour this into the tank
first
, then
pour in the included resin media afterwards. Do
this for both tanks
 Loading...