4. Operation
4.1 Meter Power, APO, and Zero Calibration
1. One (1) 9V battery (rear compartment) powers the meter.
2. Long press the power button to switch the meter ON/OFF. If the meter display
does not switch ON, please check the battery.
3. The meter beeps and flashes CAL while it performs a self-test (zero calibration).
Keep hands and objects away from the sensor while the meter powers up for
optimum calibration accuracy.
4. The meter’s APO feature automatically switches the meter OFF after 30 minutes of
inactivity.
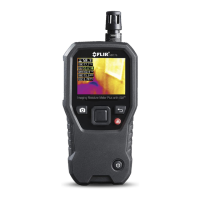
4.2 Moisture Measurements
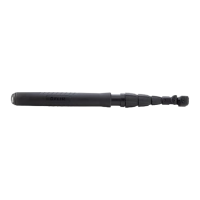
1. Power the meter, keeping hands and objects away from the ball sensor.
2. Place the sensor against the surface of the material under test. The sensitivity of
the sensor is uniform across its entire surface, so you can easily move the sensor in
a variety of orientations to make it easier for you to reach and position during tests.
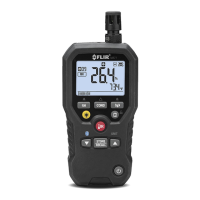
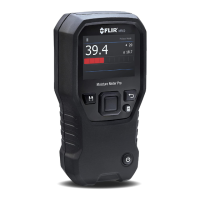
3. View the moisture reading on the LCD. Take a number of readings in a variety of
locations for the best representation of the moisture present. Compare readings
between a known dry area and an area where you suspect to find moisture.
4. The measurement range is 0 to 100 (relative readings).
4.3 Maximum and Minimum Readings
In addition to the real-time moisture reading display, the meter shows the highest
(MAX) and lowest (MIN) readings for a measurement session. Long press the CLEAR
button to reset the MIN/MAX reading memories.
4.4 Data Hold
Short press the HOLD button to freeze/unfreeze the displayed reading. The ‘H’ icon
appears when the data hold mode is active.
4.5 Display Backlight
Long press the backlight button to switch the LCD backlight ON/OFF. Over use of
the backlight will shorten battery life considerably.
4.6 Worklight
Long press the Worklight button to switch the light ON/OFF. To conserve battery life
use the light only as needed.