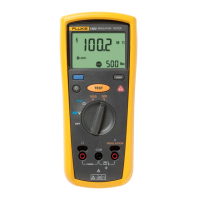
Insulation Testers
Calibration Adjustment
23
7. Use Ta b l e 1 0 and apply the input value listed for each calibration adjustment step. For each
step, position the rotary function switch and apply the input to the terminals as indicated in
the table.
8. After you apply each input, press T to accept the value and proceed to the next step
(C-02 and so forth).
Note
After you press T, wait until the step number advances before you change the
calibrator source or turn the Tester rotary function switch. If the Tester rotary function
switch is not in the correct position, or if the measured value is not within the
anticipated range of the input value, the Tester emits a double beep and will not
continue to the next step. Some adjustment steps take longer to execute than others
(10 seconds to 15 seconds). For these steps, the Tester beeps when the step is
complete. Not all steps have this feature.
9. After the final step, the display shows End to indicate that the calibration adjustment is
complete. Press C to go to meter mode.
Note
Set the calibrator to standby before you change the function switch position and or
after you complete adjustment of each function. If the calibration adjustment
procedure is not completed correctly, the Tester will not operate correctly.

 Loading...