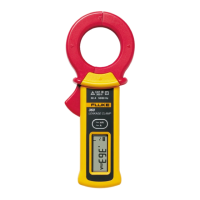
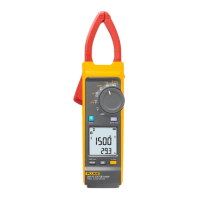
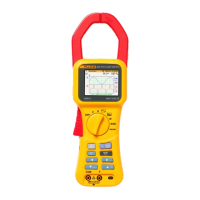
AC Leakage Current Clamp Meter
Calibration Adjustment
7
Table 3. 360 Accuracy Tests
Display Reading Limits
Step Range Wire Coil Calibrator Output
Low Limit High Limit
1 None 0.000 mA 0.000 0.005
2 0.3 mA, 50 Hz 0.292 0.308
3 3 mA, 50 Hz 2.965 3.035
4
3 mA
3 mA, 60 Hz 2.965 3.035
5 3 mA, 50 Hz 2.92 3.08
6
30 mA
1 Turn
30 mA, 50 Hz 29.65 30.35
7 None 0.00 A 0.00 0.05
8 1 Turn 3 A, 50 Hz 2.92 3.08
9
30 A
2 Turns 15 A, 50 Hz 29.65 30.35
10 16 A, 50 Hz 47.4 48.6
11
60 A 3 Turns
20 A, 50 Hz 56.5 63.5
Calibration Adjustment
Before accessing the adjustment locations, remove the face and serial number decals as follows:
1. Use an exacto knife to lift one corner of the face decal from the top case.
2. Peel the entire decal from the case.
3. Use an exacto knife to lift one corner of the serial number decal from the bottom
case.
4. Peel the entire decal from the case.
Note
It is possible to reuse the face decal. However, the serial number decal is
easily damaged. If either decal needs replacement, see Table 5 and
Contacting Fluke.
Refer to Figure 3 for the adjustment locations and complete the adjustments listed in Table 4.
1. Connect the wire coils to the appropriate output current terminals of the Calibrator.
See Table 4.
2. Set the Calibrator Output.
3. Clamp the UUT around the wire coils.
4. Perform the adjustment for each step listed in Table 4 to obtain display reading
within the adjustment limits shown.
If the UUT fails to meet any expected results, contact Fluke Service for repair. See
Contacting Fluke.