789
Users Manual
18
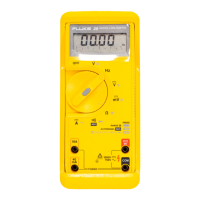
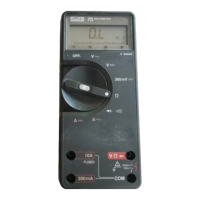
Measuring Electrical Parameters
The proper sequence for taking measurements follows:
1. Plug the test leads into the appropriate jacks
2. Set the rotary function switch to the desired function
3. Touch the probes to the test points
4. View the results on the LCD display
Input Impedance
For the voltage measurement functions, input impedance
is 10 MΩ. See "Specifications" for more information.
Ranges
A measurement range determines the highest value and
resolution at which the meter can measure. Most meter
measurement functions have more than one range (see
"Specifications").
Make sure the correct range is selected:
• If the range is too low, the display shows OL
(overload).
• If the range is too high, the meter will not be
displaying its most precise measurement.
The meter normally selects the lowest range that will
measure the applied input signal (Auto Range showing on
the display). Press R to lock the range. Each time
R is pressed, the meter selects the next higher range.
At the highest range, it returns to the lowest range.
If the range is locked, the meter resumes auto ranging
when it is changed to another measurement function or
when R is pressed and held for 1 second.
Testing Diodes
To test a single diode:
1. Insert the red test lead into the Vjack and
black test lead into the COM jack.
2. Set the rotary function switch to
V.
3. Press (Blue) so that the D symbol is on the
display.
4. Touch the red probe to the anode and the black
probe to the cathode (side with band or bands). The
meter should indicate the appropriate diode voltage
drop.
5. Reverse the probes. The meter displays OL,
indicating a high impedance.