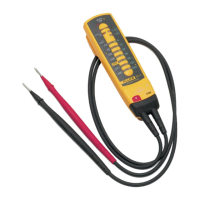
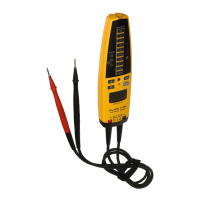
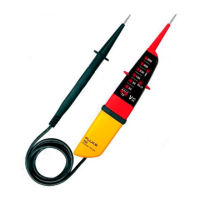
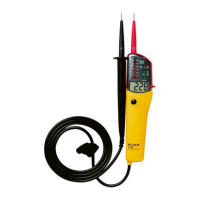
Tester
Calibration Adjustment
5
Continuity Function Tests
The following tests verify correct operation of the continuity beeper and LED.
1. Set the calibrator to 20 kΩ. Apply the 20 kΩ to the tester and verify that the tester’s beeper
and continuity LED are ON.
2. Set the calibrator to 200 kΩ. Apply the 200 kΩ to the tester and verify that the tester’s beeper
and continuity LED are OFF.
Calibration Adjustment
If the tester fails a voltage test, perform the following calibration adjustment.
1. Verify that the tester’s batteries are good: replace the batteries if touching the leads together
does not turn on the continuity LED.
2. Remove the tester’s battery door and batteries.
3. Remove the two screws that hold the tester’s case together.
4. Remove the top case.
5. Place the tester’s batteries in the battery compartment. Temporarily install the battery door to
hold the batteries in place during calibration.
WWarning
It is not necessary to remove the two screws that hold the circuit board
in the bottom case; however, if the screws are removed for any reason,
they must be secured with Loctite™ or equivalent when reinstalled to
prevent them from coming loose.
6. Turn the tester on by touching the test leads together.
7. Using a calibrated meter, measure the voltage across the voltage divider with the positive lead
near R4 and the negative lead at the other end of the divider. Refer to Figure 1.
8. Adjust R4 until the voltage across the divider is as follows:
• T3USA = 605 - 615 mV
• T3CAN = 759 - 765 mV
• T3W = 873 - 883 mV
9. Secure R4 with Loctite or equivalent.
10. Reassemble the tester; then perform the voltage tests as given under "Testing the Voltage
Functions".