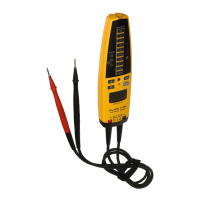
T+ and T+ PRO
Calibration Information
6
Table 2. Equipment Requirements
Equipment Minimum Required Characteristics Recommended Model
Calibrator ac / dc voltage range: 10 V to 600 V
Accuracy: ± 5 %
Frequency 50/60 Hz
Resistance range: 100 Ω to 9 kΩ
Accuracy: ± 1.25 %)
Fluke 5520A High Performance
Multi-Product Calibrator
or
5500A Multi-Product Calibrator
3-phase power supply 120 V, 3-phase output Elgar 5250A or equivalent
Digital multimeter ac current range: 0 to 20 mA ± 7 Fluke 189 Digital Multimeter
Self Test
XWWarning
To avoid possible electric shock or personal injury:
• Perform a self test before any measurements are taken for
voltage, continuity, resistance, or rotary field.
• When the batteries are depleted, self test will not function.
Replace the batteries.
WCaution
Although the Tester may be used with depleted batteries,
replace depleted batteries immediately to avoid Tester damage
from battery acid leakage.
To perform the self test, short the two probes. The self test lights all LEDs, and all LCD segments
(T+ PRO). The beeper sounds (unless disabled) and the Tester switches to continuity mode. To
complete the self test, measure a known voltage before use. If the Tester fails self test, it must not
be used and requires service. See “Contacting Fluke.”
Testing the LCD Display (T+ PRO)
Use the following procedure to test the LCD display:
Note
The Tester must remain inactive for approximately 30 seconds before
performing the following test. This will force a processor reset that will
display all LCD segments for approximately 1 second at power up.
1. Observe the LCD and short the test probes together. All LCD segments shown in
Figure 1 should light.
eqc001f.eps
Figure 1. LCD Display