10
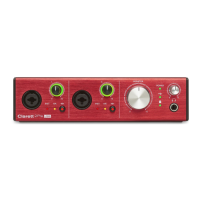
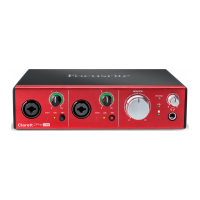
Connecting your Clarett+ 4Pre
The Clarett+ 4Pre must be powered using the supplied AC adaptor (PSU). Connect the PSU to the
rear panel power socket and turn the unit on with the power switch.
The Clarett+ 4Pre has a USB-C™ port (on the rear panel). Once the software installation is complete,
connect the Clarett+ 4Pre to your computer using one of the supplied USB-C cables.
Turn the unit on with the power switch.
Computer audio setup
When you connect your Clarett+ 4Pre to your computer for the first time, you will need to select it as
the audio input/output device.
• MacOS: selection is made in System Preferences > Sound: select the Focusrite device on
both the Input and Output pages.
• Windows: selection is made in Control Panel > Sound: right-click on the Focusrite device
and select Set as Default Device in both Recording and Playback tabs.
If you have any problems, full details of how to select the Clarett+ 4Pre as the audio device can be
found at focusrite.com/get-started/ClarettPlus-4Pre.
After the first connection, your OS should automatically select the Clarett+ 4Pre as the default audio
device.
Audio Setup in your DAW
After installing the drivers and connecting the hardware, you can start using the Clarett+ 4Pre with
your DAW.
Please note - your DAW may not automatically select the Clarett+ 4Pre as its default I/O device. In this
case, you must manually select the driver on your DAW’s Audio Setup* page, and select Clarett+
8pre (Mac) or Focusrite USB ASIO (Windows). Please refer to your DAW’s documentation or Help
files if you are unsure where to select the Clarett+ 4Pre as your audio device.
* Typical name – page names may vary with DAW