Getting started Installing hardware
FortiGate-4000 Installation Guide 01-28004-0028-20040830 27
Attaching the mounting rail
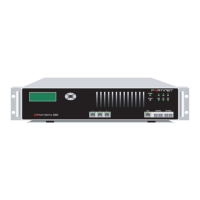
You can attach a mounting rail to the FortiGate-4000 chassis so that you can slide the
chassis out from the rack for maintenance. There are 11 mounting holes on the
FortiGate-4000 chassis that match different manufacturer mounting rails. Figure 14
shows the mounting locations to install the FortiGate-4000 mounting rail. Use the
three screws included with the FortiGate-4000 mounting rail kit.
Figure 14: Rail mounting locations
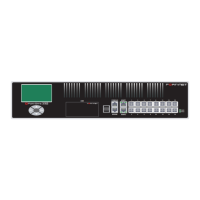
Installing FortiBlade-4010 modules
Install a FortiBlade-4010 module by removing a FortiGate-4000 unit slot cover and
replacing it with a FortiBlade-4010 module. Begin installing the FortiBlade-4010
modules at slot number 1 and fill the FortiGate-4000 chassis from left to right (see
Figure 3 on page 17 for slot numbering).
1 Loosen the two screws at the top of the FortiGate-4000 unit’s empty slot cover that
fastens the cover to the FortiGate-4000 chassis. Do not remove the screws.
2 Remove the cover from the chassis.
3 Holding the FortiBlade-4010 module by the module lock and handle, insert the
FortiBlade-4010 module into the chassis. See Figure 15.
4 Slide the FortiBlade-4010 module into the slot until the lock clicks into place.
5 Tighten the mounting knots on the top of the front panel of the FortiBlade-4010
module.
Note: Do not operate the FortiGate-4000 unit with open slots on the front panel. For optimum
cooling performance, all front panel slots should either contain a FortiBlade-4010 module or be
covered by an empty slot cover.
 Loading...